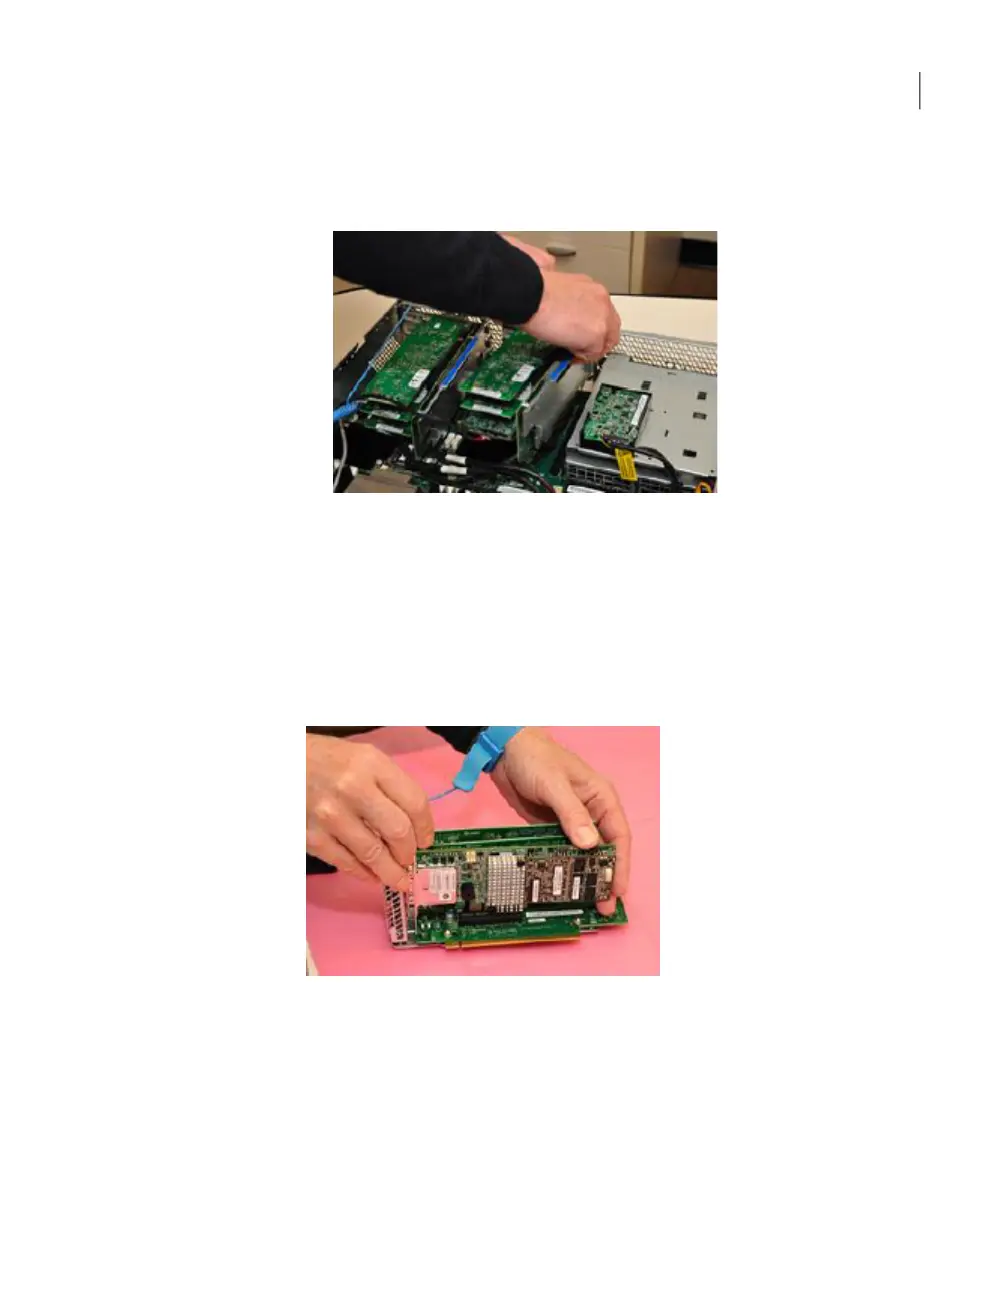
■ Grasp the riser assembly with both hands. With firm even pressure lift it
out of the connector on the mainboard.
■ Slot 1 is on the bottom of the riser. Remove the screw that secures slot 1
to the riser assembly.
■ Remove the metal cover plate from slot 1.
4
Remove the RAID controller card from the Expansion Storage Kit.
5
Align the edge connector on the card with the bottom PCIe-card socket (or slot
1). The edge connector is keyed to install one way only.
6
Firmly and evenly insert the card in the socket.
7
Use the screw you removed earlier to secure the RAID controller card in the
PCIe riser assembly.
95Adding 2U12 storage shelves to an operational NetBackup 5230 Appliance
Installing the external RAID controller card

 Loading...


