58
Chapter 5 Videonics MX-Pro User Guide
ADJUSTING TRANSITIONS
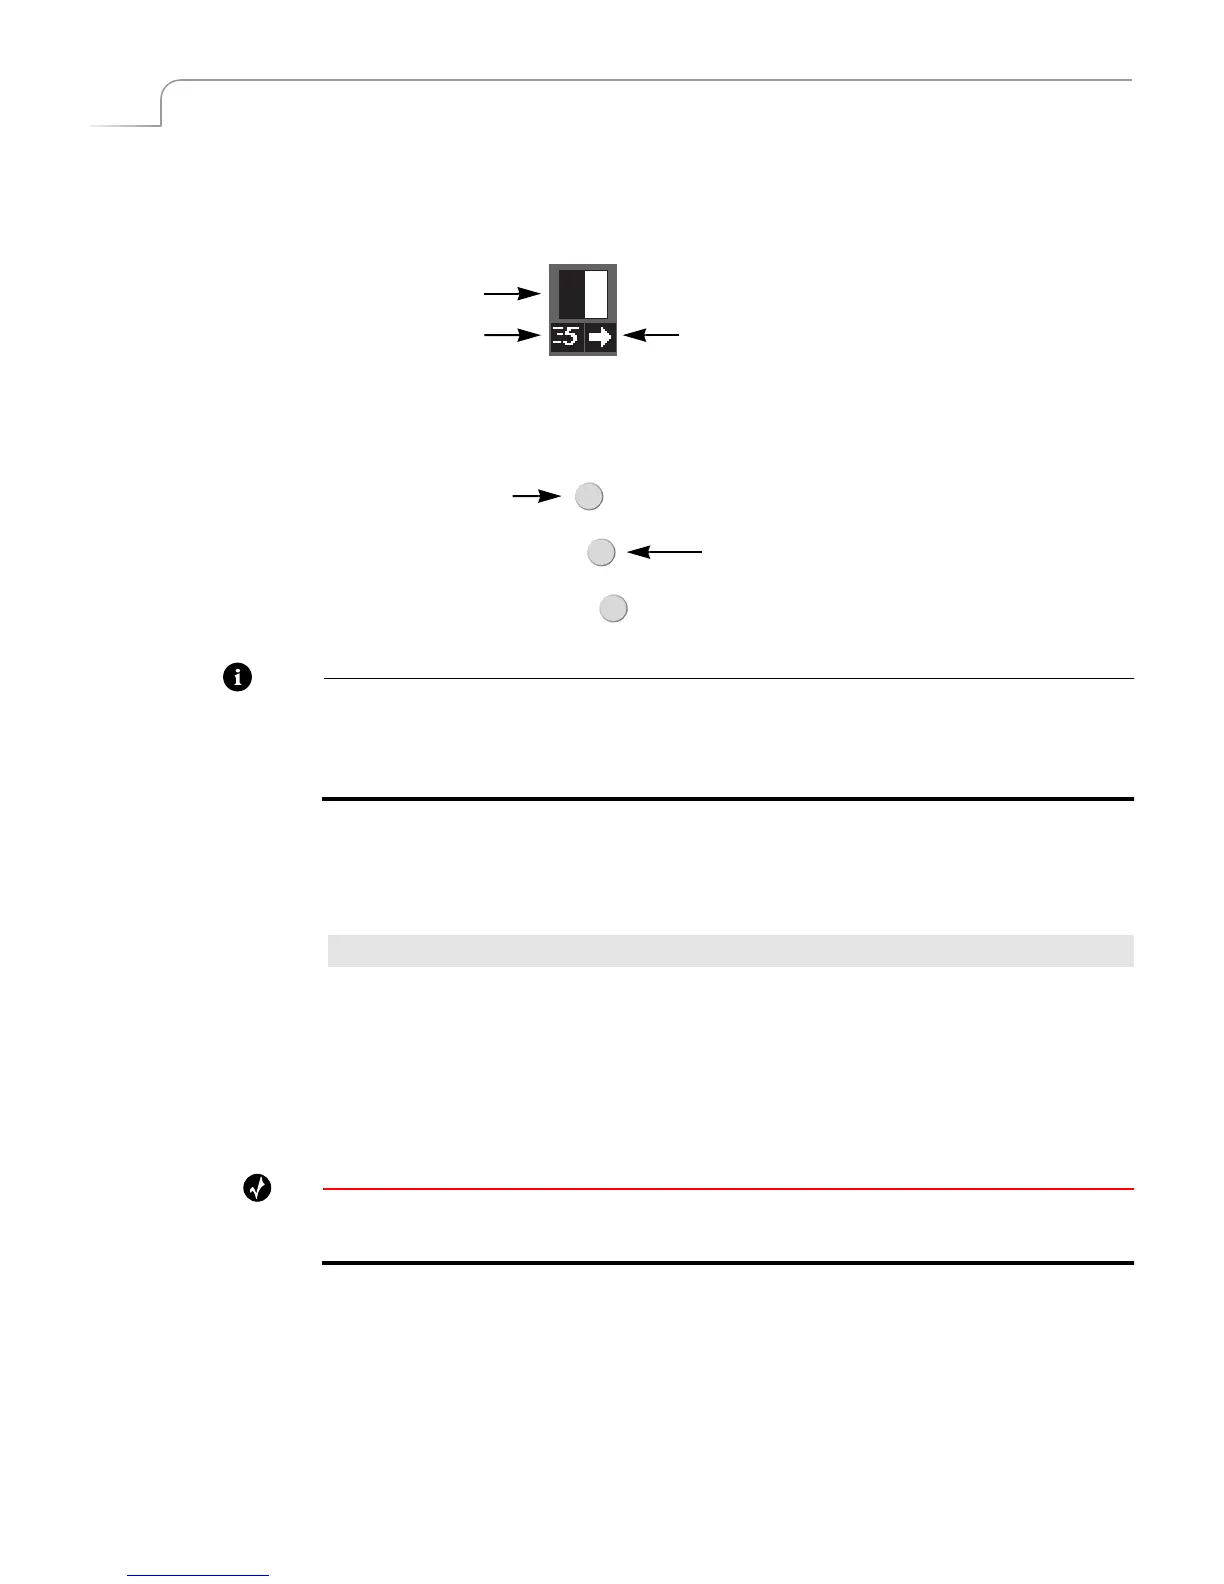
Every transition runs at a pre-set speed and direction. Symbols appear below the tran-
sition icon in the Transitions Menu indicating the current speed and direction.
Use the SPEED and REVERSE buttons to change the speed and/or direction of a
transition.
Note
When you change a transition’s speed and/or direction, the change applies to all
other transitions until you specifically change it. For example, if you set the speed of
the current transition to 4, all subsequent transitions run at this same speed until you
again change the speed factor. This also applies to transition direction.
Changing Transition Speed
Transition speed values can range from 0 (slowest) to 9 (fastest).
To change the transition’s speed:
¨ Press SPEED. Each press increases the speed by one unit. Press SHIFT+SPEED to
decrease the speed by one unit.
MXPro changes the Transition Speed indicator below the transition icon to the cur-
rently selected value. You can change the speed any time either prior to running the
transition, or while it runs (which allows you to make adjustments “on the fly.”)
Tip
To directly set the speed to a specific value, press and hold the SPEED button while entering a
value from 0 to 9 on the numeric keypad.
Transition Speed Transition Direction
Transition Icon
REVERSE
SPEED
BG COLOR
Transition Direction
Transition Speed