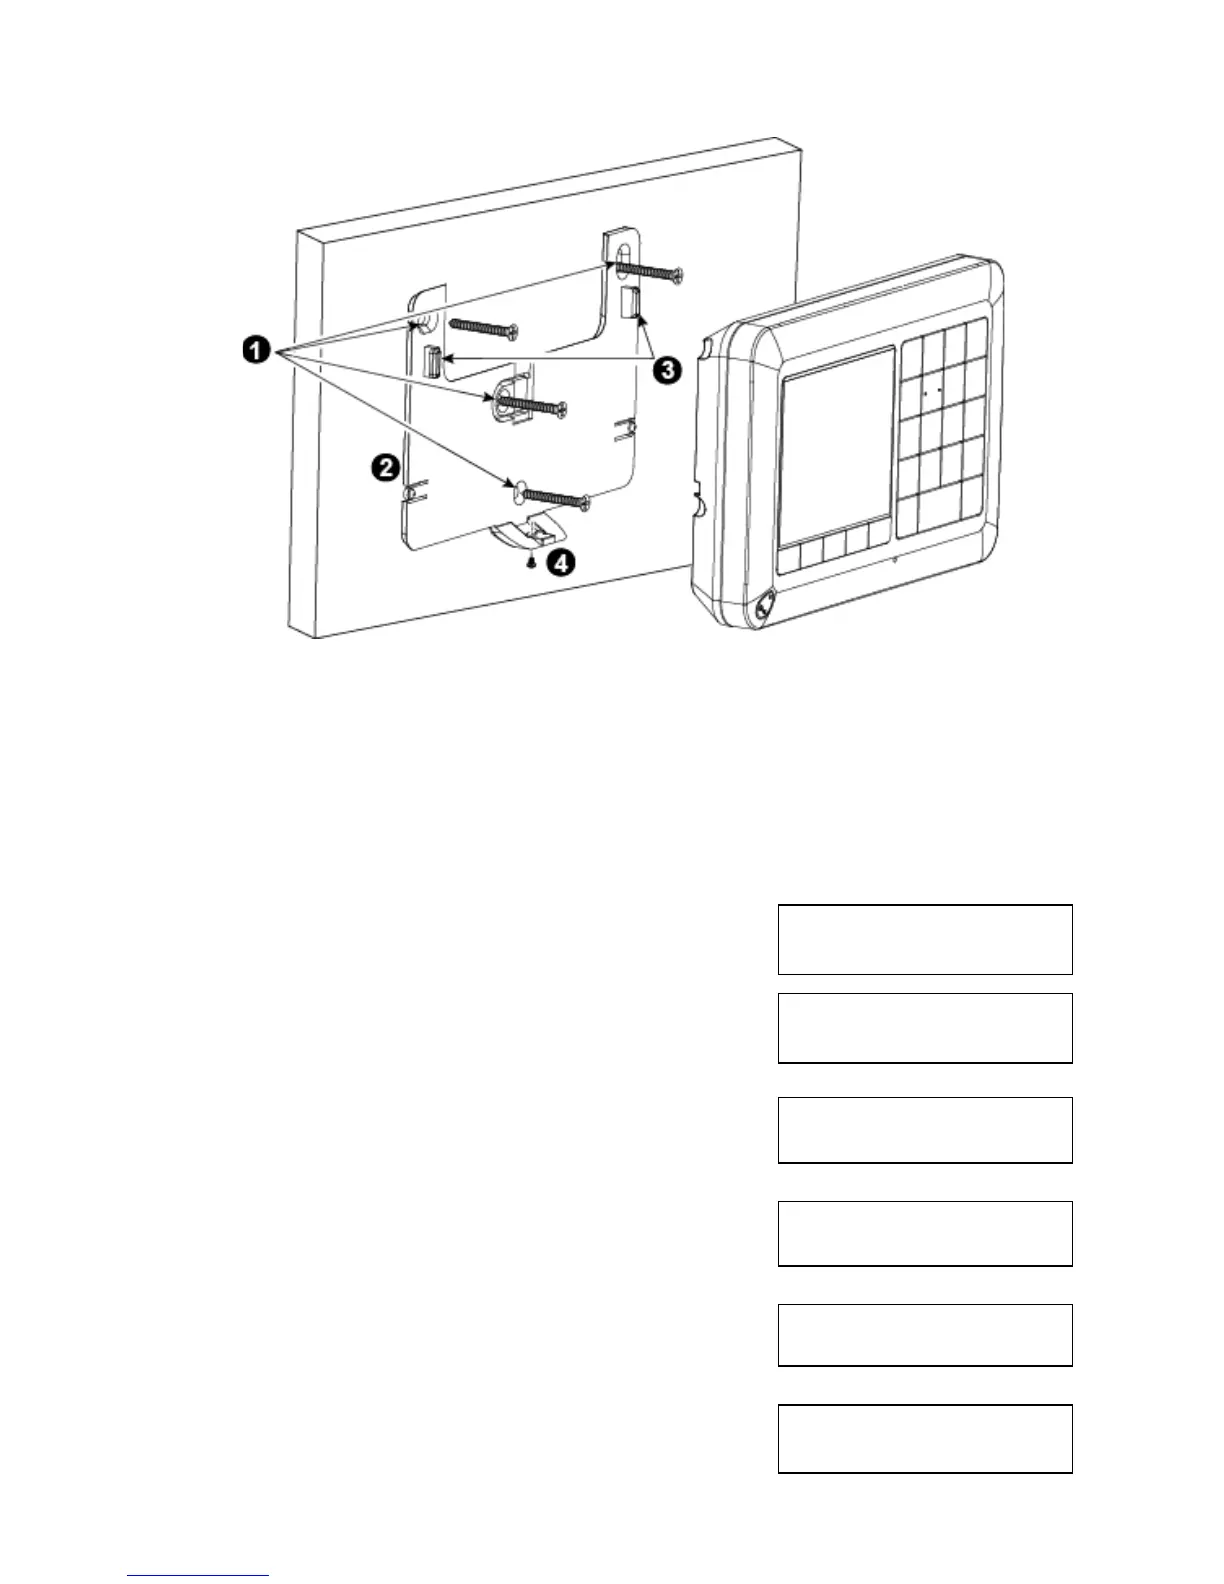
2.3 Wall Mounting
The KP-250 PG2 is mounted as illustrated in the following drawing.
1. Drill 4 mounting holes
3. Line the two slots of the unit with the two hinges of the
bracket, and then slide the unit downward on the bracket.
2. Position the bracket and secure with 4 screws
4. Secure the unit with the screw
Figure 3 – Wall Mounting
2.4 Enrollment of the KP-250 PG2 Keypad in PowerMaster-10/30 G2
Refer to section 5.4 of the PowerMaster-10/30 G2 Installer Guide and follow the procedure under the
"02:ZONES/DEVICES" option of the Installer Menu. A flowchart of the procedure is provided below.
1
Enter the Installer Mode in the PowerMaster panel and select
“02:ZONES/DEVICES”
02:ZONES/DEVICES
2 Select "ADD NEW DEVICES" Option
See Note
ADD NEW DEVICES
3
Enroll the device by pressing the (AUX) button for about 5
seconds until the LED turns ON and then release the button, or
enter the 7-digit ID code that appears on the sticker on the back
of the device
ENROLL NOW or
ENTR ID:XXX-XXXX
The display reads [DEVICE ENROLLED] for a short duration and
then changes to read the tag's details
DEVICE ENROLLED
D-306919 KP-250 PG2 Installer’s Guide 5

 Loading...


