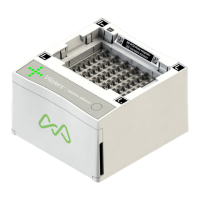
3-6 Maintaining the Autosampler
Recommendation: Tighten each screw a half-turn each in rotation until
all screws are tight.
7. With port 1 pointing upward, hold the valve for mounting.
8. Place the valve in its slot, and fasten it.
9. Reconnect all tubing to the valve.
10. Perform a needle wash by right-clicking in the Run Sample control panel
or via the Console Control menu.
Installing a sample loop
The instrument is fitted with a 100-µL sample loop as standard equipment.
You can install a different sample loop provided you select the proper
combination of syringe and tubing.
Connect the loop between ports 2 and 5 of the injection valve. When installing
a loop of nonstandard volume, from the Configure menu of the 2707 Console
click Volumes... and adapt settings.
Tip: Calculate maximum injection volumes using the following
equations:
• Full loop – Injection volume = loop volume
• Partial loop needle overfill – Maximum injection volume = 50% of
loop volume
• Partial loop – Maximum injection volume = (loop volume - [3 ×
needle volume])/2
Replacing the sample needle
To replace the sample needle
1. From the Maintain menu in the 2707 Console, click Replace and the
needle.
Result: The needle moves to the exchange position.
2. Follow the instructions in the Replace Needle warning box, and then
click OK.
3. Loosen the needle connection nut.