3B. Diagnostics
Checking the condition of your appliance
Servicing procedure: overview
1. Disconnect/isolate the appliance from the power supply.
2. Check the appliance is correctly installed as described in the “Installation” section of this manual.
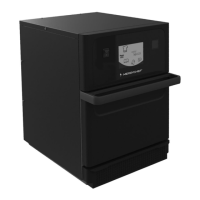
3. Visually check the cleanliness/condition of the power supply/cable/gland, casing, cavity and door of the appliance
for signs of wear, damage, distortion etc. If required, refer to the “Replacing components" section of this manual.
4. Complete an "Earth/Insulation test" (see “Tests" section of this manual) on the appliance before switching on.
5. Check the display for error messages. If an error is shown, refer to the error codes in Table 3.7 in Section 3C.
6. If a firmware update is required, follow the instructions in 3E. - Firmware updates before continuing with the service
procedure.
Entering Service Mode
4. Tap to hold the first screen upon switching on, press
the hidden button at the top right-hand corner to load
the password screen.
5. Enter the administration password. The default
password is ‘MANAGER’. Select OK (green
checkmark) to display the ‘Settings’ menu.
7. Enter the service password and select OK to
display the error log, service information and
test options.