282 A Appendix
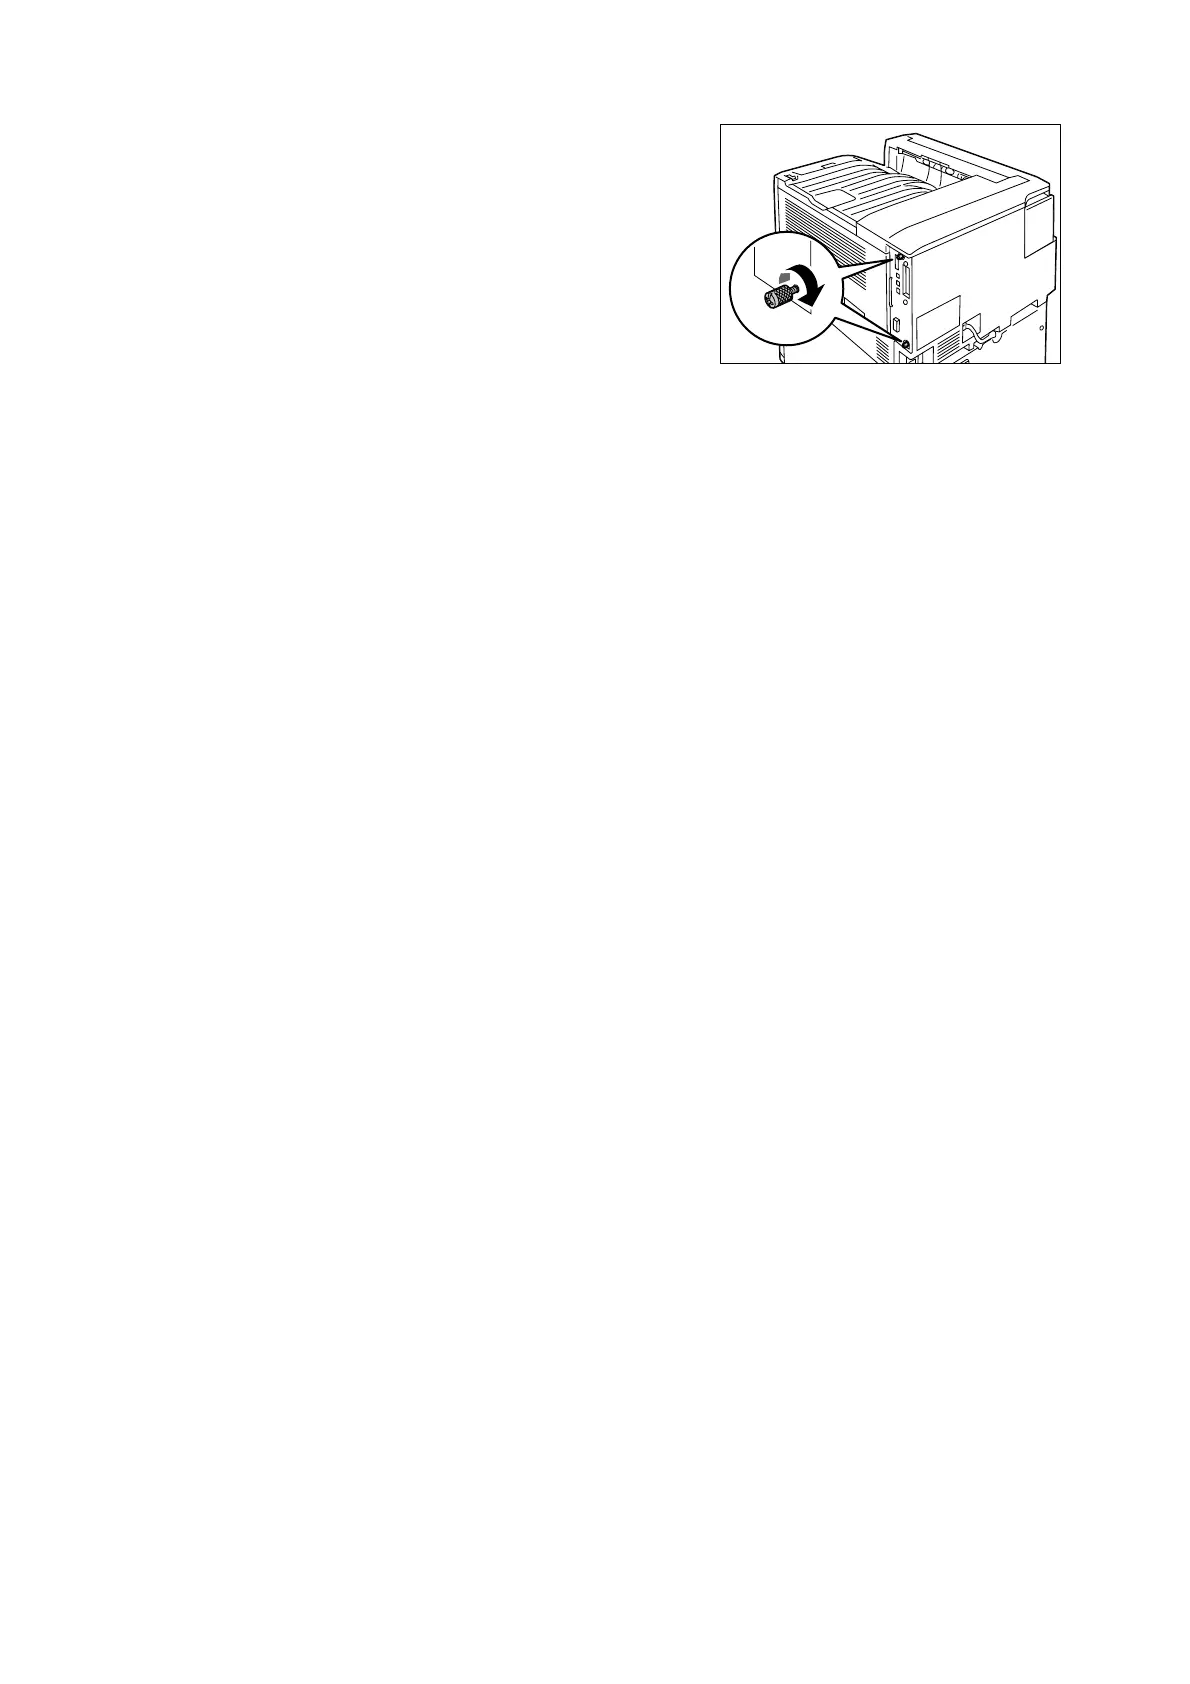
7. Tighten the two screws to secure the
control board in place.
8. Connect the power cord to the printer.
Press the <|> side of the printer's power switch to turn on the power.
9. Print the [Configuration Report] and confirm that the [Total Size] value of the [Memory]
item in the [Print Service Settings] section is correct.
Refer to
• List printing procedure: “Printing a Report/List” (P. 222)
The installation is now complete.
Note
• After installing additional memory, use the properties dialog box of the print driver to change the printer
configuration. For details, refer to the online help for the print driver.