100 4 Paper
Setting the Paper Sizes of Trays 1 through 4
Use the following procedure when configuring custom paper size settings for trays 1
through 4.
Note
• If you changed the paper loaded in a tray from custom size paper to standard size paper, select [Auto] in
Step 9, below. Doing so allows the printer to automatically detect the type of the paper loaded in each
paper tray.
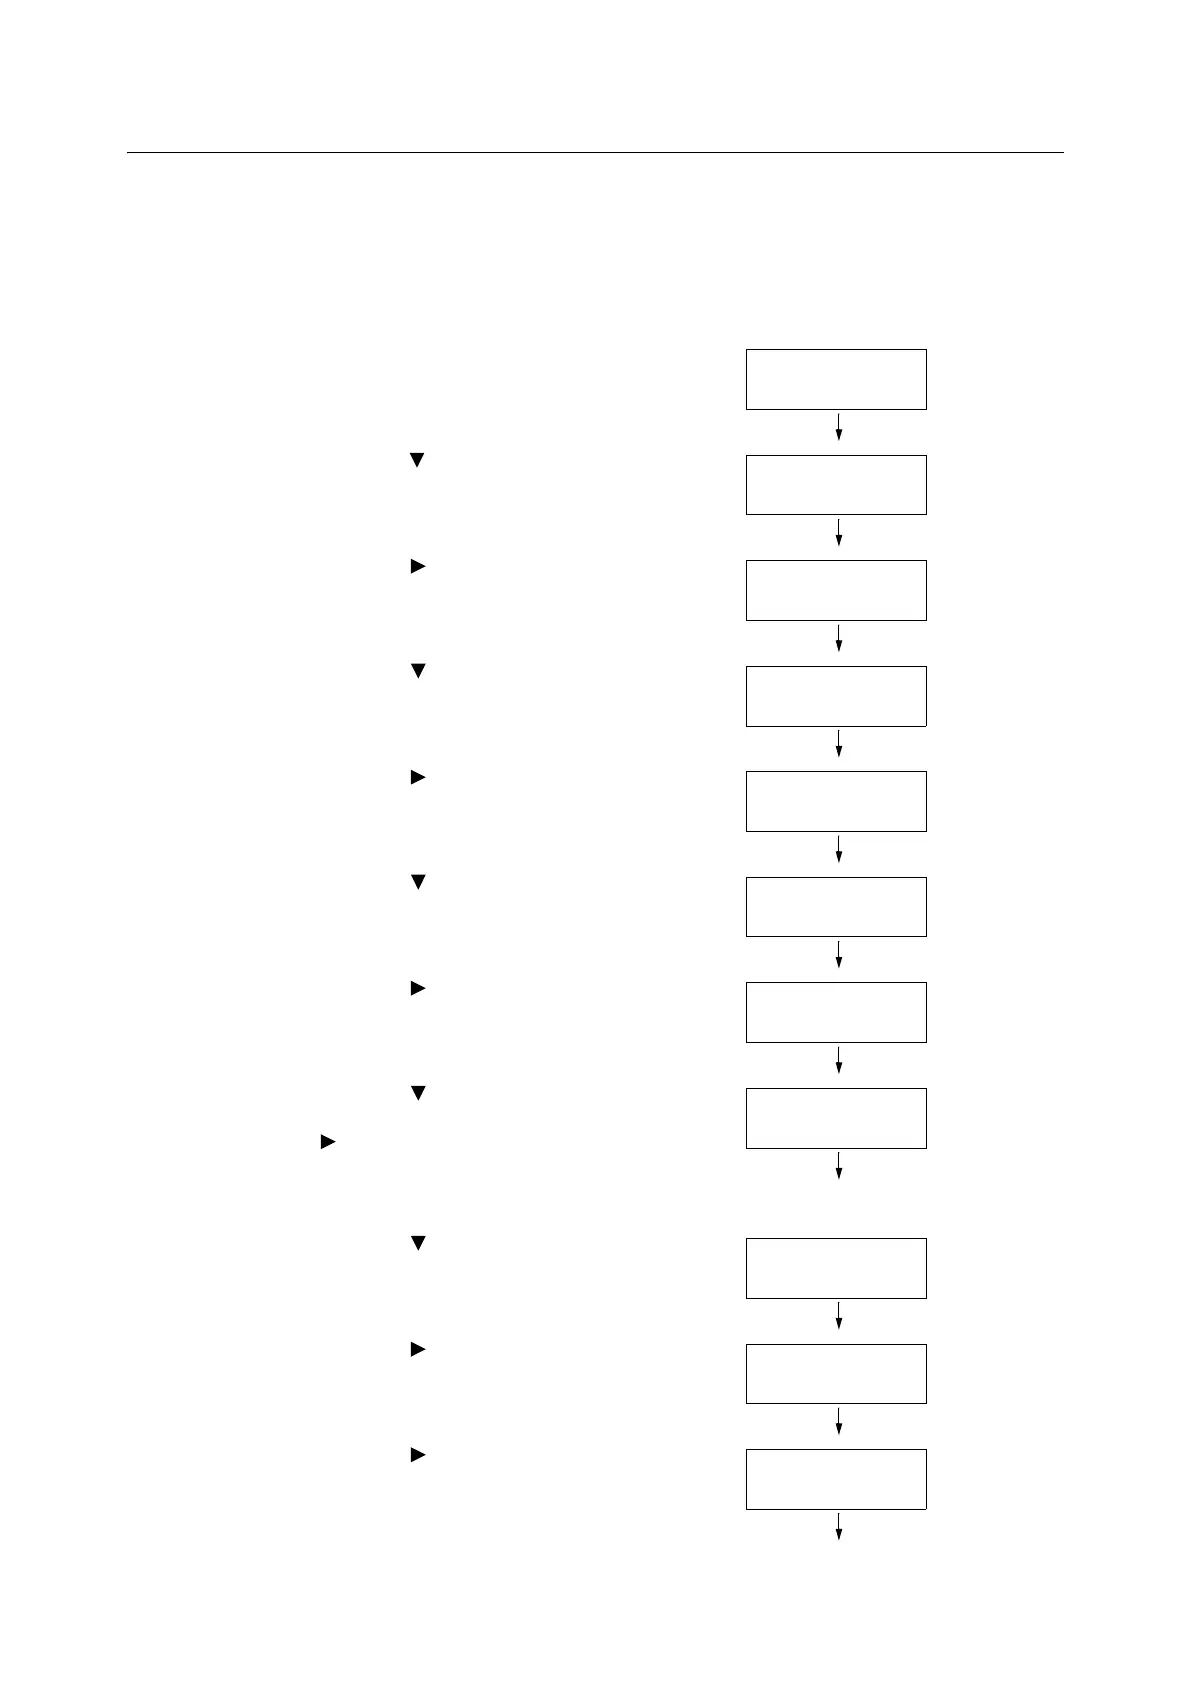
1. On the control panel, press the <Menu>
button to display the menu screen.
2. Press the < > button until [Admin Menu] is
displayed.
3. Press the < > or <OK> button to select.
[Network/Port] is displayed.
4. Press the < > button until [Printer
Settings] is displayed.
5. Press the < > or <OK> button to select.
[Substitute Tray] is displayed.
6. Press the < > button until [Paper Size] is
displayed.
7. Press the < > or <OK> button to select.
[Tray 1] is displayed.
8. Press the < > button until the desired
paper tray is displayed, and then press the
< > or <OK> button to display its current
setting.
The current set value is displayed.
9. Press the < > button until [Custom] is
displayed.
10. Press the < > or <OK> button to select.
[Portrait (Y) Size] is displayed.
11. Press the < > or <OK> button to select.
The current set value is displayed.
Menu
LanguageEmulation
Menu
Admin Menu
Admin Menu
Network/Port
Admin Menu
Printer Settings
Printer Settings
Substitute Tray
Printer Settings
paper size
Paper Size
Tray 1
Tray 1
•
Auto
Tray 1
Custom
Tray 1 Custom
Portrait (Y) Size
Portrait (Y) Size
•
140 mm