292 A Appendix
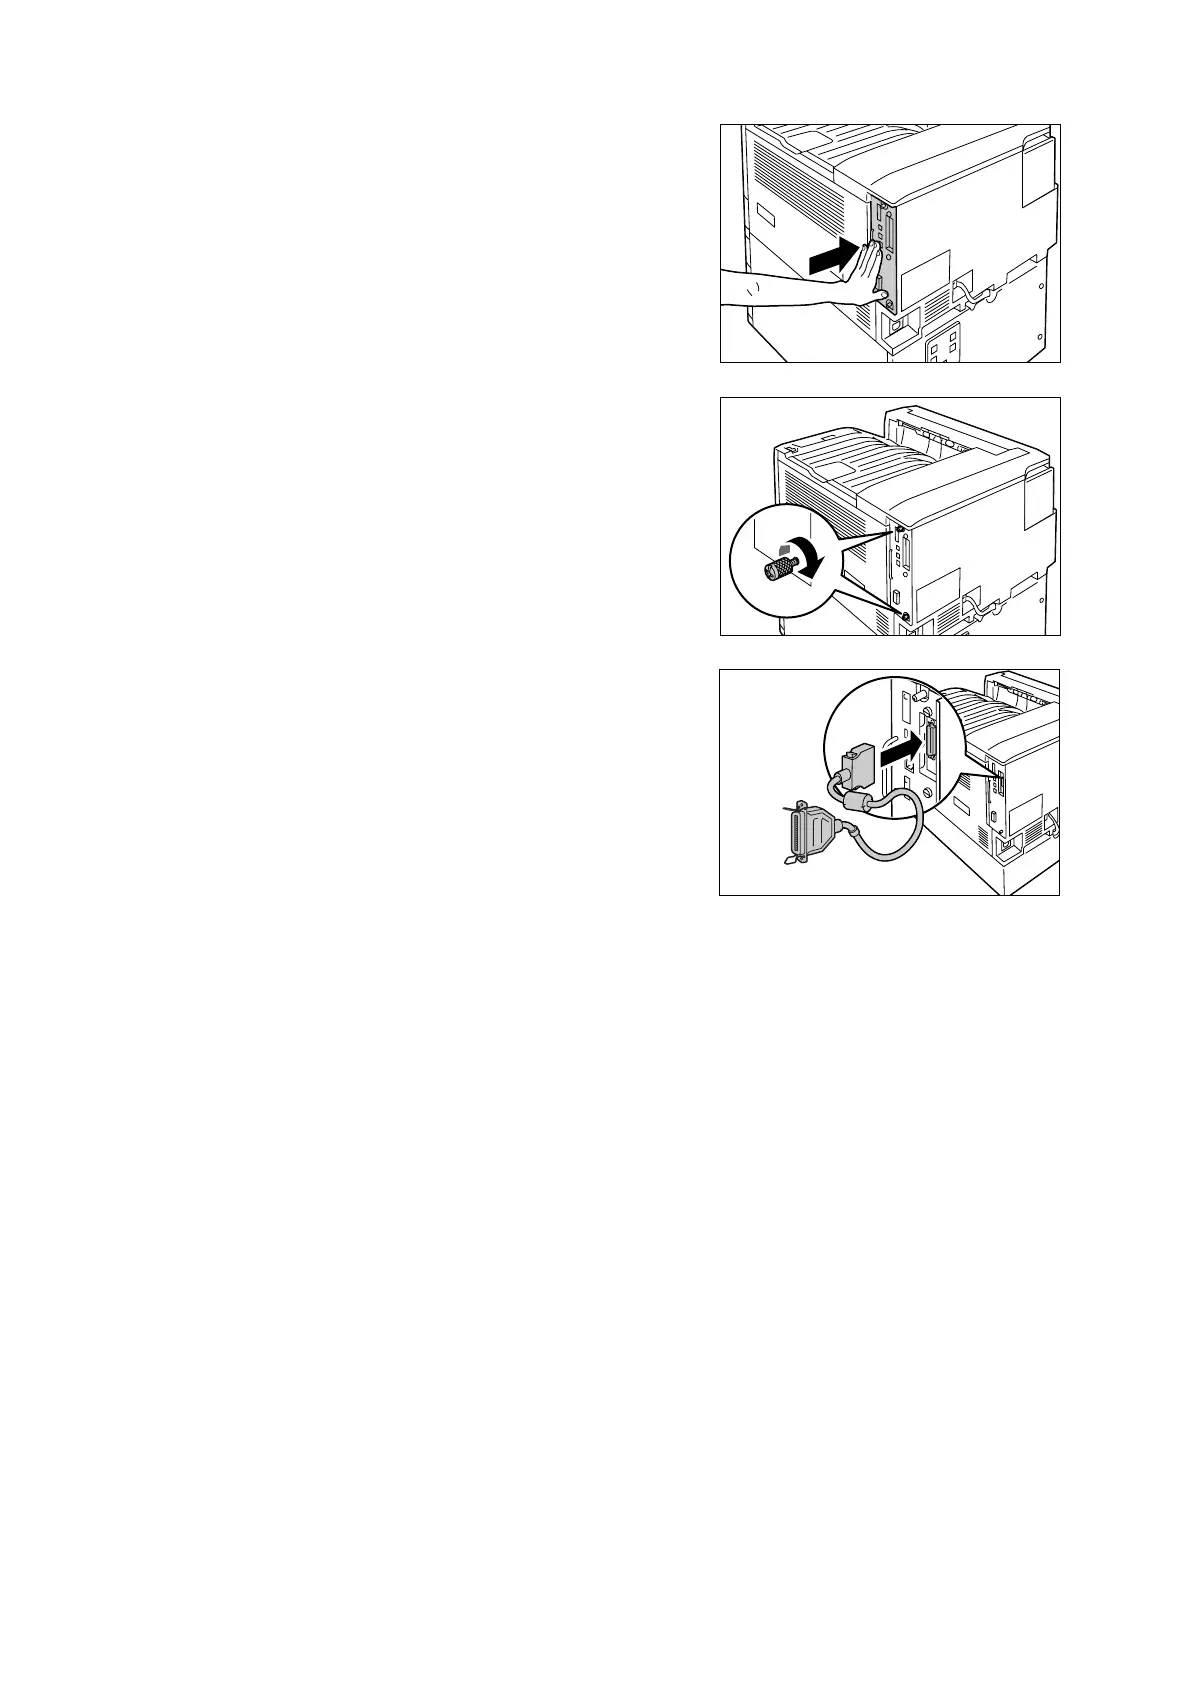
Press the control board in as far as it will
go.
9. Tighten the two screws to secure the
control board in place.
10. Connect the connector conversion cable to
the Parallel Port connector.
Note
• Connect the parallel cable to the connector on other
end of the connector conversion cable. For more
information, refer to “1.2 Connecting a cable” (P. 27).
11. Connect the power cord to the printer.
Press the <|> side of the printer's power
switch to turn on the power.
12. Print the [Configuration Report] and confirm
that [Parallel] is included in the
[Communication Settings] section.
Refer to
• List printing procedure: “Printing a Report/List” (P. 222)
Parallel Port installation is now complete.