198 7 Maintenance
Entering the Density Values
Set the values entered in [Adjustment Value] on the Calibration Chart using the control
panel.
The following shows how to set the high density cyan to “-2”.
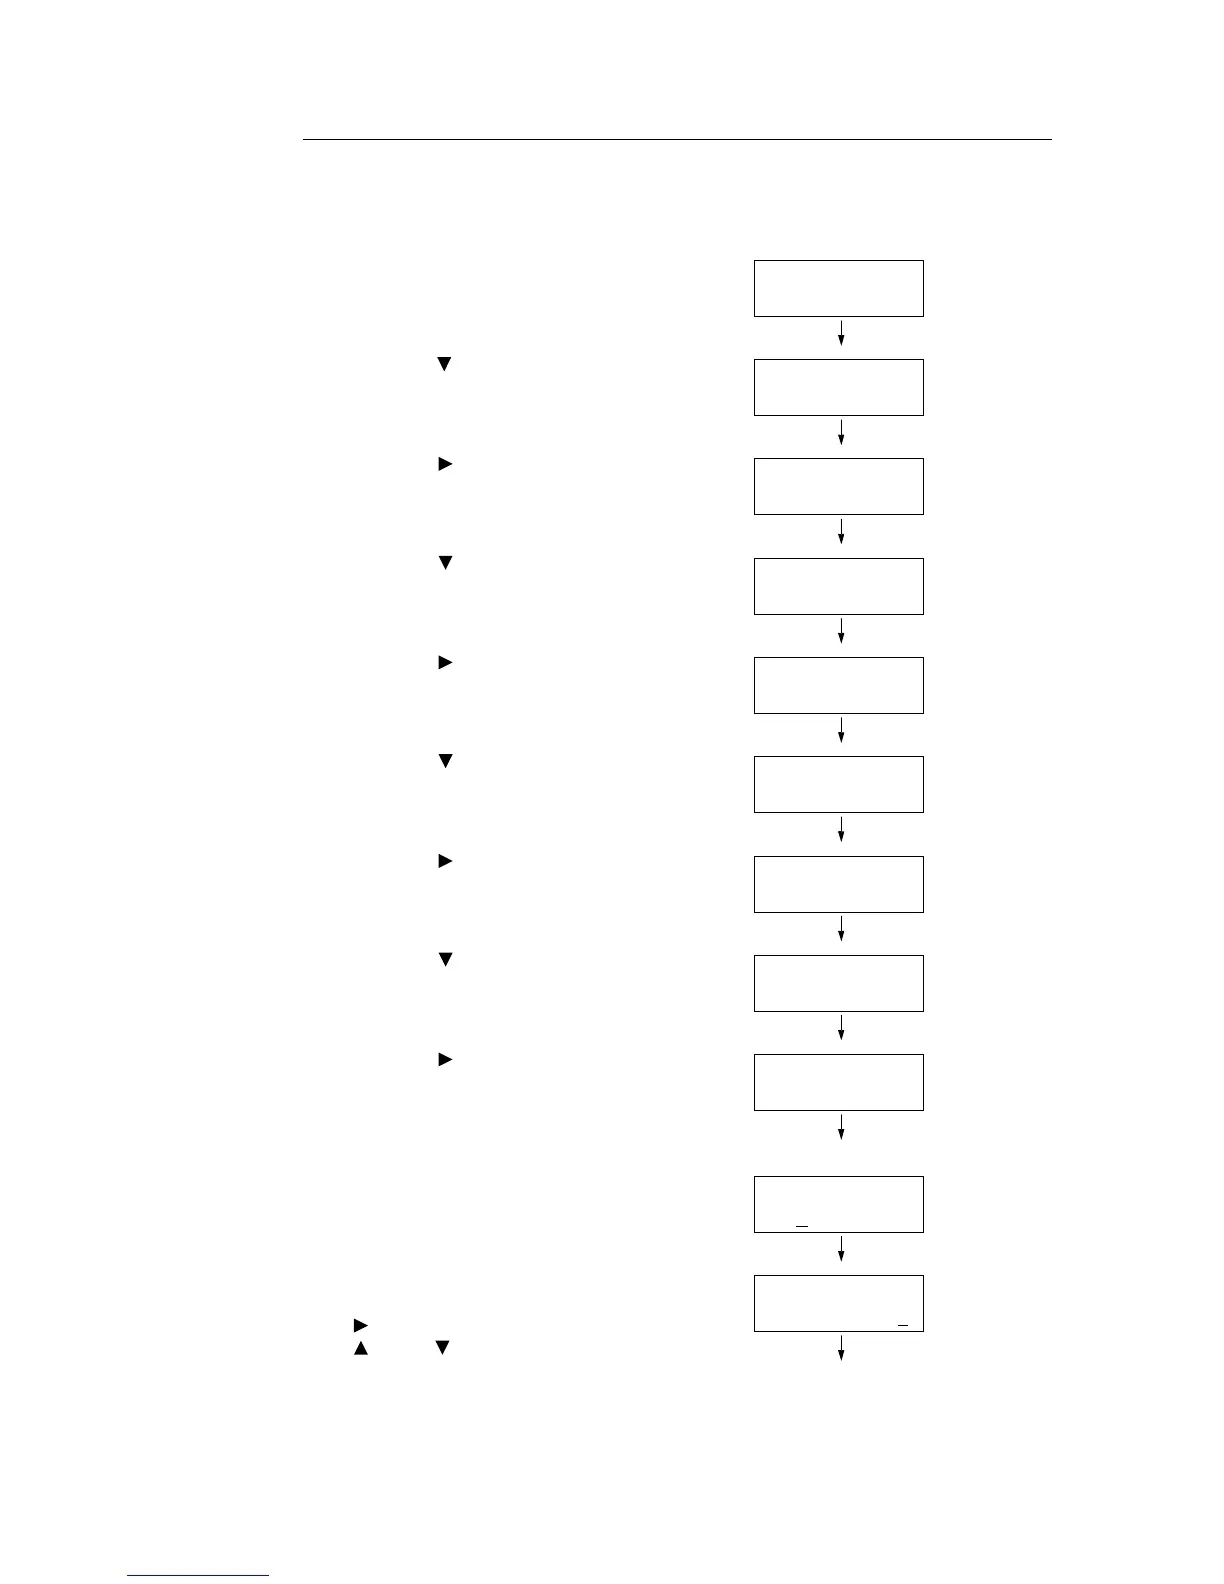
1. Press the <Menu> button on the control
panel to display the menu screen.
2. Press the < > button until [Admin Menu] is
displayed.
3. Press the < > button to accept the
selection.
[Network/Port] is displayed.
4. Press the < > button until [Maintenance
Mode] is displayed.
5. Press the < > button to accept the
selection.
[Adjust Paper Type] is displayed.
6. Press the < > button until [Calibration] is
displayed.
7. Press the < > button to accept the
selection.
[Chart Print] is displayed.
8. Press the < > button to display [Enter
Values].
9. Press the < > button to accept the
selection.
[Cyan] is displayed.
10. Press the <Eject/Set> button.
A screen that allows you to enter the
adjustment value is displayed.
11. Scroll each field (L: low density; M: middle
density; H: high density) by pressing the
< > button and enter the values using the
< > and < > buttons. (Example: H=-2)
Note
• The density values can be entered within the
range of -6 to 6.
Menu
Print Language
Menu
Admin Menu
Admin Menu
Network / Port
Admin Menu
Maintenance Mode
Maintenance Mode
Adjust PaperType
Maintenance Mode
Calibration
Calibration
Chart Print
Calibration
Enter Value
Enter Value
Cyan
Cyan
L= 0,M= 0,H= 0*
Cyan
L= 0,M= 0,H=-2
 Loading...


