Getting Started
Xerox
®
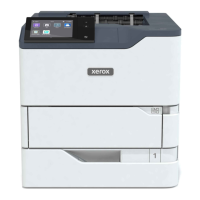
VersaLink
®
B405 Multifunction Printer 35
User Guide
Installation and Setup
For reference:
Installation Guide packaged with your printer.
Online Support Assistant at www.xerox.com/office/VLB405support
Installation and Setup Overview
Before you print, ensure that your computer and the printer are plugged in, powered on, and connected.
Configure the initial settings of the printer, then install the print driver software and utilities on your
computer.
You can connect to your printer directly from your computer using USB, or connect to a network using an
Ethernet cable or wireless connection. Hardware and cabling requirements vary for the different
connection methods. Routers, network hubs and switches, modems, Ethernet cables, and USB cables are
not included with your printer and are purchased separately. Xerox recommends an Ethernet connection
because it is typically faster than a USB connection, and it provides access to the Embedded Web Server.
For more information, refer to the System Administrator Guide at www.xerox.com/office/VLB405docs .
Selecting a Location for the Printer
1. Select a dust-free area with temperatures from 10–32°C (50–90°F), and relative humidity 10–85%.
Note: Sudden temperature fluctuations can affect print quality. Rapid heating of a cold room can
cause condensation inside the printer, directly interfering with image transfer.
2. Place the printer on a level, solid, non-vibrating surface with adequate strength to hold the weight
of the printer. The printer must be horizontal with all four feet in solid contact with the surface. To
find the weight for your printer configuration, refer to Weights and Dimension on page 218, on
page 218. Select a location with adequate clearance to access supplies and to provide proper
ventilation. To find the clearance requirements for your printer, refer to Clearance Requirements on
page 220.
3. After positioning the printer, you are ready to connect it to the power source and computer
or network.

 Loading...