Customizing Your Phone
5
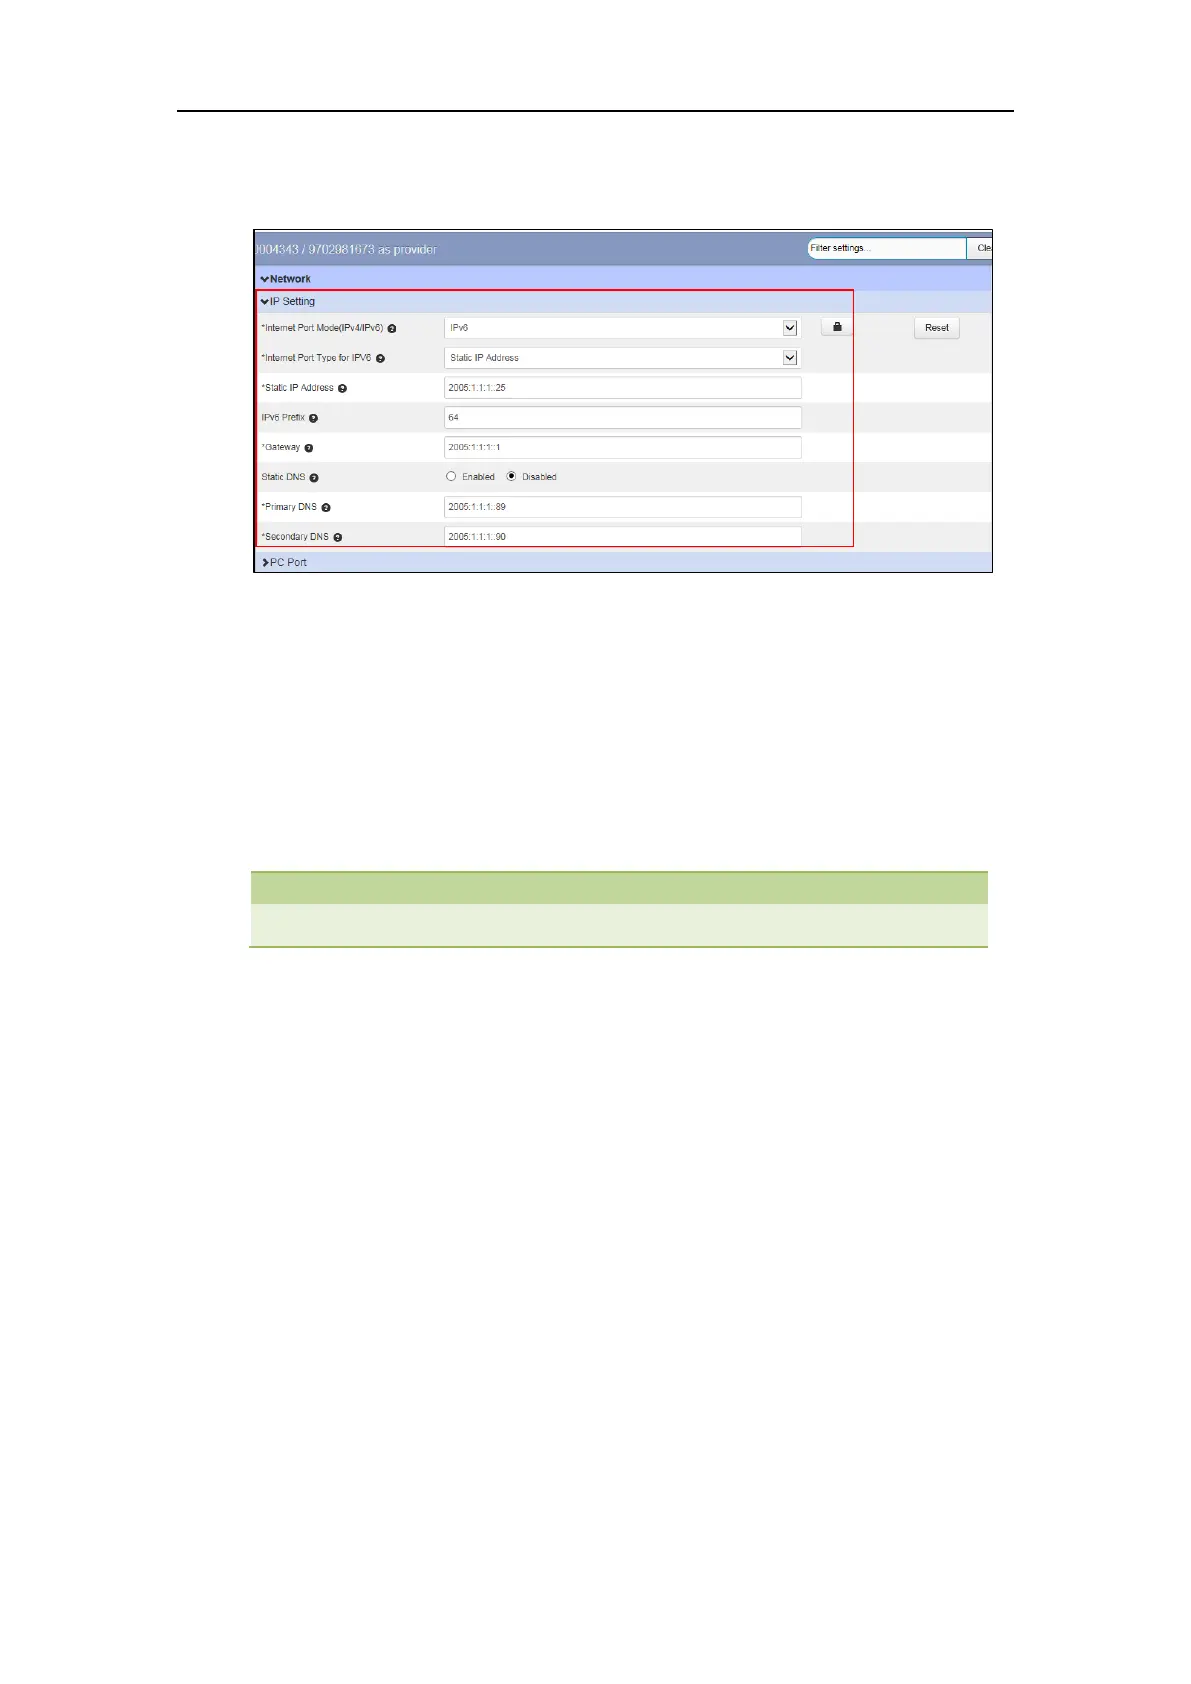
3. Enter the desired values in the Static IP Address, IPv6 Prefix, Gateway, Primary DNS and
Secondary DNS fields respectively.
4. Click Save changes to accept the change.
5. Perform auto provisioning on the phone to download above configurations. For more
information on how to perform auto provisioning, refer to Downloading Configuration Files
on page 39.
Registering Accounts
You can register one or multiple accounts on the SIP IP phone.
To register an account via CommPortal phone configurator:
1. Click Line X->User.
2. Enter the desired values in Directory Number and Display Name fields respectively.
3. Select the desired value from the Description field.
4. Depending on your selection:
- If you select Use directory number, the directory number will act as the account
label to be displayed on the idle screen.
- If you select Use extension, the extension will act as the account label to be
displayed on the idle screen.
- If you select Custom description, you can customize the label to be displayed on the
idle screen in the Custom Description field.
5. Click Line X->SIP Server.

 Loading...