Printer Setup
52
Run the Print Wizard and Print a Test Label
The Print Wizard configures the printer, prints test labels, and adjusts print quality based on the results of
the test labels.
IMPORTANT: When using the Wizards, do not send data to the printer from the host.
For best results, use full-width media running the Print Wizard or Set All Wizard. If the media is smaller
than an image to be printed, the results may be truncated or print across multiple labels.
After you have completed the printer setup procedures and run the printer setup wizard, use this section to
print a test label. Printing this label allows you to see if your connection is working and if you need to adjust
any of the print settings.
1. On the Home screen, touch Wizards > Print > Start Print.
2. Follow the prompts to specify the following information:
• print type (Thermal Transfer or Direct Thermal)
• label type (Continuous, Gap/Notch, or Mark)
• label width
• collection method (tear off, peel-off, rewind, cutter, delayed cut, linerless peel, linerless rewind,
linerless tear, or applicator)
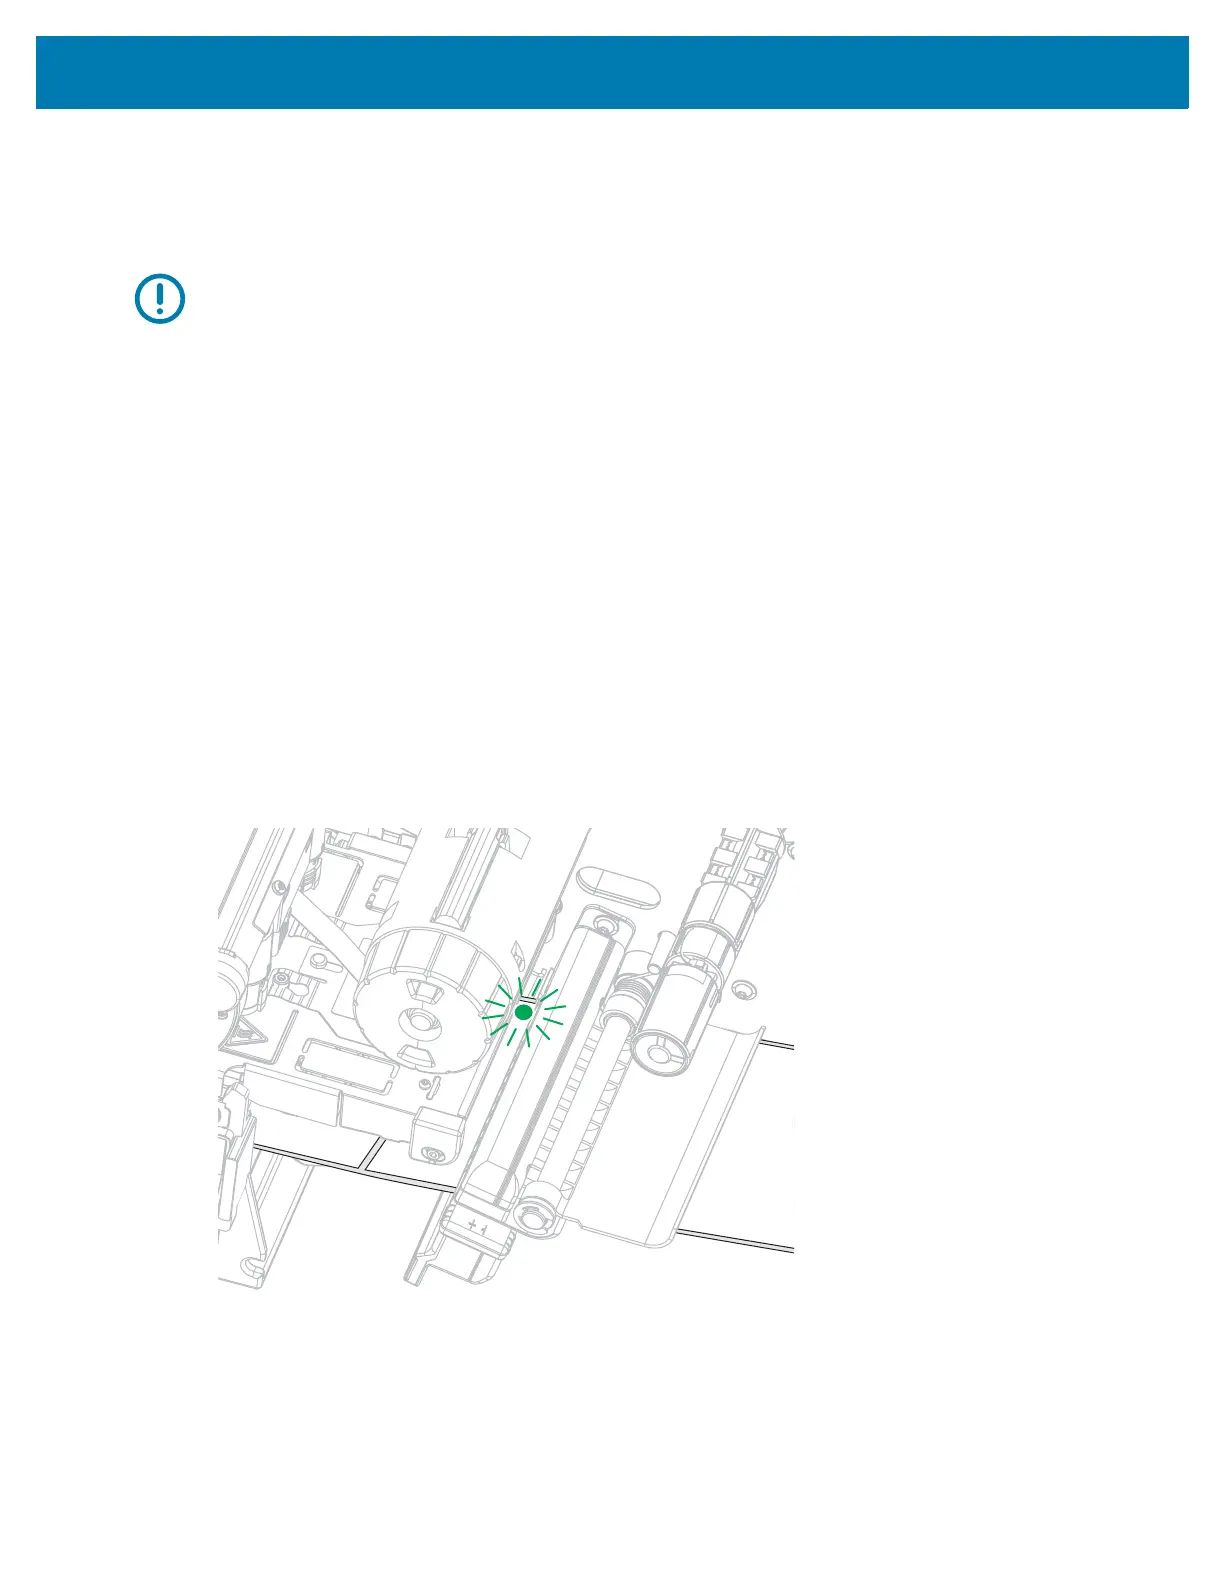
After you have specified these, the wizard instructs you to load media and then to place a label over the
media sensor.
3. Load media so that a label is over the green light from the media sensor, and then touch the check
mark.
4. At the prompt, close the printhead, and then touch the next check mark.
The printer calibrates and then asks if you would like to print a test label.
5. Follow the prompts until the printer completes auto calibration.