Axiovert 40
11/03 B 46-0031 e
2Ć26
• Switch on the microscope, turn the brightness control (2Ć30ā/ā9) to maximum intensity (at right stop:
3200 K). Use an attenuation filter, if necessary.
• Select the specimen detail to be photographed via the binocular tube.
• Switch the path selector (2Ć30ā/ā8) from observation to photomicrography to release the camera light path
thus directing 100 % of the light to the camera.
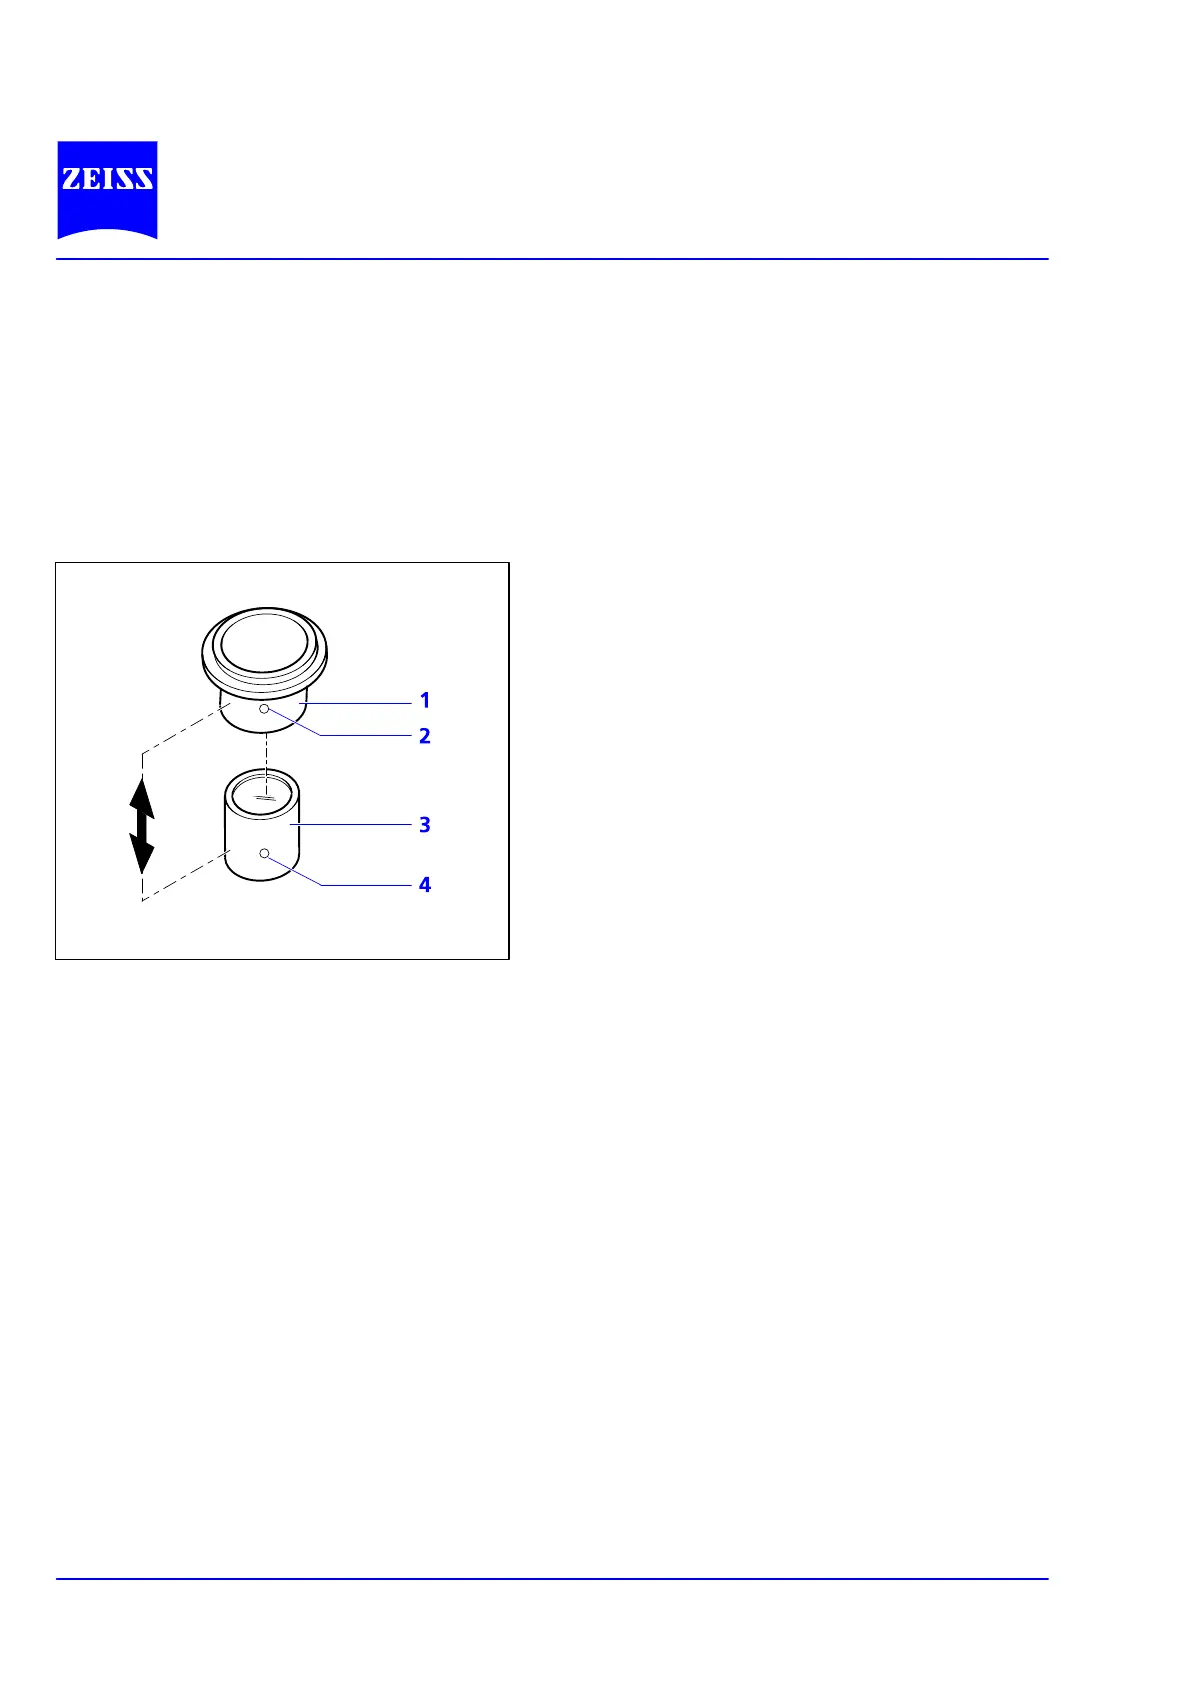
Notes on the adjustment of the digital camera adapter D 40 M37/52x0.75 and the camera settings
Depending on the microscope equipment and the
camera used, it may be necessary to optimize the disĆ
tance between camera lens and lens mount (2Ć31/3)
(see double-headed arrow). This is the case, in particĆ
ular, if it is impossible to obtain an unmasked image
in any zoom position of the camera lens.
Set the camera as follows:
• Switch off the autofocus.
• Set the distance to infinity (∞).
• Set exposure control to aperture-priority auto exĆ
posure.
• Choose an aperture as wide as possible (i.e. a
small f-stop number!).
• Not all cameras provide these options. Please conĆ
sult the operating instructions of the camera.
• Loosen grub screw (2Ć31/2).
• Vary the distance between camera lens and lens mount in steps, i.e. move the sliding mount (2Ć31/1) with
the camera on the lens mount (2Ć31/3) by defined steps.
• Zoom the camera lens from the wide-angle (W) to the telephoto position (T).
• Perform the test until the image fills the frame without masking or vignetting.
• Tighten grub screw (2Ć31/2) again.
If you use a camera/adapter combination not expressly recommended by Carl Zeiss, it is quite possible that
you will be unable to obtain an unmasked image.
Fig. 2Ć31 Adjusting the digital camera adapter