Copyright 1010music LLC 2020
Page 14 of 88
Bitbox Micro User Manual 1.0.7
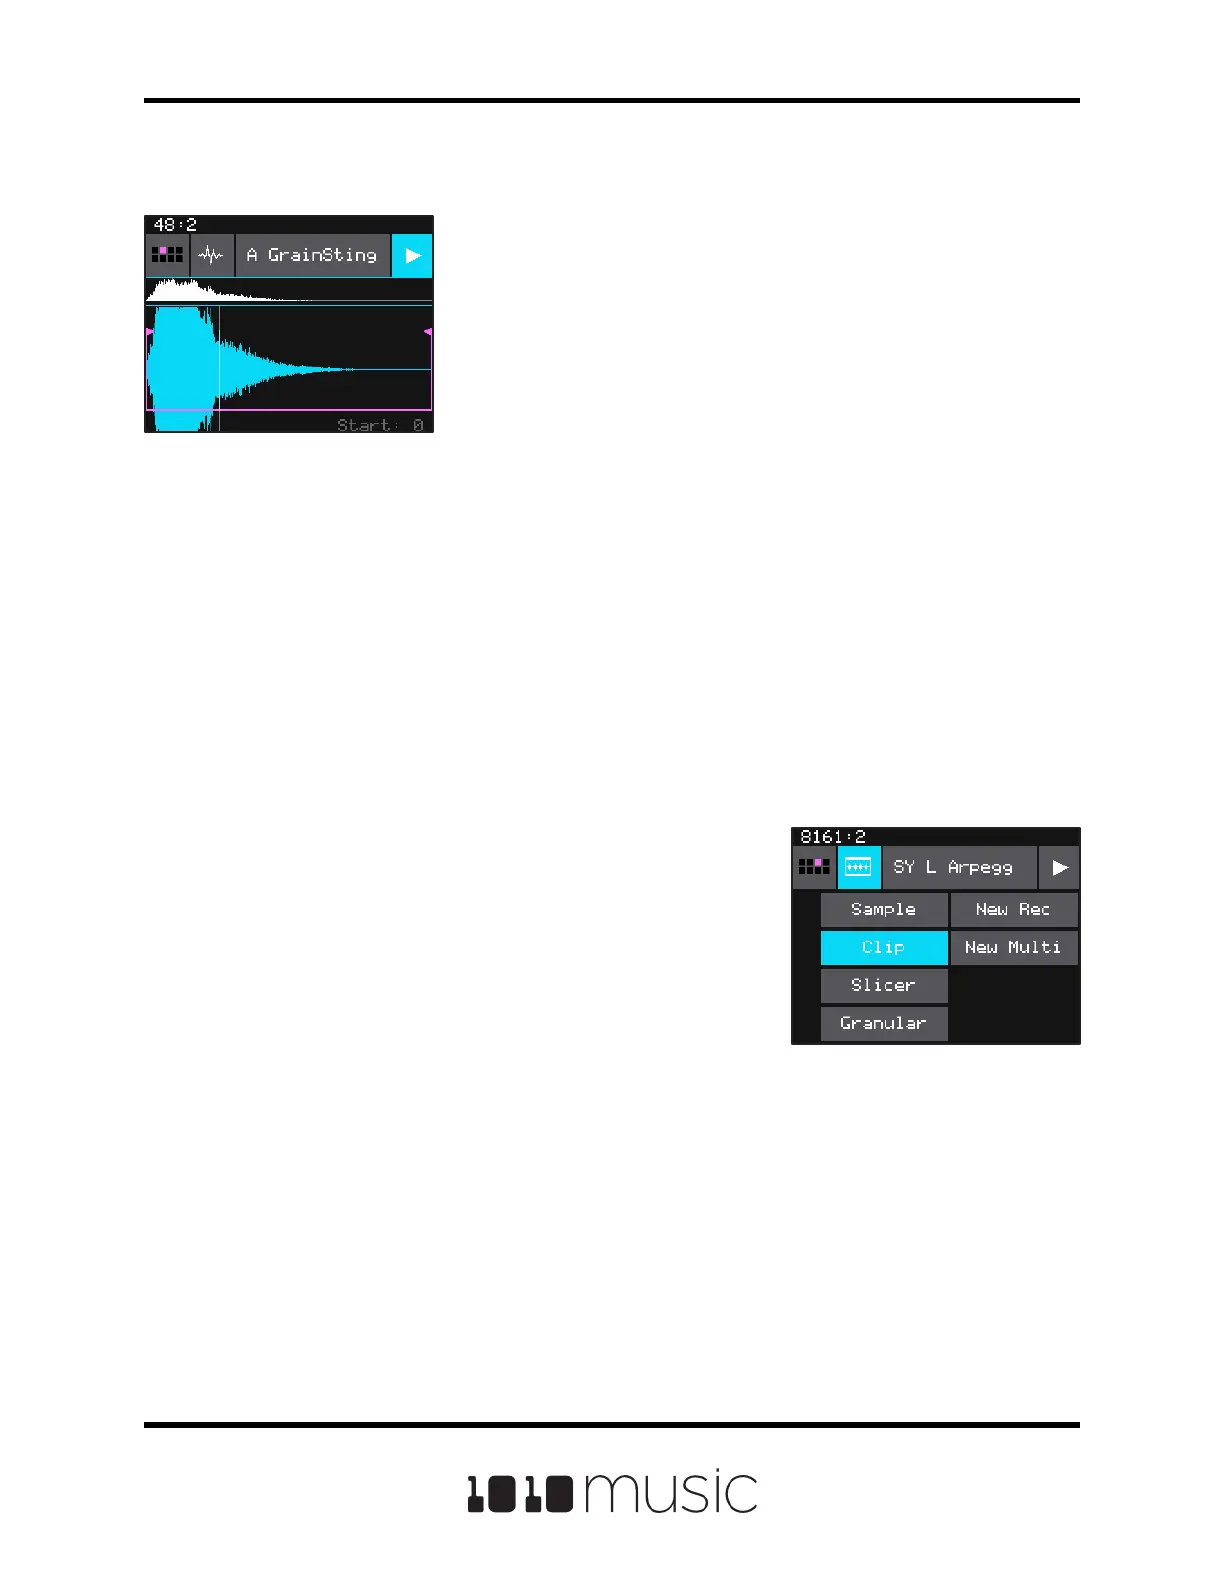
There is a series of buttons across the top of the
Waveform screen. The left button is the Pad Selector
Grid. We will talk about that soon. To the right of that, is
the Pad Mode Selector. Touch this button to display the
list of Pad Modes, then touch a pad mode to select it.
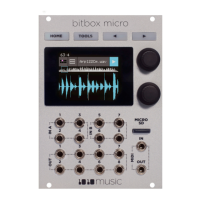
The text in the top row, A GrainSting in the screen shot of
the Wave Screen, is the name of the WAV le or directory
loaded into this pad. It may be shortened here. The
button on the right is the Play button. Touch this button to
playback the WAV le. A white cursor will appear on the
screen to show the current play position, and the large
WAV display will scroll as the current play position moves
o screen.
The Waveform Screen
To congure a pad, touch the pad to select it, then push
the white right arrow button ► above the screen. This will
display the Waveform screen for this pad. There are two
versions of the WAV le displayed on the screen. The
large blue wave can zoom in or out using pinch and
stretch touch gestures. The shorter white wave shows the
entire WAV le. You can touch a spot in the white wave
Waveform Screen
display to change the current display area of the larger blue wave. This can be useful
when dealing with long WAV les.
As you turn the top knob, the text in the lower right corner shows you which parameter
you are controlling with the bottom knob. Turn the top knob to the left to select Start,
then turn the bottom knob to move the pink bracket that represents the audio playback
range for the WAV. Turn the top knob to the right to select Length, then turn the bottom
knob to adjust the width of the pink bracket and the length of the WAV le section that
will be played. If Looping is enabled, a white bracket will appear that represents the
looped range. Turning the top knob will now allow you to select Loop Start and Loop
End.
Pad Mode Selection
Screen
 Loading...