Copyright 1010music LLC 2020
Page 16 of 88
Bitbox Micro User Manual 1.0.7
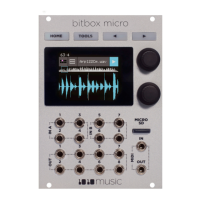
Multi-WAV Recording Screen
At the top of the WAV Recording Screen, is a small
button labeled 1X. This indicates that you are in single
WAV recording mode. Touch this and select Mx to set up
a multiple WAV recording to automate recording of a
sample bank that can be used to create a set of samples
of various pitches to use in Multi-Sample mode. We will
discuss multi-sample mode and automatic sample bank
recording later.
Multi-Wav Recording
Screen
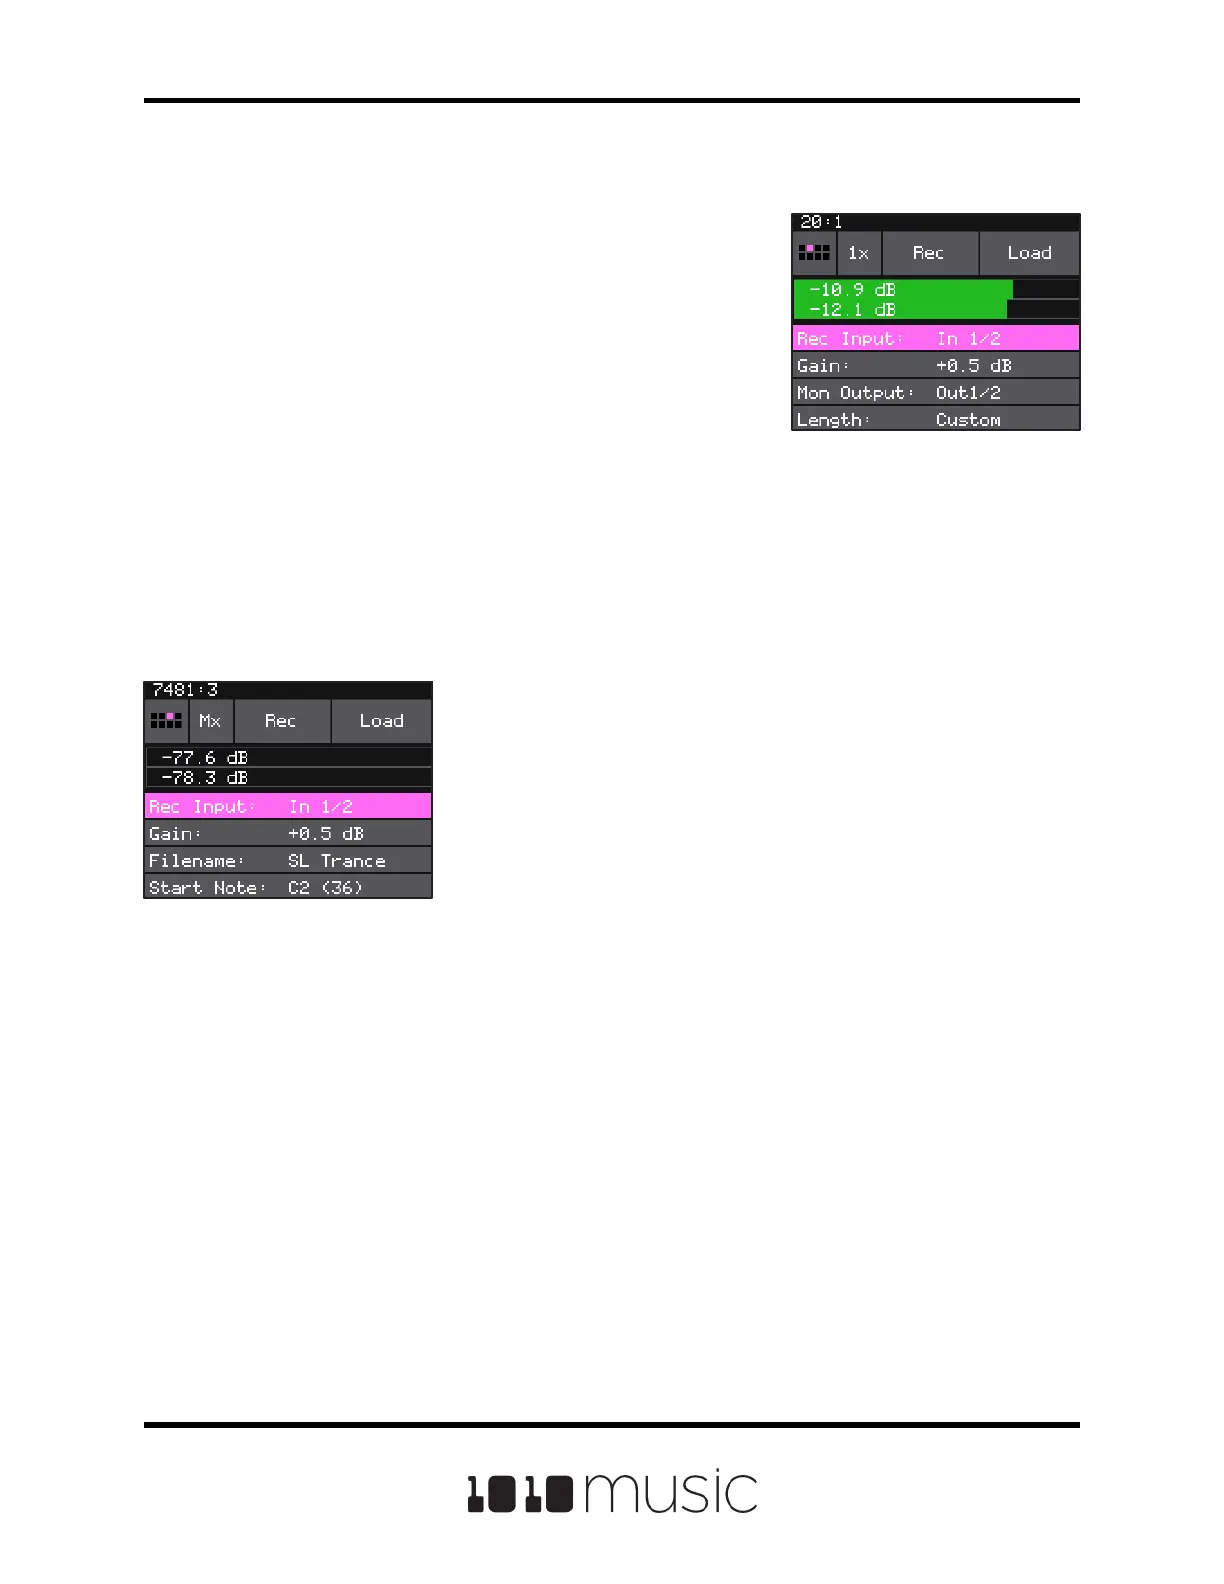
WAV Recording Screen
If you push the right arrow button above the screen while
on an empty pad, you will see the WAV recording screen.
You can also get to this screen by selecting New Rec
from the Pad Mode menu. Before you record, you will
need to go into the Inputs screen and congure inputs 1
and 2 for audio. Once that is done, a level meter appears
above the list of recording parameters. Scroll through the
parameters and set the options for this recording session.
Then touch Rec at the top of the screen to begin
recording. Push Stop to end recording. The le will be
given a default name and will be stored on the microSD
card. Bitbox micro will then take you to the Pads screen.
Wav Recording Screen
 Loading...