Pannoramic MIDI 1.18 User’s Guide 4 Software Description
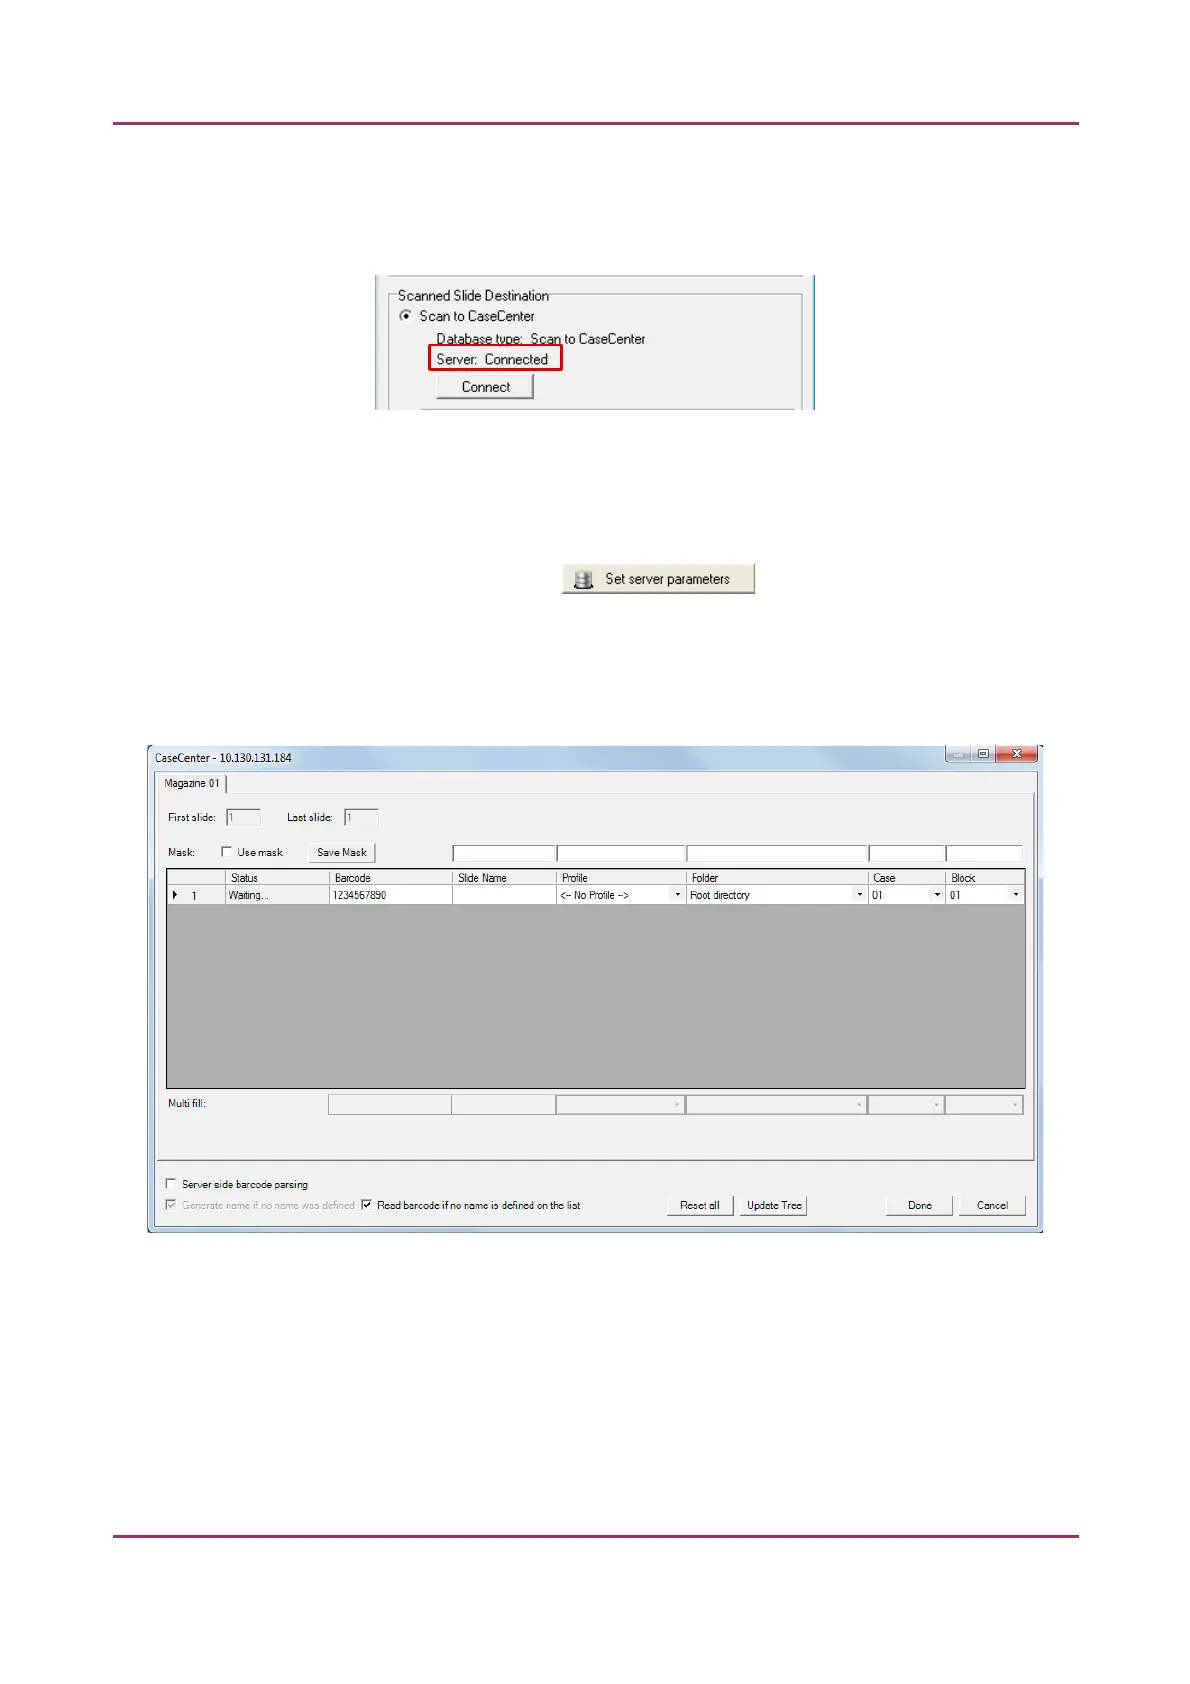
4. Click the Connect button in the Scan Options window to connect to the server. If the
connection is established the server status will be modified from Not connected to
Connected. Click OK to close the Scan Options window.
Figure 68 – Connected to server
Slide settings in the Scan To Server window
1. In the Routine work panel, click the button.
2. The Scan To Server window opens.
• Slide data is displayed in a form for the slides loaded in the tray. If in Manual Mode,
only the data of the actually loaded slide can be set (see Figure 69), and when in
Automatic Mode, the form contains 12 rows for all the slots on the tray (Figure 70).
Figure 69 – Scan To Server window in Manual Mode
April 3, 2014 - Rev 1 3DHISTECH Ltd. 101(127)