ZPrinter
®
350 / ZPrinter
®
450 User Manual Setup And Print The Build
3dscentral.3dsystems.com 27 All Rights Reserved
10/31/12
2.10 Depowder the Part
Your part prints and dries in the Build Bed surrounded by unused powder. You will need to remove unused
powder from the Build Bed after the drying cycle is finished.
Depowdering is done in two stages: gross depowdering, which removes the powder around the part in the
Build Bed; and fine depowdering, which removes any powder clinging to the part itself.
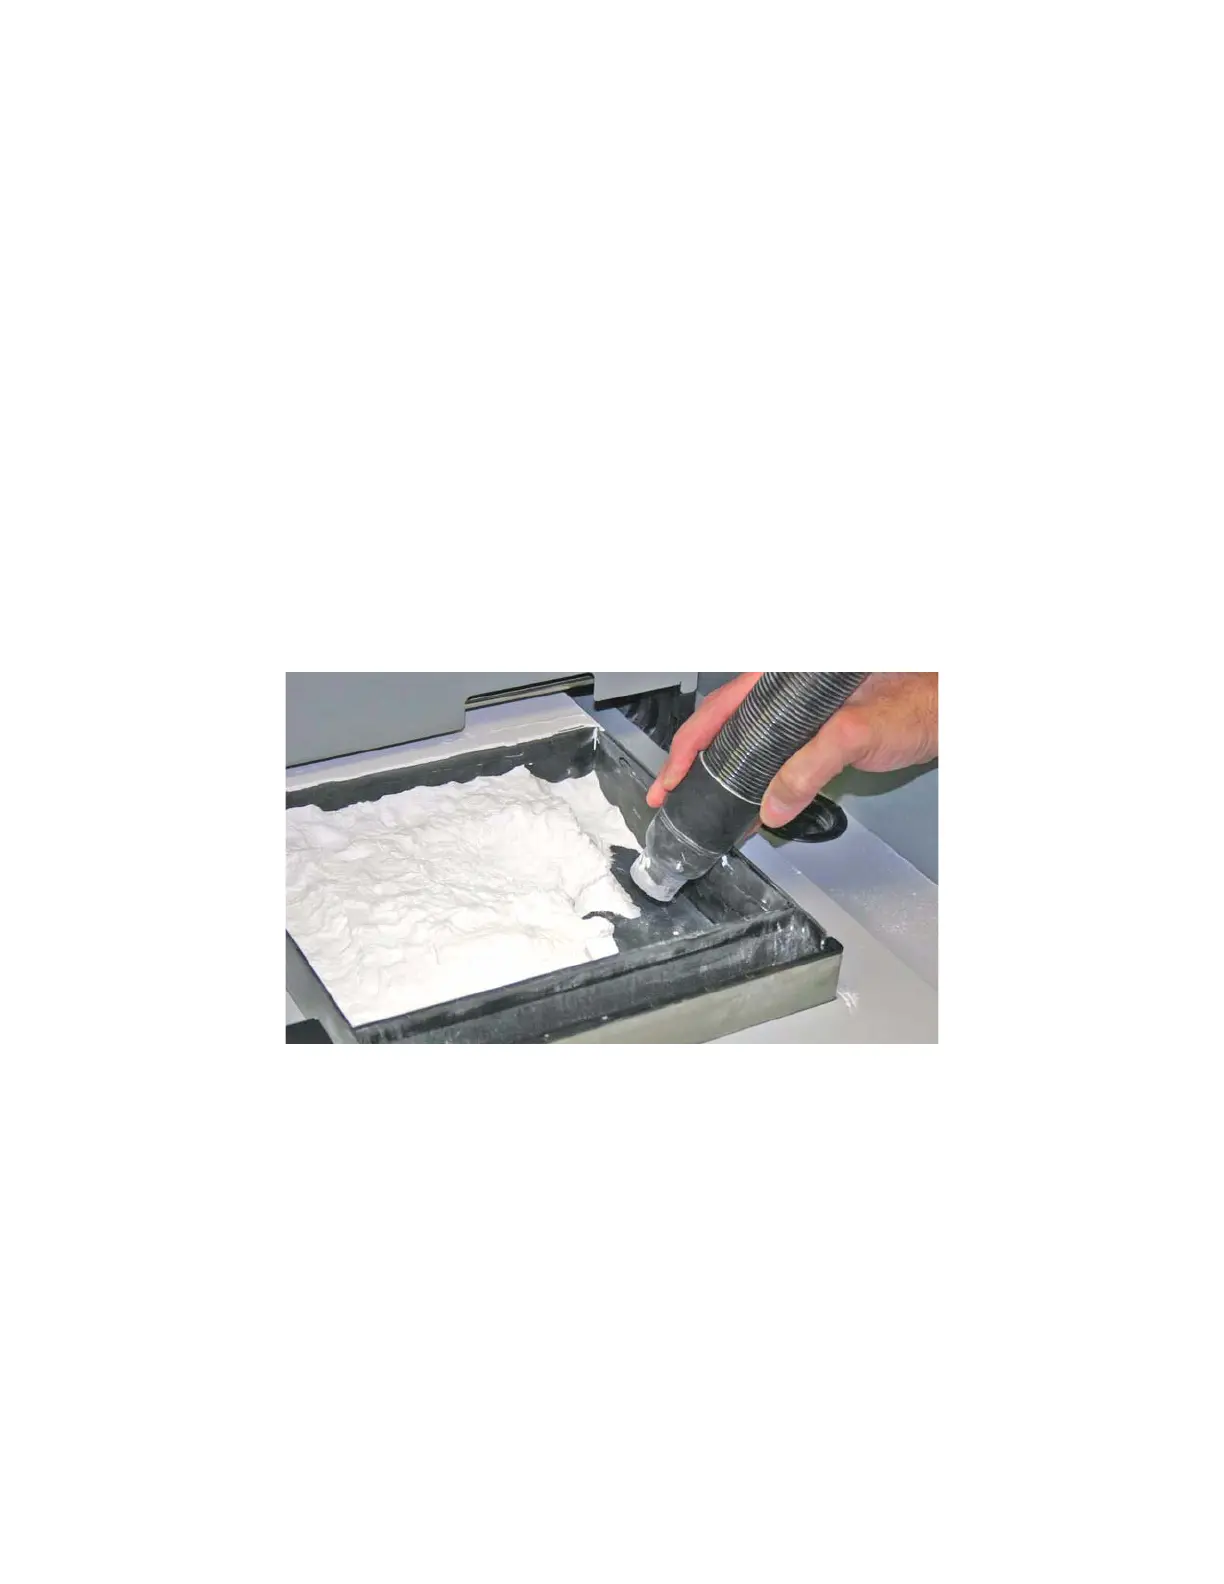
2.10.1 Manual Gross Depowdering
Manual Gross Depowdering involves using the built-in vacuum hose to pull unprinted powder from around
the part
1. Before you begin vacuuming, check the part orientation in ZPrint to avoid damage to your part.
2. Close the printer top cover.
3. On the LCD Display, select
VACUUM & DEPOWDER.
4. Open the printer top cover. The vacuum starts. Use the Control Knob to move the Build Platform up as
you vacuum. Unused powder that is vacuumed from the Build Bed is recycled back into the printer
Feeder so it can be used for future builds.
Important: For delicate parts, or parts with especially delicate features, it is recommended that you
build the part with a Fixture. Refer to the ZPrint User Manual for details on adding a Fixture.
2.11 Automated Gross Depowdering (AGD) (ZPrinter 450 only)
During Automated Gross Depowdering (AGD), the build platform vibrates to loosen the excess powder,
and the integrated vacuum system pulls the powder down through holes in the build platform and recycles
it to the feeder.
To utilize this feature, select the Empty Build Piston After Printing option in the Printer Status dialog.
If you did not select the Empty Build Piston After Printing option but would still like to utilize this feature,
you may do so at the printer. Select Build Chamber > Empty Build Chamber on the LCD menu to start
the Automatic Powder Removal cycle.
Important: For delicate parts, or parts with especially delicate features, it is recommended that you
build the part with a Fixture when using the Automatic Powder Removal feature.
If a part is too delicate to handle the low-level vibration during the Automatic Powder Removal cycle,
uncheck the Empty Build Piston After Printing option and manually excavate the part using the vac-
uum hose.