RC
RA
RB
+24V DGND DCOM SGND S+
DI1
DI2
S1
S2
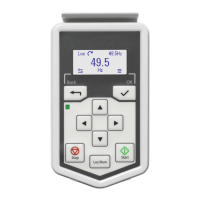
Connecting a PC
To connect a PC to the drive, there are two alternatives:
• If you have an ACS-AP-… assistant control panel attached to the drive, connect the PC
through it. Use a USB type A – USB type Mini-B cable between the PC and the panel.
The maximum permitted length of the cable is 3 m (9.8 ft).
• If you have the RDUM-01 blank panel, or CDPI-02 panel bus adapter attached, connect
the PC through it. Use a BCBL-01 USB to RJ45 converter.
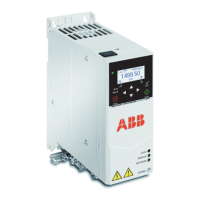
Installing options
The drive has two option module slots:
• Front option: Communication module slot under the front cover.
• Side option: Multifunction extension module slot on the side of the drive.
Refer also to the fieldbus module manual for the installation instructions. For other option
modules, see:
•
BAPO-01 auxiliary power extension module (page 165)
•
BIO-01 I/O extension module (page 169)
•
BREL-01 relay output extension module (page 173).
■ Installing a front option
WARNING!
Obey the safety instructions of the drive. If you ignore them, injury or death, or
damage to the equipment can occur.
If you are not a qualified electrical professional, do not do installation or
maintenance work.
1.
Stop the drive and do the steps in section Electrical safety precautions (page 14) before
you start the work.
2. Loosen the locking screw of the front cover and lift the front cover up.
3. If the option module has a locking tab, pull it up.
4. Carefully align the option module with the option module slot in the front of the drive.
5. Fully push the option module into position.
6. If applicable, push the locking tab down until it locks.
7. Tighten the locking screw to fully attach and electrically ground the front option.
8. Connect the applicable control cables.
84 Electrical installation – North America
 Loading...