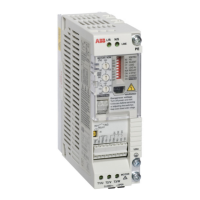
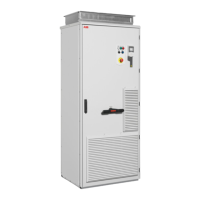
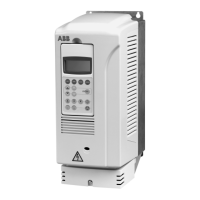
92 Installation example of drive module with IP20 shrouds (option +B051)
Required parts
Required tools
• Set of screw drivers (Torx and Pozidriv)
• Set of metric magnetic-end hexagon sockets
• Torque wrench
• Step drill bit for drilling the holes in the clear plastic shroud for input power cables.
Overall flowchart of the installation process
Drive module standard parts
• Drive module
• Fastening bracket
• Pedestal guide plate
• Telescopic extraction and insertion ramp
• Fastening screws and insulators in a plastic bag
• External control unit
Rittal parts
Rittal part code Qty
(pcs)
Description
TS 8606.500 1 Enclosure without mounting plate, bottom plates and side panels.
TS 8612.160 5 Punched section with mounting flange, outer mounting level for 600 mm
horizontal
TS 4396.500 Support rails
SK 3243.200 4 Air filter 323 mm × 323 mm. Remove the filter mats.
Customer-made parts (not ABB or Rittal products)
Air baffles 2 See section Preventing the recirculation of hot air on page 45 and section Air
baffles for the drive module with option +B051 on page 136.
Step Task For instructions, see
1 Install the Rittal parts, drive bottom guide plate
and loose drive options in the drive module
cubicle.
Installing the drive module into a cabinet on
page 93 and installation drawings on page
175.
2 Install the auxiliary components (such as
mounting plates, air baffles, switches, busbars
etc.).
The component manufacturer’s instructions
Preventing the recirculation of hot air on page
45.
Attach the drive module to the cabinet Step-by-step drawings for an installation
example of drive module with options +B051
and +E208 in Rittal TS 8 600 mm wide cabinet
on page 175.
Connecting the power cables and installing the
shrouds on page 93
3 Connect the power cables and clear plastic
shrouds to the drive module.
6 Connect the control cables. Connecting the control cables, page 82
7 Install the remaining parts, for example, cabinet
doors, side plates, etc.
The component manufacturer’s instructions.
Installing the roof and door on page 95

 Loading...