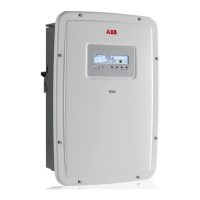
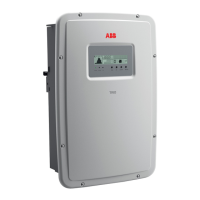
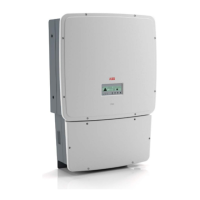
Commissioning
Do not place objects of any kind on the inverter during operation!
Do not touch the heat sink while the inverter is operating!
Some parts may be very hot and could cause burns.
Before proceeding with commissioning, make sure you have carried out all the checks and
verications indicated in the preliminary checks section.
Pre commissioning inspection
Before commissioning the inverter conrm that all installation procedures
have been completed. In particular:
- conrm the grid standard have been setted
- conrm the grid type (3WIRES/4WIRES) have been setted
- conrm the covers are well installed
- conrm all cover screws were reinstalled and torqued
- leave the disconnects OFF
- conrm all the openings (cable gland, quick t connectors, etc.) are
sealed and water tight
- conrm the disconnect switches (external and on the inverter) are open
Commissioning procedure
The commissioning procedure of the inverter is as follows.
- Close (turn ON) the internal and/or external DC disconnect switch.
Watch for the green “Power” LED to begin ashing a few seconds after
the DC disconnect is closed.
- Wait for the yellow “alarm” LED to light up and remain on, indicating
there is no AC mains.
- Close (turn ON) the internal and/or external AC disconnect switch.
- Watch for the yellow LED to turn off, while the green LED continues
to ash while the inverter runs self-tests and grid checks. The time
required varies from ~30 seconds to a few minutes, depending on the
grid condition and standards.
During the initialization phase the inverter may automatically run some rmware updates
in its various microprocessors; during this phase, the LED will ash in sequence. Await the
conclusion of this operation which will be highlighted by the rapid ashing three times, the
LEDs.
 Loading...