Real Time Triplex Stand Alone DVR
52
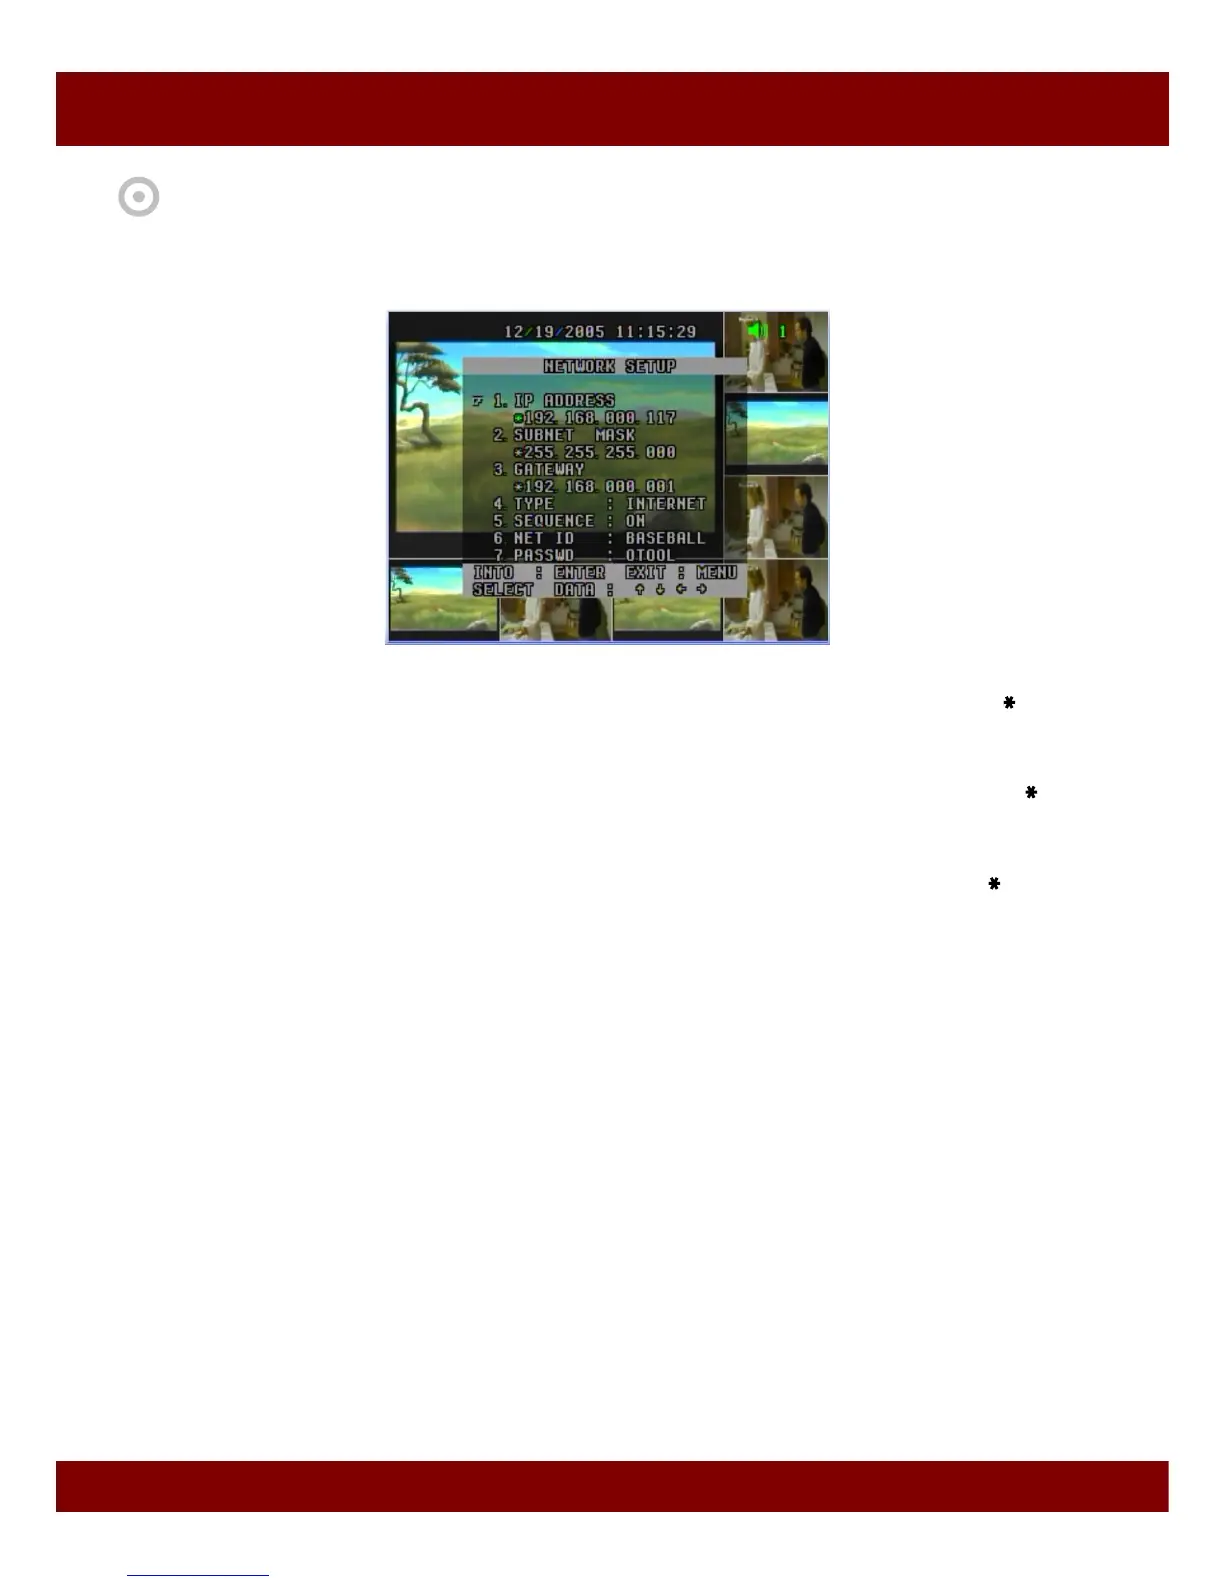
6. Network Setup
To monitor and control videos remotely through network, you need to input the correct values.
CHAP 3. SETUP MENU
6.1 IP Address *000.000.000.000
Set IP address of your DVR using arrow buttons. To move to other sub-menu, move cursor to position first,
then press up or down button.
6.2 Subnet Mask *255.255.255.000
Set Subnet Mask of your DVR using arrow buttons. To move to other sub-menu, move cursor to position
first, then press up or down button.
6.3 Gateway *000.000.000.000
Set Gateway of your DVR using arrow buttons. To move to other sub-menu, move cursor to position first,
then press up or down button.
6.4 Type INTERNET / INTRANET
- Internet : It is recommended in Internet connection. And its display speed is slower than “INTRANET”, but
it guaranties no crashed video at any network traffic condition.
- Intranet : It is recommended in Intranet connection. Its display speed is faster than “INTERNET”. But the
video will be crashed, if the network condition is not fast enough.
Set INTERNET/INTRANET using Left/right button.
6.5 Sequence ON / OFF
- ON : It is recommended in Internet connection. It sends each channels sequentially, so Client can receive
each channels at same speed. But if network traffic is low, it will cause lower speed of transmission.
- OFF : It is recommended in Intranet connection. Some channels will be updated slowly comparing others.
6.6 Network ID ******** ( up to 8 letters)
6.7 Password ******** ( up to 8 letters)
You Must Register Your Network ID using Network Viewer first.
Press Enter button and set Network ID & Password using direction button.
To access DVR through Network Viewer program, you need to set same Network ID & Password to DVR.
To return to main menu, press MENU button. (All setting is in effective after when you exit the menu.)