!"##"$"%"&%*""#
Page ())of (()XM_unity_Installation&Maintenance_Manual Ed.1.3c2013
(54=454
After completed mechanical operations of replacement of the cone, follow the instructions below to modify CONTROL UNIT
configuration and select the cone installed.
To modify cone selection it is necessary enter in the dedicated “SERVICE” menu.
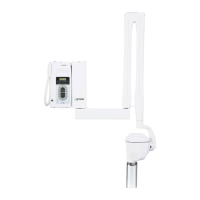
9. Press and keep pressed keys
and for 5 seconds till the message “SET” is shown on the display.
10. After a couple of seconds is shown the first parameter, in the bottom part of the display is shown the name of the
parameter.
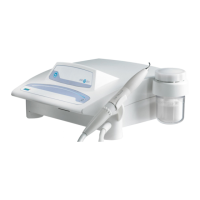
11. Use keys to scroll parameters.
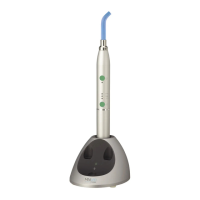
12. When it is shown the parameter “CONE TYPE” press
key to enable modification.
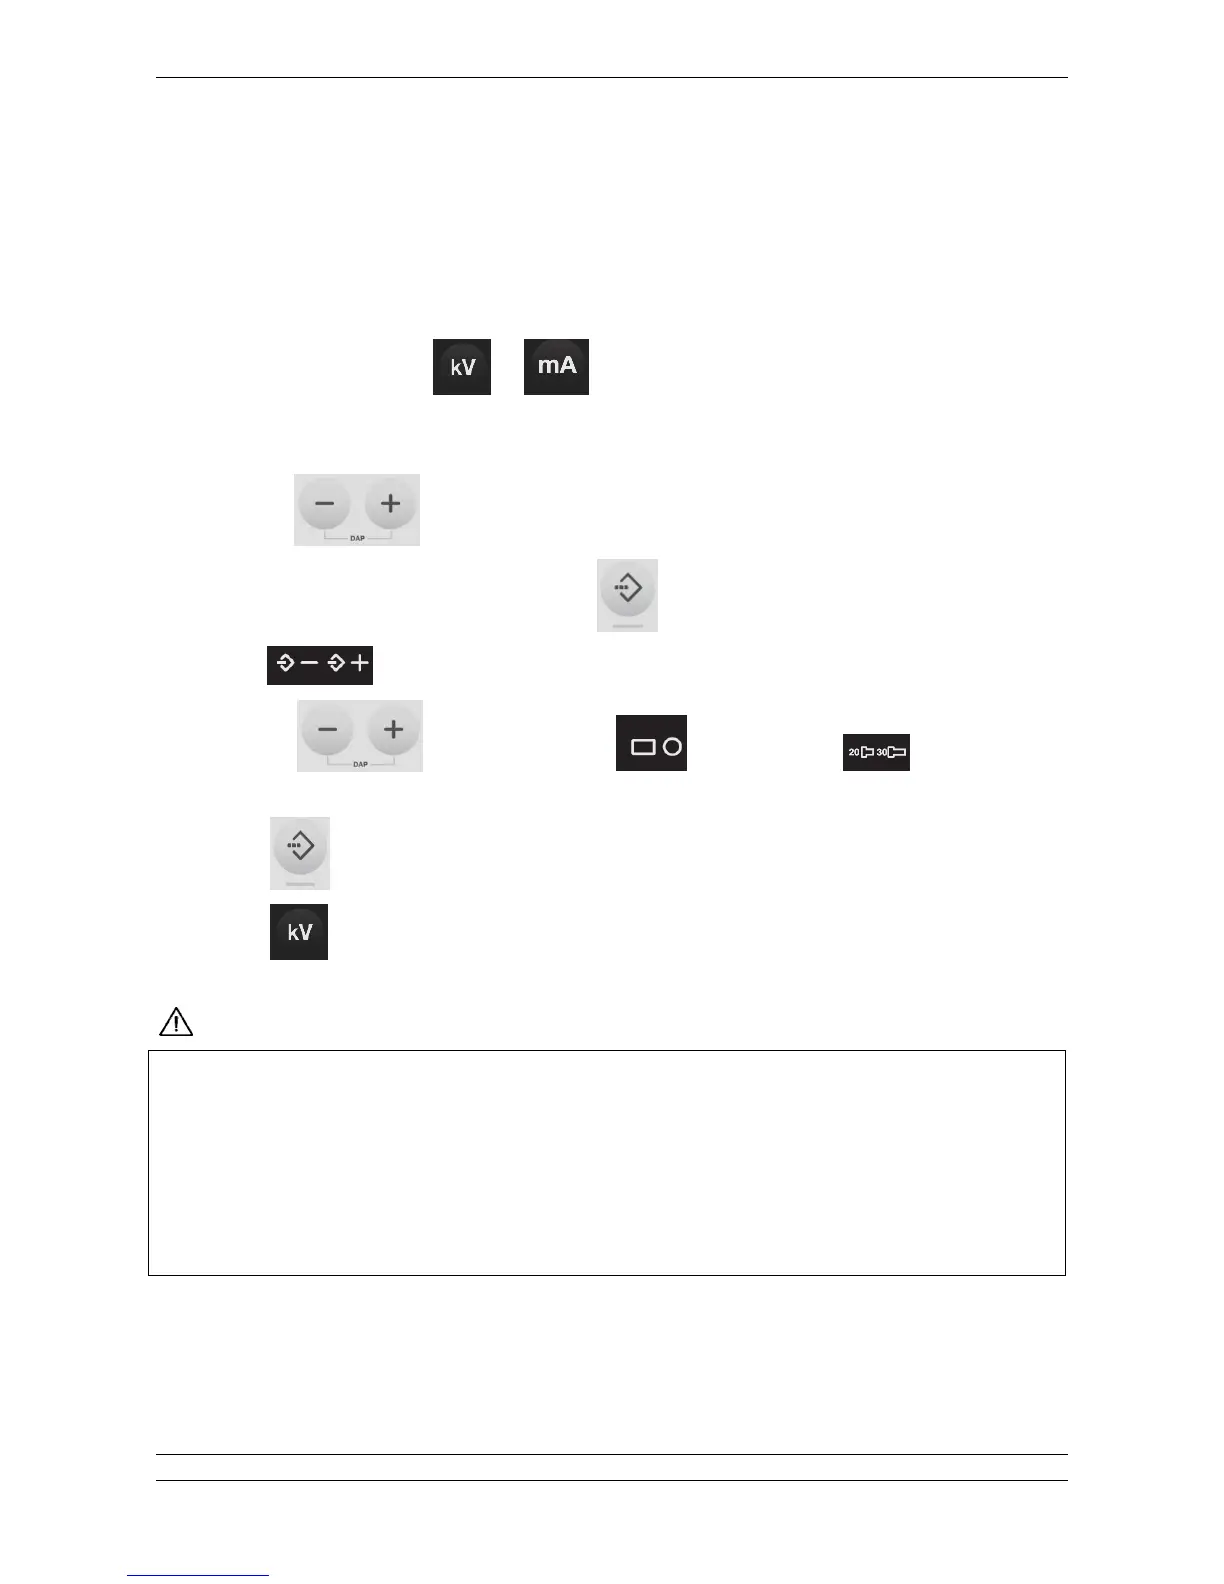
13. Icons
start blinking.
14. Use keys to scroll available settings, rectangular or round, short or long (only for
round type).
15. Press key to confirm and save the selection.
16. Press
key to exit from menu.
/%-%/%8 3% -%"//*%!$$.3%8%"*#*H/%2&%!"##%/4
&%3%&$%3"!8%%&3"H%/!*"/"$0 $-/"%3%%0"#!%H!$.3%60" &$0$#"&&$0/H$3%
!0&$! !--#%/ $0/%0 $ 8% !0% 3" $M0% %..%&2%# !H 3% !"*% &$% -% "/ !:% /&"%/ $ 3%
/!-#" $.3%&$0$#G$3%01!%"##3%-0%-0$H0"**%/%6-$!0%!%H!"/0%#%2"/$!%0%#"%/.$0*"$1##
8%&$*-#%%# &$00%&R
&&$0/H$3%-"0"H0"-3')54B4=4;$.3%@)@)('@=G&"!% $M0%!H3% /%2&%$H%3%0133%
%H0"%/ 7
'
!/%!%!$0G!*"/"$0 $!"##"/ !%3%$0H"#0%&"H#"08%"* #*H/%2&%
-0$2/%/8 3%*"."&0%0$.3%