!"##"$"%"&%*""#
XM_unity_Installation&Maintenance_Manual Ed.1.3c2013 Page B(of (()
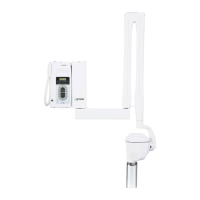
B4
3%&FH3%!"##"$"/3% 0%#%2"! !%*
.&$!".%03%!"##"$
./"*%"#$1"00" 3%!".% $.3%-%$-#%"/-0$-%0.&$H$.3%/%2&%4
&"!%"/2!%-0$*-# "/&#%"0# 3"3%/%2&%*!$8%!%/4
%*%/R #%"!% "F% "## -0%&"$! $0/%0 $ "2$/ "&&/%"# %6-$!0% $
$!H0"/"$R
B4(4
Checking the control panel, make certain that all LED corresponding to the required configuration are lit; otherwise, modify
parameters in order to have the right configuration.
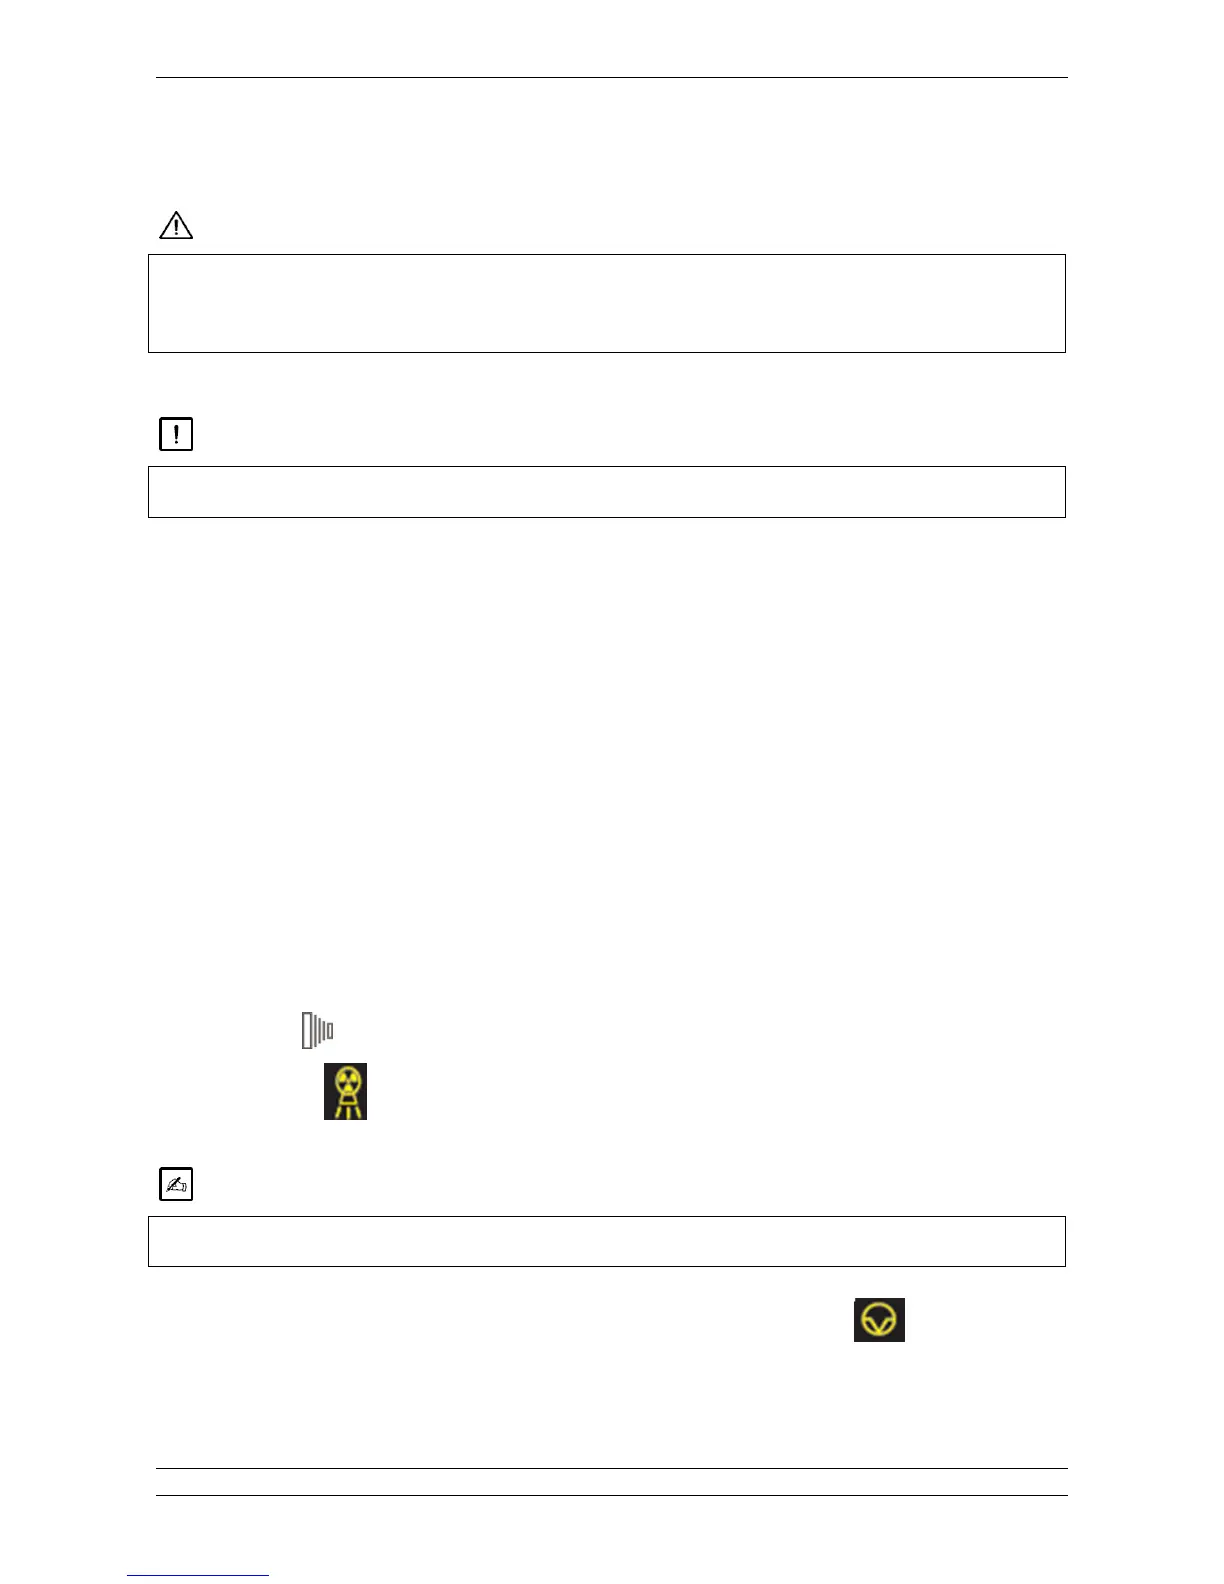
B4'4
1. Check the correct operation of the control panel by selecting different exposure times
2. Check the time on the display
B454
1. Set an exposure time of 1s
2. Take and extend the exposure switch on the timer to a safety distance of at least 2 meters (6 ft) from the tube head
3. Press the xray button on the xray exposure switch and keep it pressed until the acoustic signal (beep) stops and
the yellow led
turns off
?F% !0%#%"!%/%"0# G3%%6-$!0%!**%/"%# %00-%/"/3%(
%00$0*%!!"H%"--%"0!$3%
/!-#" 4
At the end of the exposure the green PAUSE led flashes until the tube heads cooling cycle completes
PAUSE
4. The display indicates the actual exposure time
5. All the timer functions are inhibited