!"##"$"%"&%*""#
XM_unity_Installation&Maintenance_Manual Ed.1.3c2013 Page @5of (()
=4=454 '"/+
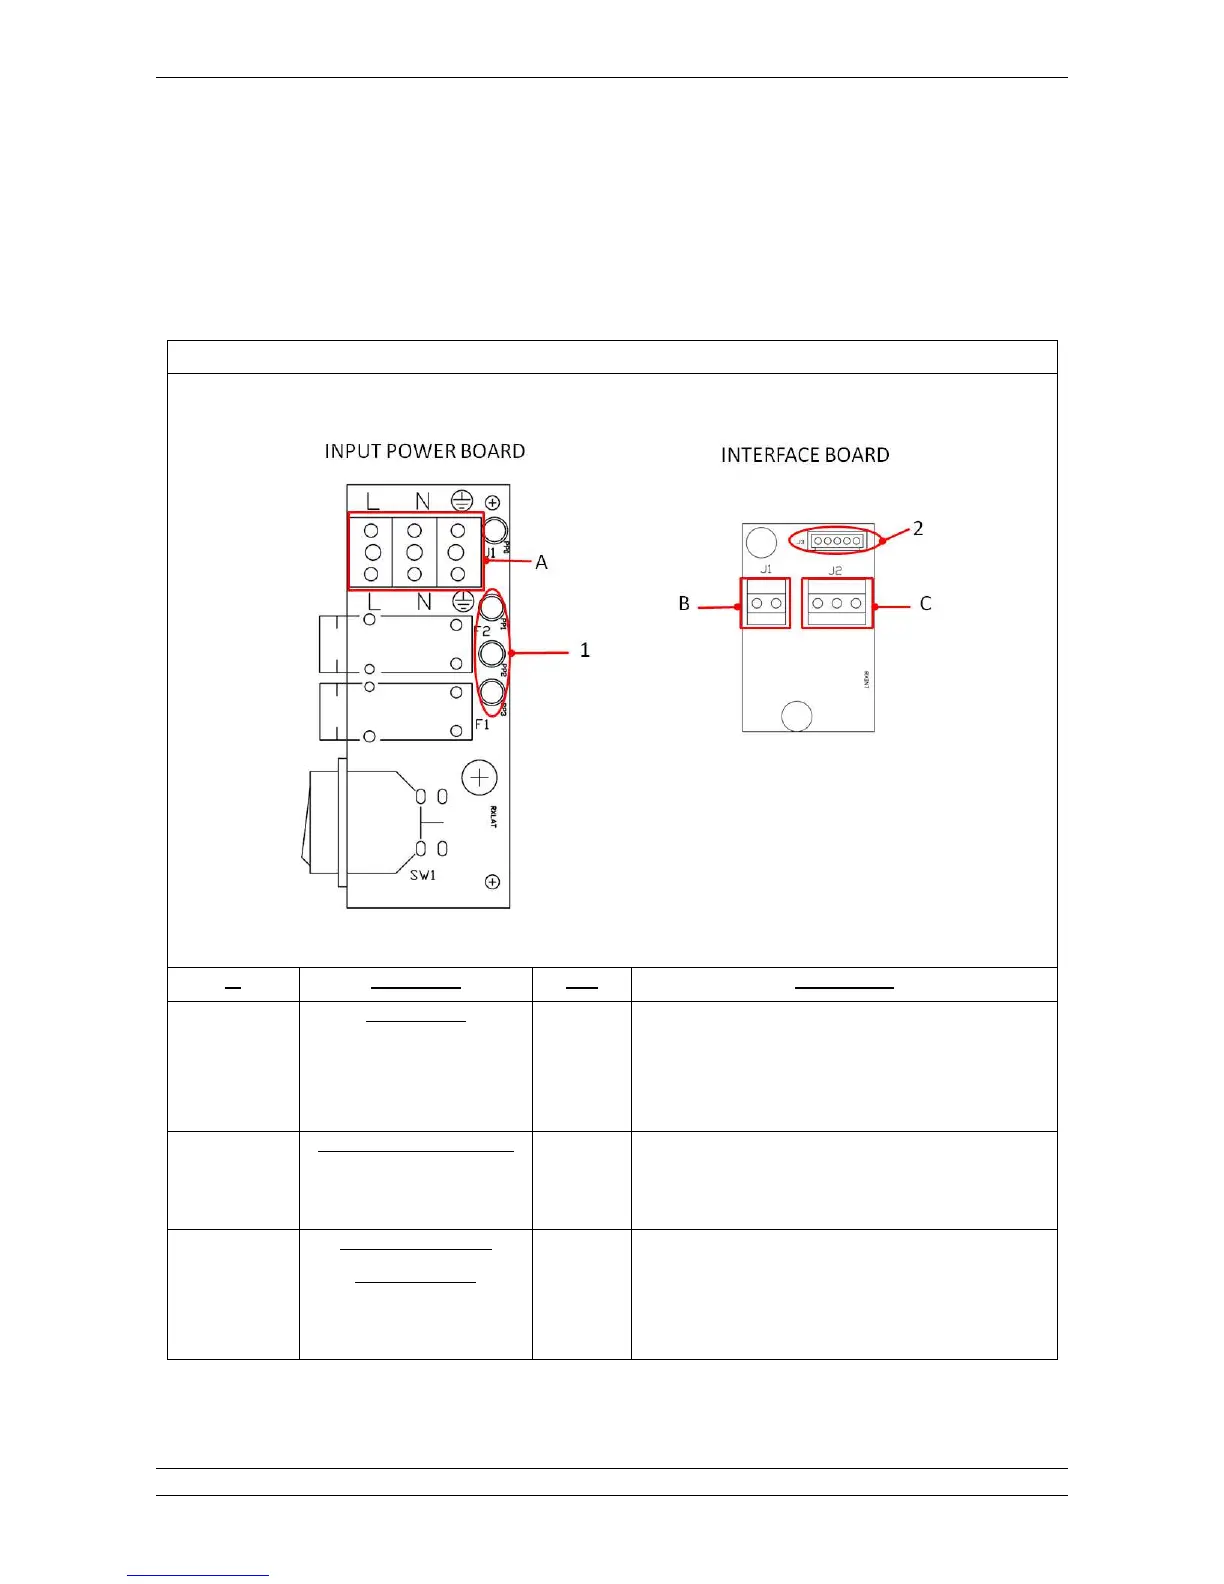
Connect the cables of mains, XMIND unity remote exposure switch and XMIND unity light as described below before proceed
assembling the next board.
Refer to the chart below for connections description.
For further details please check >? chapter at the end of this manual.