Maintenance and Troubleshooting 11-19
14. Finger-tighten the top bolts to make sure the top and gasket are
seated properly. Then, tighten the bolts about halfway to full
torque value by tightening the opposite bolts. Finally, tighten
the bolts to approximately 30 inch-pounds (2.50 foot-pounds/
3.39 Nm) to fully secure the top to the canister. If the monitor
will not seal, loosen the bolts and check for a trapped wire or
debris on either the gasket or the lip. You can increase the
torque value on the bolts incrementally to assist in sealing.
However, tighten the bolts evenly to prevent distorting the
gasket and do not exceed 45-inch pounds (5.0843Nm).
15. Place the monitor upright on the ground surface beside the
manhole, and reconnect the antenna cable to the ANTENNA
port on the monitor or the landline/PSTN modem module to
the COMM + EXT PWR port on the monitor.
16. Check the new battery voltage by activating the diagnostic
codes in the LED STATUS window on the monitor using the
blue magnet. The internal voltage should now be well above
7.5 volts. Refer to Note: Initiating the diagnostic code
sequence using the magnet also wakes up and resets the
modem in the monitor. When communication issues arise, the
monitor often will resume wireless communications after the
diagnostic codes are activated.
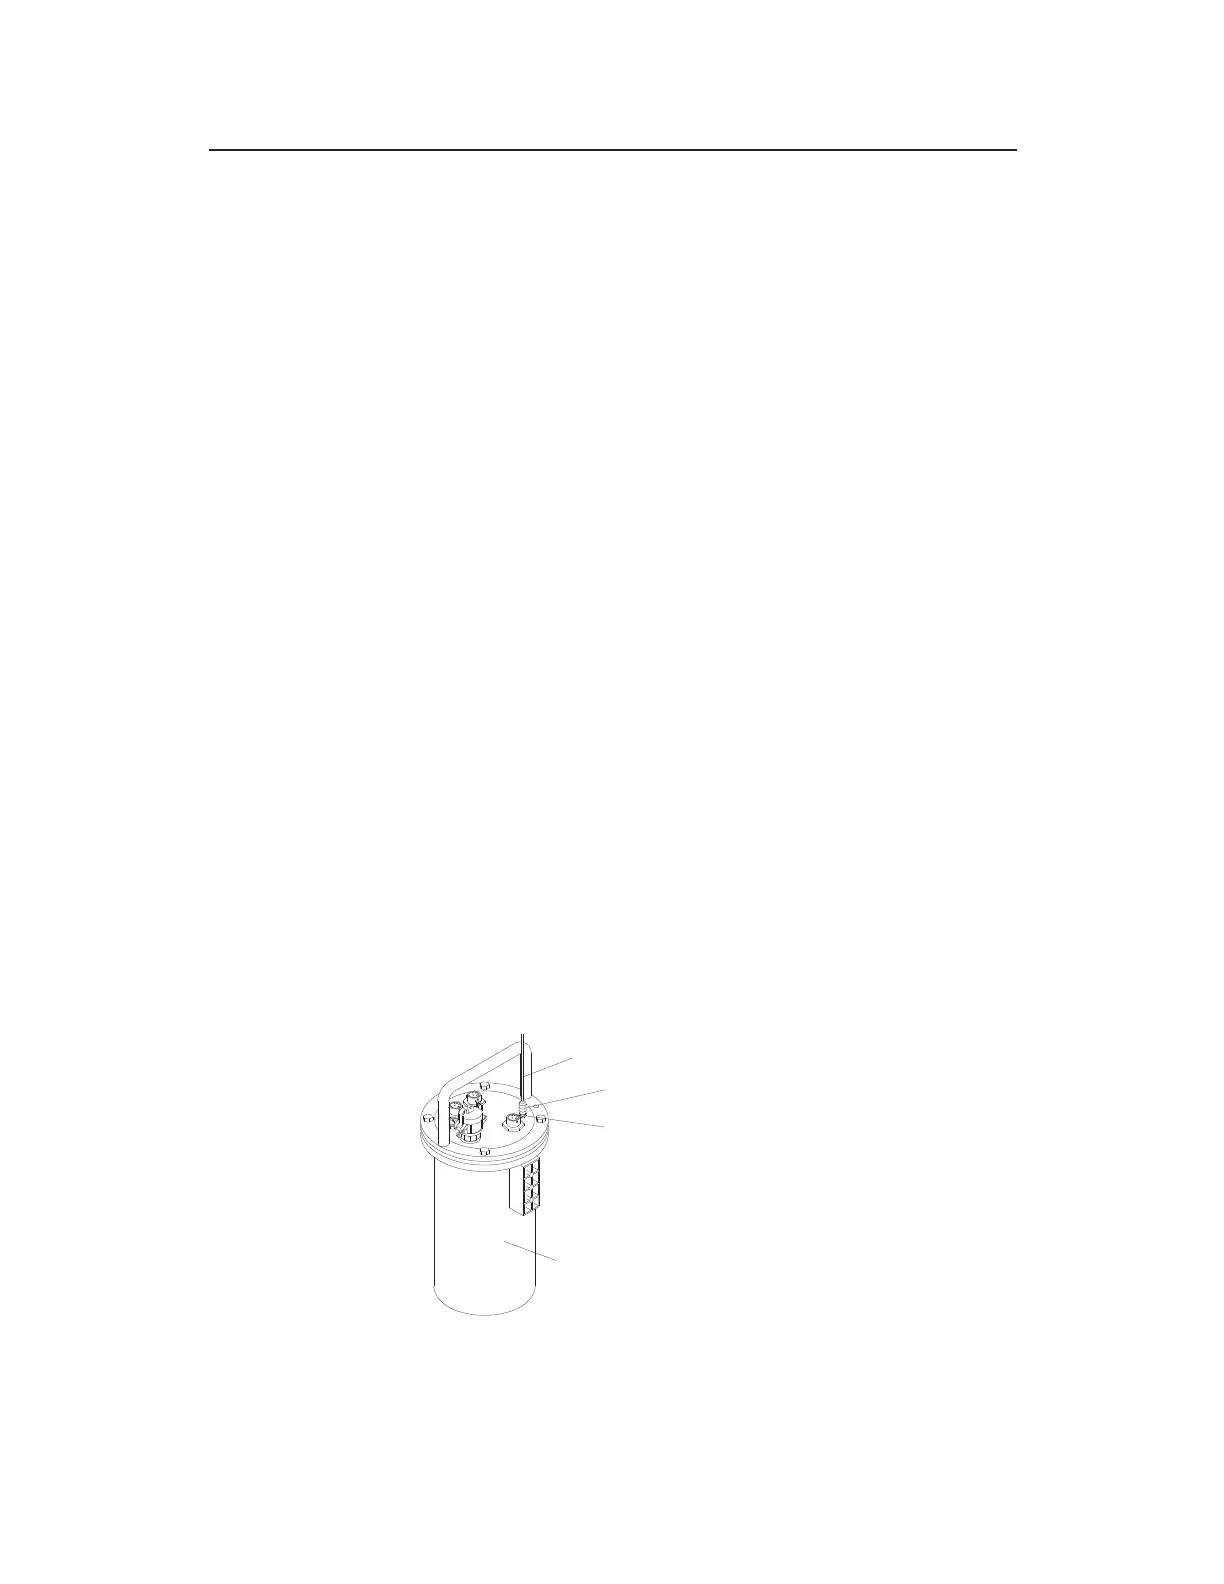
17. Initiating and Reading the LED Diagnostic CodesWrap rubber
stretch tape around the entire antenna cable/ANTENNA port
connection, extending 1 to 2 inches onto the cable beyond the
connection.
Antenna cable connected to ANTENNA port on monitor with stretch tape
properly applied
COAXIAL STRETCH TAPE
ANTENNA CABLE
TRITON+ MONITOR
ANTENNA PORT