BYB User Manual Page 38 of 55 PN: 90020 Version: 1.4
Anchoring Instructions
A
B
C
This lift does not require anchoring to the floor. If you choose to anchor the lift, which is not
recommended, follow the instructions below.
• Make sure anchors are 8 inches from any wall, crack, or seam.
• Make sure the concrete has properly cured at least 28 days.
• Concrete shall have a compress strength of 3500 PSI and a minimum depth of 3-1/2
inches.
Concrete fasteners must meet criteria as set in the ANSI/ALI ALCTV “Safety Requirements for
Construction, testing and Validation”. It is the owner’s responsibility to adhere to any local or seismic
anchoring requirements that may be required by other agencies or codes. The following steps are a
general guide, if in doubt use the fastener manufacture’s & ANSI/ALI ALCTV requirements.
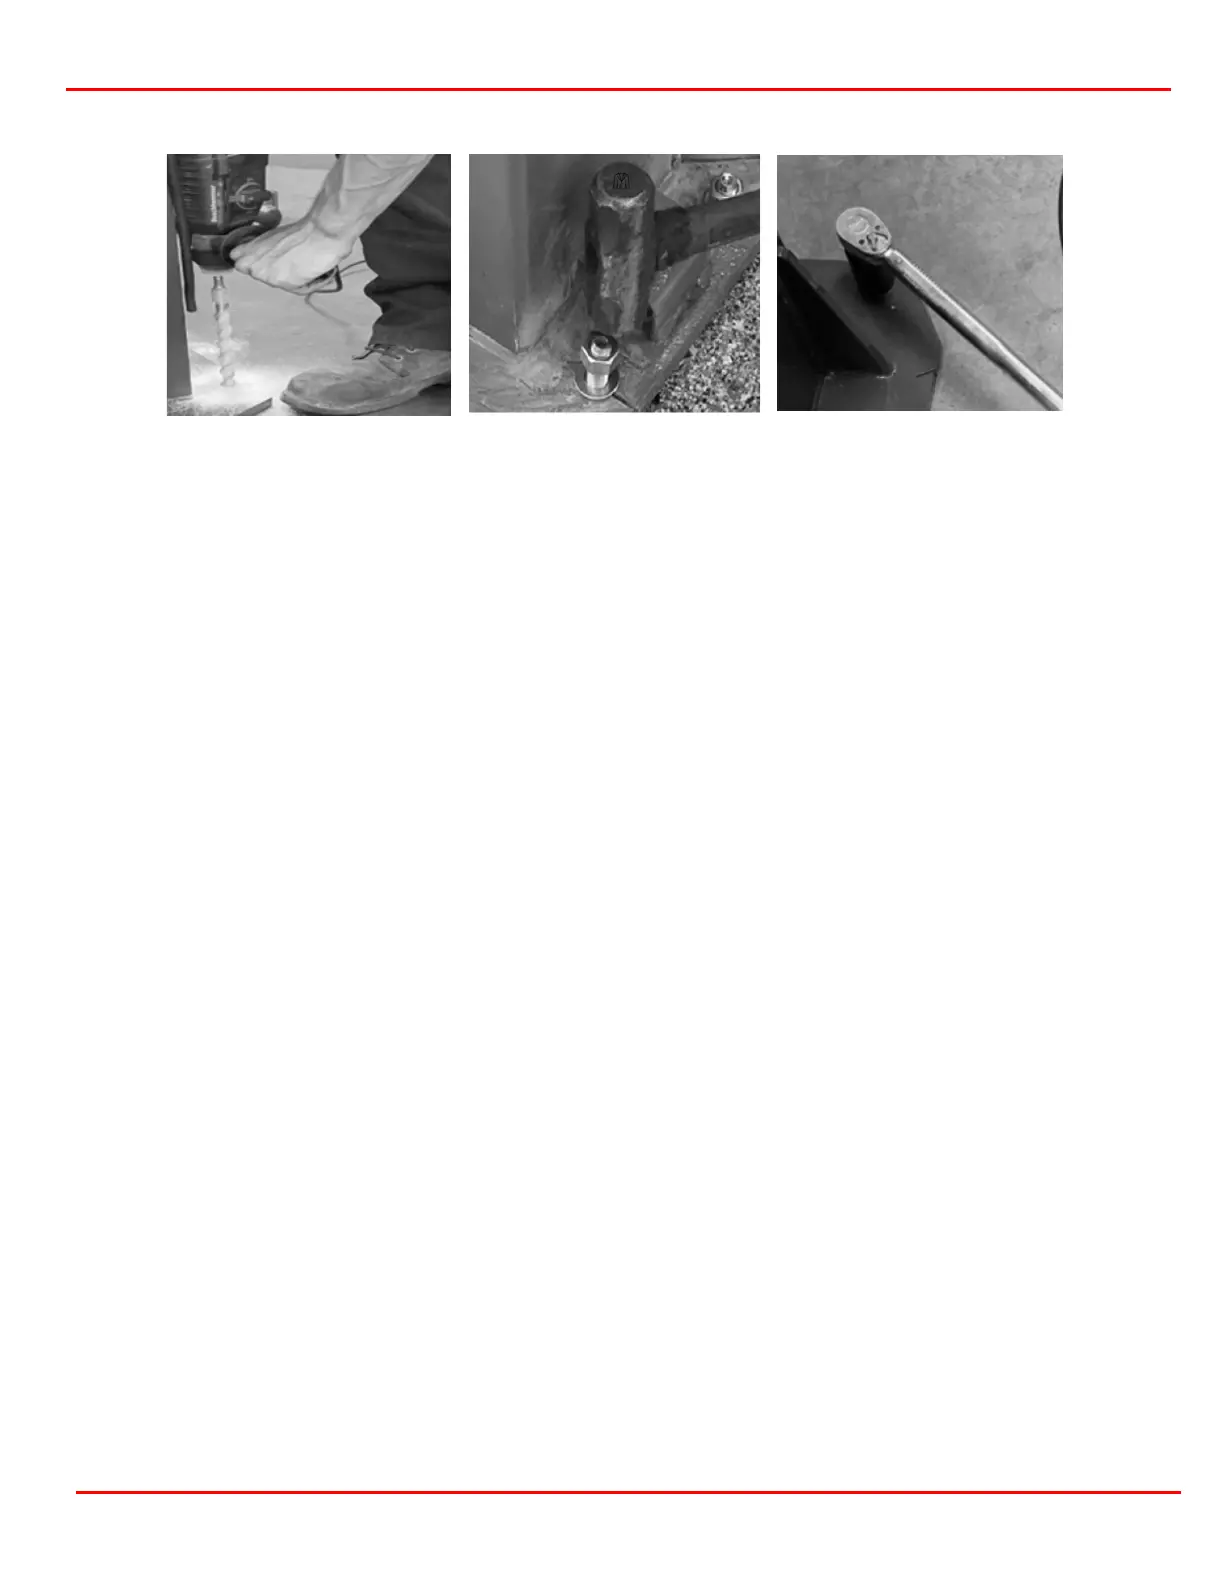
1. Choose a concrete fastener that meets ANSI standards for Automotive Lifts. Drill a hole as
specified by the fastener manufacturer using a concrete hammer drill and a new drill bit.
2. When drilling the hole ensure the drill is perpendicular to the floor while periodically moving
the drill in an up and down motion. Do not force the drill by over applying pressure. (A)
3. Blow the dust from the hole to increase the anchor's effectiveness.
4. Assemble the washers and nuts on the threaded end of the anchor. Tap anchor with a
hammer (B) so the washer and nut are resting on the baseplate.
5. Hand tighten each nut and then using socket wrench (NOT an impact wrench)
tighten each nut 2-4 turns. (C)
Approximate initial anchor torque is 100-pound feet, and re-torque is 70-pound feet. Check
the bolt manufacturer specifications.