BYB User Manual Page 21 of 55 PN: 90020 Version: 1.4
Hardware Bag Contents:
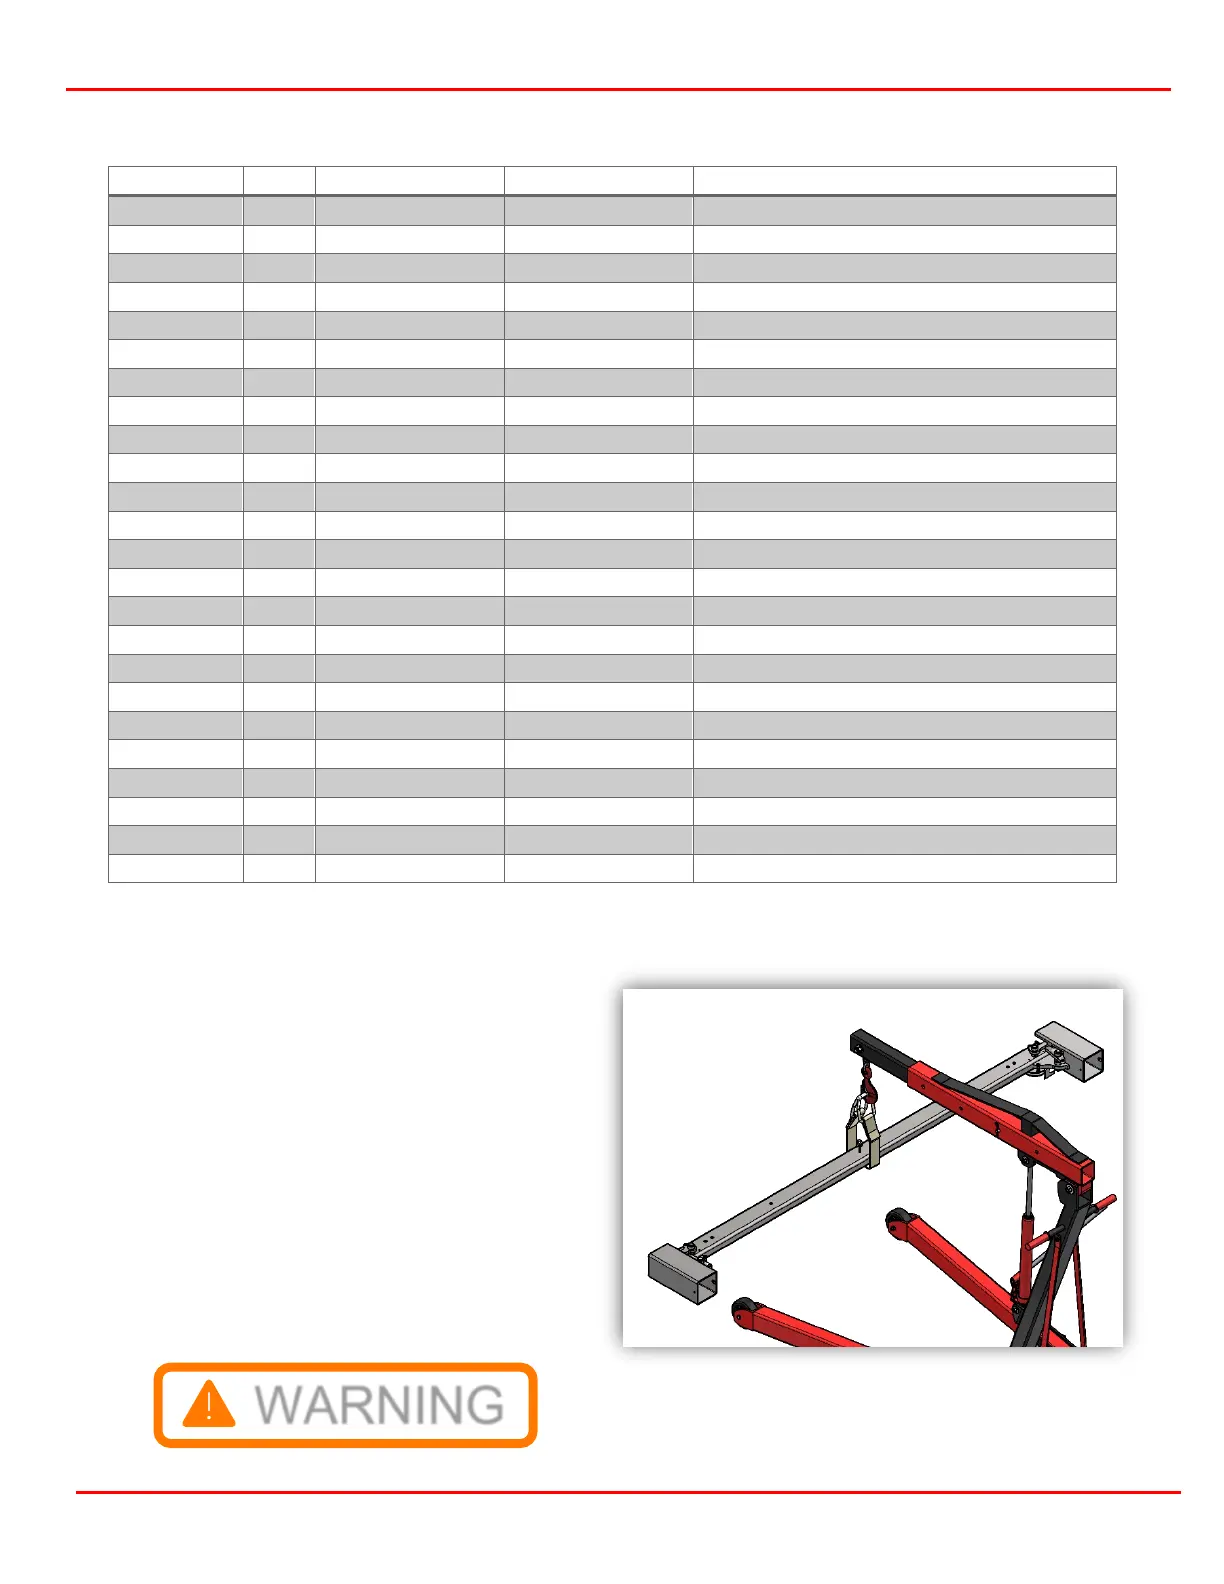
Crossmember Preparation and Installation
Pulley Covers & Nylon Retainers
Pulley Covers & Nylon Retainers
Power Unit (8) & Cable Keepers
Hiem Joint & Power Mount/Top Cap
*Contained within the hardware box
Review both crossmembers, one has the
primary lock release handle, the other does
not. Select the crossmember based on your
desired layout. Remember the release
handle must be placed next to the power
unit.
Remove a crossmembers using the material
handler. Crossmembers are heavy, two
persons are required in addition to the
material handlers to stabilize the load.
Place a couple wood blocks or 2x4’s from
the packaging as show in figure 3.3.
Figure 3.6 Lifting the Crossmember