BYB User Manual Page 32 of 55 PN: 90020 Version: 1.4
Pass the cable through the hole in the Top Cap. Install the washer first then the 3/4-10 jam nut followed by
the 3/4-10 full nut. Ensure at least 1/4 inch of threads are exposed above the nylon hex nut (figure 8.8).
Repeat this procedure for each of the four cables. Do not fully tighten the nylon lock nut. This will be
adjusted prior to set up.
Check all the cable routing underneath the Cylinder Runway to ensure all cables are running straight and
parallel to the lift cylinder without excessive slack, and the cable flange and retainer are square with the
track.
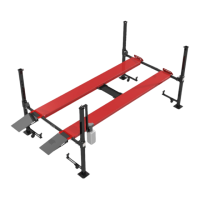
STEP 9: Cable Keepers and Pulley Guard
Locate the (3) 5/16-18 x 4 cable keeper bolts, (5) 5/16 nuts, (1) 5/16-18 all-thread and acorn nut. Install the
bolt into the crossmember from the lock side. Install the nut on the pulley side of the crossmember (figure 9.)
The 5/16 all-thread will install in the crossmember hole under neath the lock with the handle attached. See
figure 9.2 for orientation.
Figure 9.1 Cable Keeper Bolt (x3)
Figure 9.2 Cable Keeper Bolt (Handle Lock)
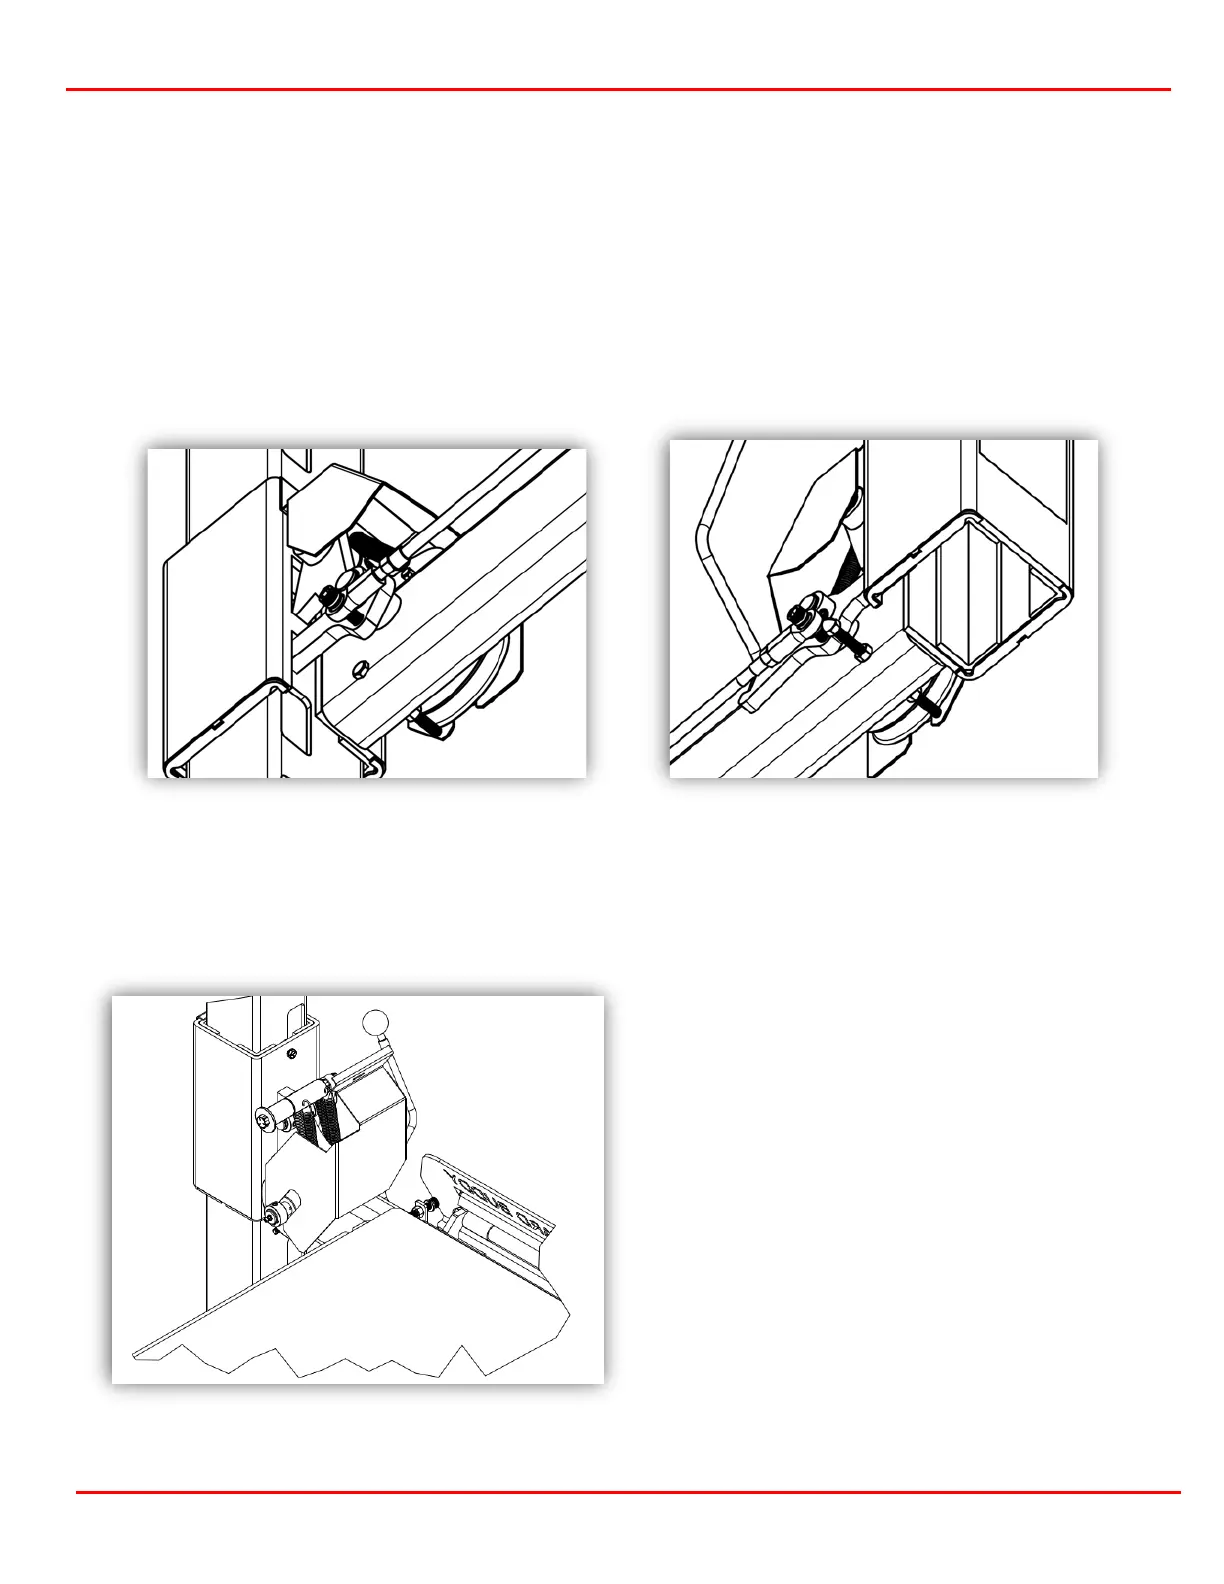
Located in the hardware box are 4 pulley
covers, 2-left and 2-right.
The pulley cover slides around the primary
lock pin and in between the pulley and collar.
The set screw on the collar may need
loosened to fit the cover over the pin. Slide the
cover onto the pin at an angle as shown in
figure 9.3.
Ensure the plastic washer sits between the
pulley and inside of the cover.
Use the 1/4-20 bolts and split washer to attach
the cover to the threaded hole in the
crossmember sleeve.
Figure 9.3 Pulley Cover Install