Chapter
4
Mounting Components
AfiMilk MPC Installation Manual 28
Plugging the main cable at the Control Box
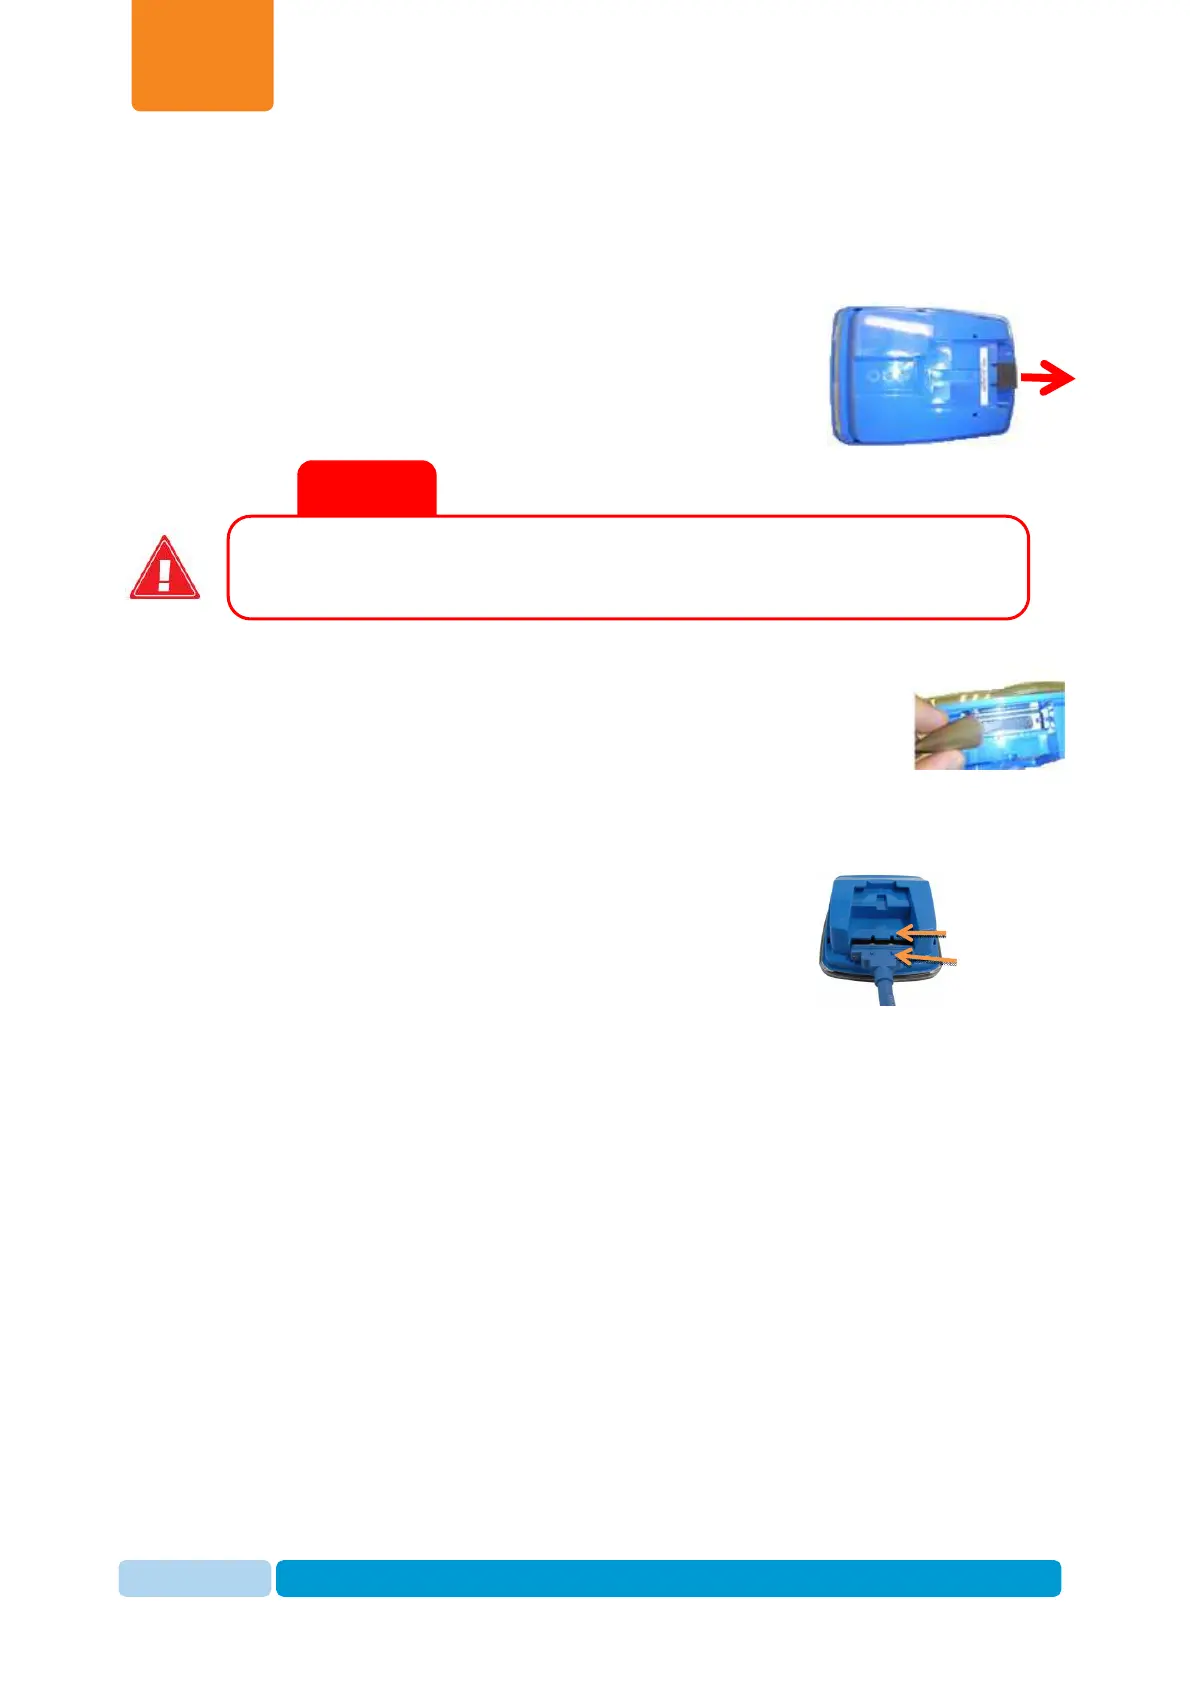
After mounting the control boxes, Afimilk MPC main cable is plugged into its socket in the
control box. Follow the procedure described here to avoid oxidation of connector pins
and ensure proper contacts between connector and socket pins.
1. Remove the foam plug protecting the D-type socket.
The foam plug prevents moisture from corroding
connector pins during shipping.
2. Fill the D-type socket with electrical protective paste supplied
with every milk meter.
3. Insert the D-type connector all the way into the control
box socket, until the connector pins correspond with
their grooves in the control box.
4. Tighten the screws, to secure the control cable to the
control box. When secured properly, the connection is resistant to water spray.
a.
Ensure inserting the connector all the way in its receptacle before
tightening the screws
.
b.
Tightening screws are locked to the enclosure body. Refrain from using
excessive force when tightening the screws to avoid damaging the threads.
Tighten the screws by hand up-to an initial lock, than tight for about
another one eighth of torsion for securing.
5. Slide the Afimilk MPC control box onto the mounting bracket.
6. Run the main cable in a protected route (inside a cabinet or through the railing of the
parlor) to the connection box location.
Do not leave the connector pins in the socket exposed. Connect main
cable to the control box immediately after removing the foam plug.
High Flow
Grooves
Inserting Protective
Foam plug