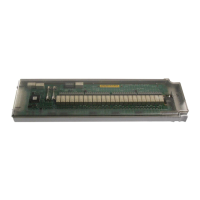
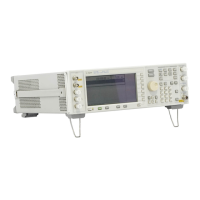
2-44
Assembly Replacement
Rear Panel (Standard)
Rear Panel (Standard)
Tools Required
• T-10 driver
• needle-nose pliers
Removal Procedure
Refer to Figure 2-21 for this procedure.
1. Disconnect the power cord.
2. Remove the covers from the signal generator. Refer to "Outer Instrument Cover" on page 2-5
and "Inner Instrument Cover" on page 2-7.
3. Using the T-10 driver, remove the four screws from the Baseband Generator cover
(E8267C only).
4. Position the signal generator with the A31 Motherboard panel facing you.
5. Using the needle-nose pliers, disconnect the following flexible cables:
• W21(10 MHz output) from A31 Motherboard J1043
• W47 from A31 Motherboard J1041
• W22 (10 MHz input) from A31 Motherboard J1042
• W68 (BBG Rear Pwr) from A31 Motherboard J250 (E8267C only)
• W80 (WIDEBAND I INPUT) from A13 I/Q MUX J3 (E8267C only)
• W79 (WIDEBAND Q INPUT) from A13 I/Q MUX J4 (E8267C only)
6. Position the signal generator with the rear panel facing you.
7. Using the needle-nose pliers, disconnect the following flexible cables:
• W55 (SOURCE MOD INTERFACE) from A10 ALC J303
• W65 (BASEBAND GEN REF IN) from A14 Baseband Generator Board J800 (E8267C only)
• W56 (-Q OUT) from A35 3-20 GHz I/Q Modulator J14 (E8267C only)
• W57 (-I OUT) from A35 3-20 GHz I/Q Modulator J13 (E8267C only)
• W58 (Q OUT) fromA35 3-20 GHz I/Q Modulator J12 (E8267C only)
• W59 (I OUT) from A35 3-20 GHz I/Q Modulator J11 (E8267C only)
8. Using the 5/16” open ended wrench, disconnect the W67 RF cable (.25-3.2 GHz COH CARRIER)
from the Rear Panel.

 Loading...


