2-72
Assembly Replacement
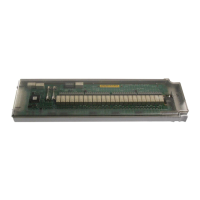
A26 MID (Microcircuit Interface Deck)
A26 MID (Microcircuit Interface Deck)
Tools Required
• T-10 driver
Removal Procedure
Refer to Figure 2-36 for this procedure.
1. Disconnect the power cord.
2. Remove the covers from the signal generator. Refer to "Outer Instrument Cover" on page 2-5
and "Inner Instrument Cover" on page 2-7.
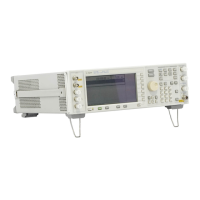
3. Position the signal generator with the A31 Motherboard facing you and the RF deck on top.
4. If you have a 40 GHz signal generator, disconnect the W29 ribbon cable from A26J33.
5. Disconnect the following ribbon cables:
• W69 from A26J14
• W28 from A26J15
• W19 from A26J30
• W36 from A26J13
• W33 from A26J32
• W34 from A26J31
• W35 from A26J10
• W70 from A26J34 (E8267C signal generators only)
• W20 from A26J20
6. Disconnect the A25BW1 power cable from A26J12.
7. Using the T-10 driver, loosen the screw (1) that secures the A26 MID to the RF deck.
8. Slide the A26 MID towards the front panel until the locking standoffs are free.
9. Remove the A26 MID from the RF bracket.
Replacement Procedure
• Reverse the order of the removal procedure.
• Torque all T-10 screws to 9 in-lbs.
• Perform the post-repair adjustments and performance tests that pertain to this removal
procedure.

 Loading...


