Chapter 3: Installation
VSpin User Guide
30
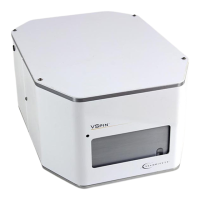
2. Pick up the VSpin and place it on the bench so that the screw holes
in its base align with the screw holes in your benchtop.
All holes accommodate M6 flat head cap screws.
3. Screw one M6 flathead screw into a front screw hole, and another
into the diagonally opposed screw hole on the rear, making sure that
both screw completely into the base.
Gently nudge the VSpin back and forth as you install the screws. This
makes sure that the VSpin screw holes are seated squarely over the
screw holes in the mounting surface.
Tighten the front screw before tightening the rear screw.
4. Install the other two screws into the screw holes, making sure they
screw completely into the base.
5. Check that the VSpin is firmly seated to your mounting surface by
nudging it.
If the VSpin moves, loosen the screws and return to step 3 to
retighten them.
 Loading...
