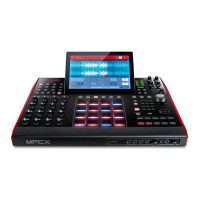
112
The green marker and red marker are the start point and end point (respectively). These two points define the region
of the sample that will be played.
To move the start point or end point of the selected region, do any of the following:
• Tap and drag its marker left or right.
• Use the Start or End fields shown below the waveform.
• Use the first column of Q-Link knobs (Start X1__) to adjust the start point or the second column of Q-Link
knobs (End X1__) to adjust the end point. The top-most Q-Link knobs (13 and 14) provide coarse
adjustment. The bottom-most Q-Link knobs (1 and 2) provide fine adjustment.
Tip: A recorded sample may have some silence at the beginning or end, which makes it difficult to time it correctly in
a musical context. Fix this by adjusting the start point. You can also adjust end point to remove any extra silence or
unwanted audio at the end. In addition to making your workflow easier, having a “tight,” well-edited sample can
enhance your production or performance.
You can use Sample Edit Mode in three different ways: Trim Mode, Chop Mode, or Program Mode. The options for
each mode are slightly different. Please refer to the following Trim Mode, Chop Mode, and Program Mode parts of
this chapter to learn how each works. Before using these modes, though, you may want to configure your settings—
see the following Settings chapter to do this.
Tip: You can use Trim Mode for a specific slice of the sample, previously created and selected in Chop Mode. This
allows for a more detailed view of a single slice than in Chop Mode and gives you more options for auditioning the
slice. You can easily switch between Trim Mode and Chop Mode while doing this.
To use both Trim Mode and Chop Mode to edit a sample slice:
1. Tap Trim/Chop at the bottom of the touchscreen so it says Chop.
2. Set all fields as desired to create your sample slices.
3. Select the desired slice.
4. Tap Trim/Chop at the bottom of the touchscreen so it says Trim. The region you are now editing is indicated by
the normal start point and end point markers rather than slice markers.
5. Tap Trim/Chop at any time to return to Chop Mode.