Do you have a question about the Allen-Bradley GuardLogix 5570 and is the answer not in the manual?
Details the certification and requirements for safety applications using GuardLogix 5570 controllers.
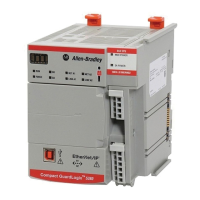
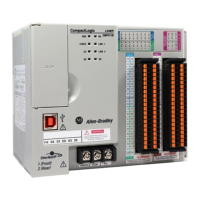
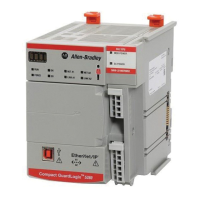
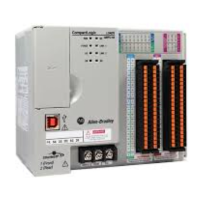
Guides the selection of hardware components for GuardLogix SIL 3 and PLe safety applications.
Guides the selection of safety input/output devices and provides a link for up-to-date information.
Details the communication capabilities and modules supported by GuardLogix controllers.
Provides essential safety precautions and environmental guidelines for controller installation.
Instructs on installing ControlLogix chassis and power supplies, noting XT requirements.
Provides step-by-step instructions for physically installing the controller into the chassis.
Covers updating controller firmware using ControlFLASH or AutoFlash.
Guides users through creating a new project for the GuardLogix controller in Studio 5000 Logix Designer.
Details how to set passwords to protect safety components from modification.
Introduces the CIP Safety protocol and the need for unique references (SNN and node address).
Explains the importance of unique SNNs for safety devices and chassis.
Lists available EtherNet/IP communication modules and their features for GuardLogix systems.
Describes how to add and configure safety I/O devices on EtherNet/IP networks.
Lists ControlNet modules and their applications for standard and safety communication.
Covers DeviceNet communication requirements and products for GuardLogix systems.
Describes adding DeviceNet modules and configuring safety I/O devices.
Details the configuration requirements when adding safety I/O devices to the system.
Guides on adding safety I/O devices to the I/O configuration folder using Logix Designer.
Covers automatic SNN assignment and when manual manipulation is required.
Guides on monitoring safety I/O device status via explicit messaging or status indicators.
Details how to replace safety I/O devices on Ethernet networks using Logix Designer.
Explains device replacement when the 'Configure Only When No Safety Signature Exists' option is enabled.
Details device replacement procedures when the 'Configure Always' feature is enabled.
Guides replacing POINT Guard I/O modules on DeviceNet networks using RSNetWorx.
Explains the creation and characteristics of the safety task in a GuardLogix safety project.
Explains using produced/consumed tags to transfer safety data between GuardLogix controllers.
Provides a procedure to produce a safety tag, making data available to other controllers.
Guides on consuming safety tag data produced by another controller.
Explains the safety tag mapping feature for using standard tag data in safety routines.
Covers methods to protect application programs from unauthorized changes.
Details how to safety-lock the controller to protect safety-related components from modification.
Provides instructions for generating the safety task signature before verification testing.
Guides on connecting the controller to the network via USB, EtherNet/IP, or DeviceNet.
Provides steps for transferring a project from a computer to the controller.
Details the process of transferring a project from the controller to a computer.
Guides users on how to go online with the controller to monitor project execution.
Details how to store a safety project onto the controller's memory card.
Provides options for loading a safety project from nonvolatile memory into controller user memory.
Explains how to view controller status, safety status, and safety task signature on the online bar.
Guides on viewing controller safety status via the online bar and controller properties.
Categorizes faults into nonrecoverable controller, nonrecoverable safety, and recoverable safety faults.
Guides on changing the controller type from standard to safety, noting component creation.
Details the process of changing from a safety controller to a standard controller, noting component deletion.
| Brand | Allen-Bradley |
|---|---|
| Model | GuardLogix 5570 |
| Category | Controller |
| Language | English |