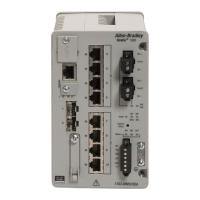
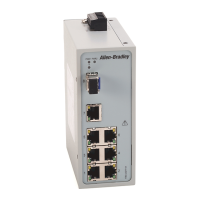
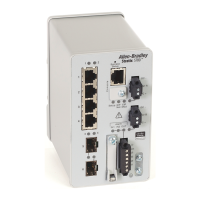
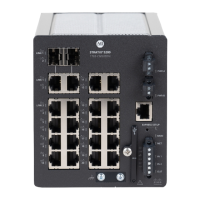
80 Rockwell Automation Publication 1783-UM007G-EN-P - February 2017
Chapter 3 Install Stratix 5400 Switches
Mount the Switch
on a DIN Rail
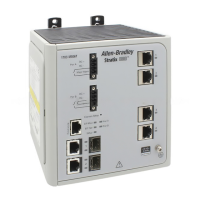
The switch ships with a spring-loaded latch on the rear panel for mounting on
a DIN rail.
To attach the switch to a DIN rail, follow these steps.
1. Position the rear panel of the switch directly in front of the DIN rail.
Make sure that the DIN rail fits in the space between the two hooks near
the top of the switch and the spring-loaded latch near the bottom.
2. Hold the bottom of the switch away from the DIN rail, and place the
two hooks on the back of the switch over the top of the DIN rail.
3. Push the switch toward the DIN rail to cause the spring loaded latch at
the bottom rear of the switch to move down and snap into place.
ATTENTION: To prevent the switch from overheating, observe these
minimum clearances:
• Top and bottom: 50.8 mm (2.0 in.)
• Exposed side (not connected to the module): 50.8 mm (2.0 in.)
• Front: 50.8 mm (2.0 in.)
IMPORTANT The switch must be mounted in an upright orientation, as shown in these
instructions. Alternative mounting orientations are not supported.
32513-M
 Loading...
