Installation
11
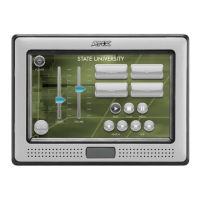
NXD-500i 5" Modero Wall/Flush Mount Touch Panel with Intercom
11. Install the two Plastite screws attaching the NXD-500i to the back box (FIG. 5).
12. Place the Faceplate/Trim Ring assembly (A in FIG. 8) back onto the main NXD-500i unit (B in FIG. 8).
13. Reconnect the terminal Ethernet and USB to their respective locations on the Ethernet port and NetLinx Master.
Make sure to align the Microphone, Light, and PIR Motion sensor locations to their
respective openings on the front faceplate/bezel.
 Loading...


