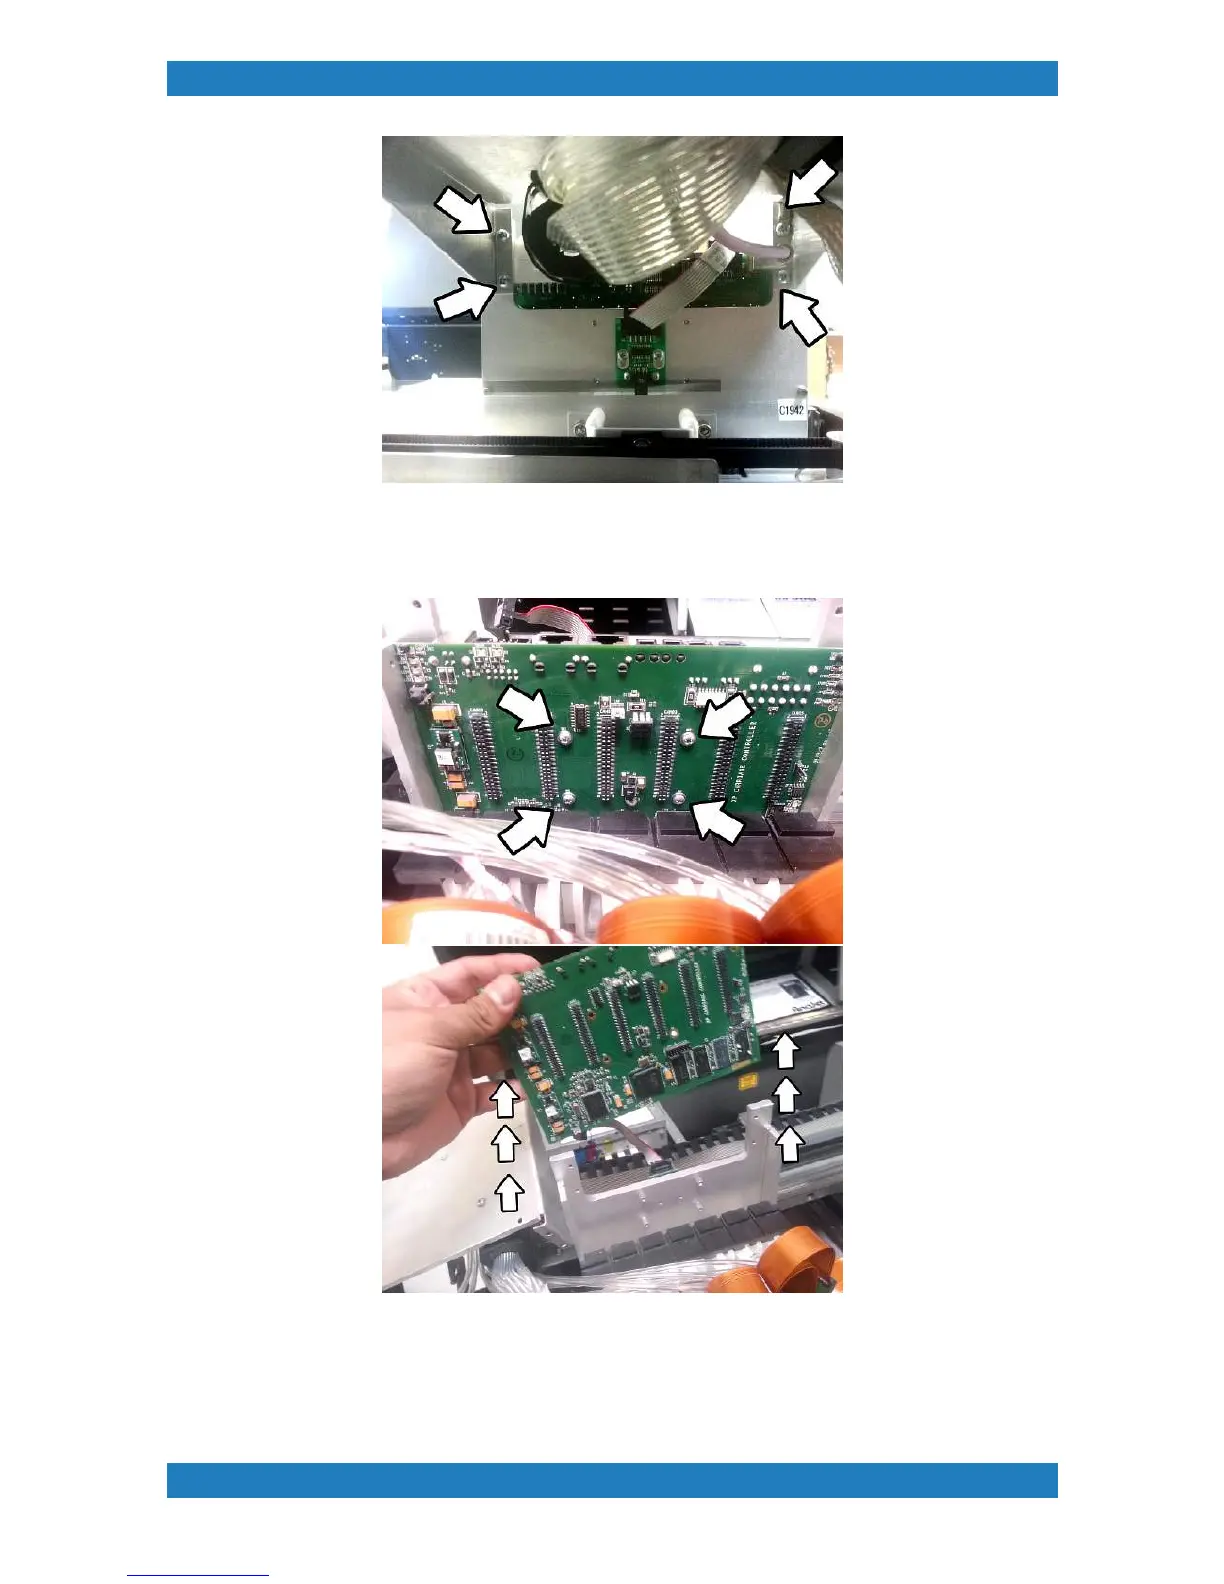
Photo 3.6.2
5. The Ricoh carriage controller board is held by 4 phillip screws. Remove the 4 screws and carefully slide the
board upwards. See photo 3.6.3
Photo 3.6.3
Replace your old carriage controller and reverse these steps to reassemble your carriage. We recommend
calibrating your head voltages once the machine is powered on. Its very important all cables and boards are
connected properly to avoid any electrical issues.