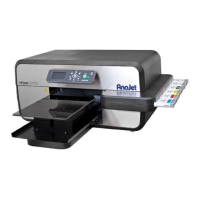
Photo 2.6.6
2.7 Obstruction Laser Sensor Adjustment
Tools Needed
o
Phillips Screwdriver
o
Laser Gauge
The laser sensor can only be adjusted once the Table Z axis motor limit flag has been adjusted see section
2.6 Before adjusting the laser you will need to have your printer updated to the latest firmware.
To adjust the laser we must first check the current height using the laser shim measuring (.060 cm). Once
the laser height is adjusted we can now adjust the laser to be pointing straight. The final step is to check the
value of the laser which should read 1023.
1. Laser height
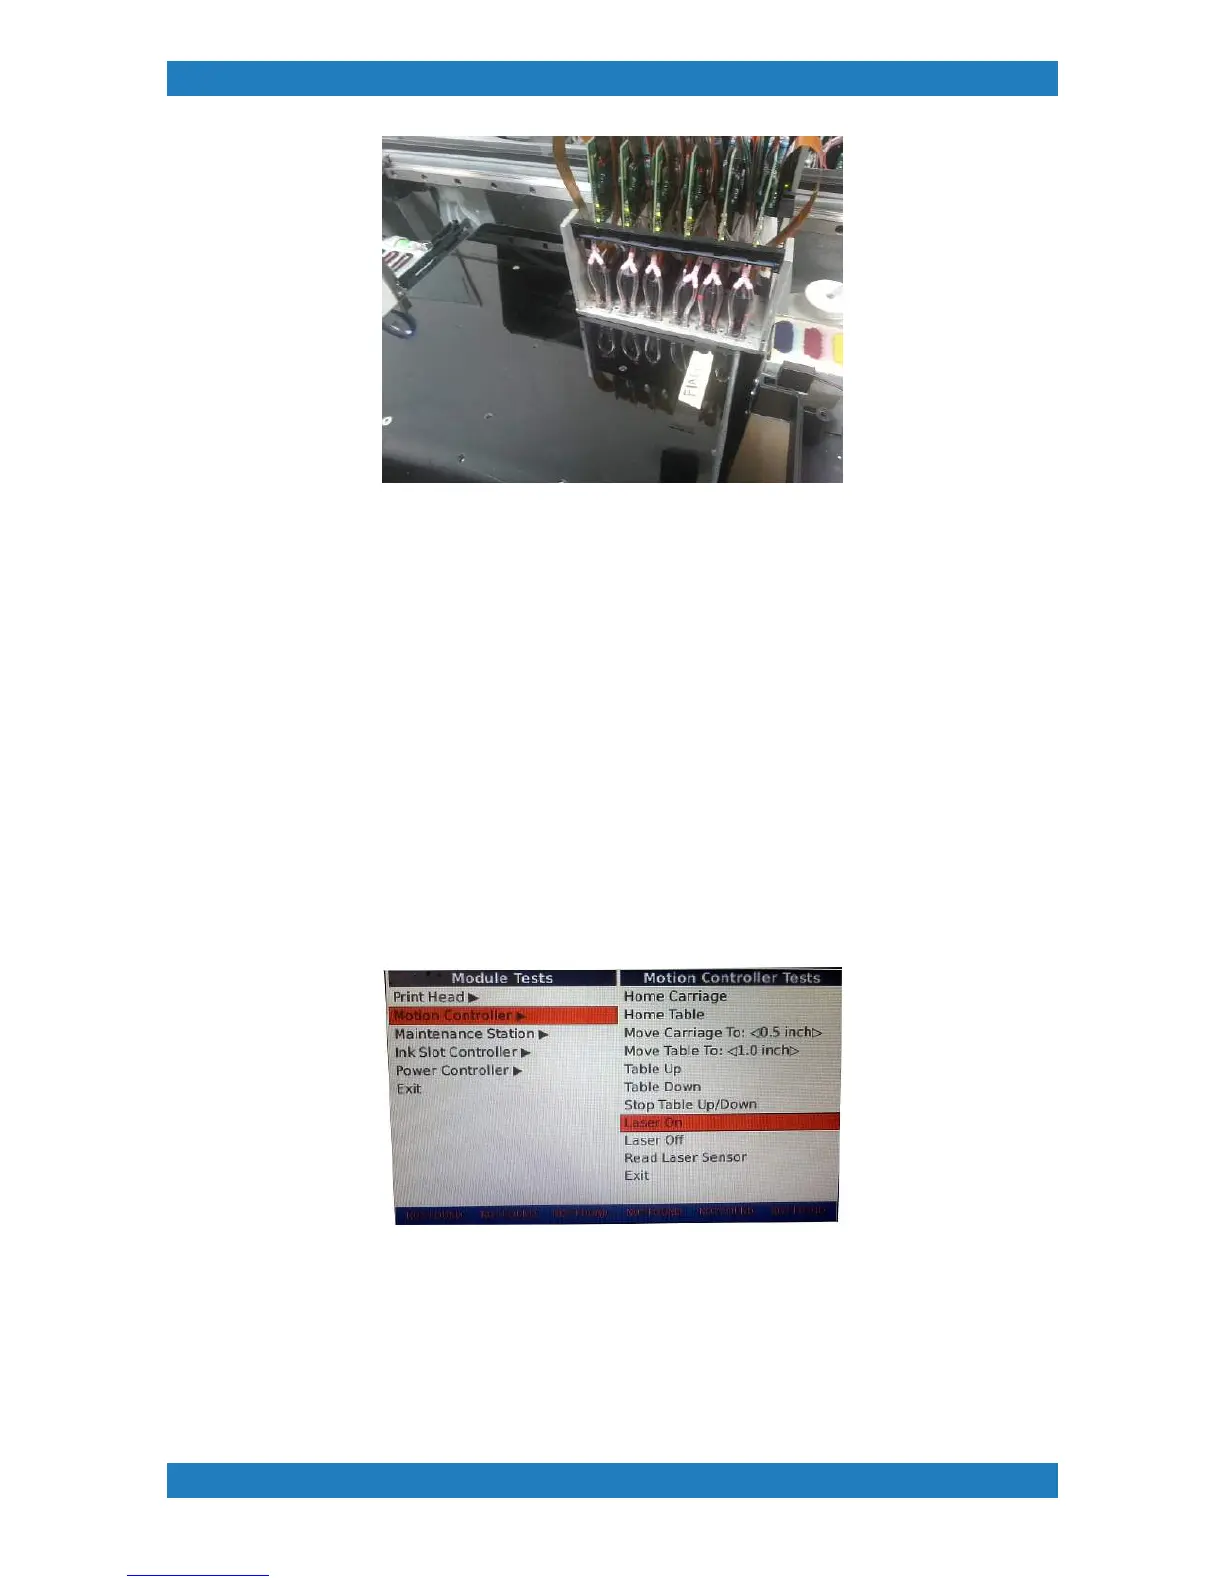
Turn your laser on (laser on under technical menu). See photo 2.7.1
Photo 2.7.1
Hit the table down option under the technical menu as this will move your table all the way down, then hit
table up this will raise your table to the current laser height. Use your shim and decide if the laser needs to
be adjusted. If the shim is loose, the laser has to go up, if the shim does not fit between the carriage and the
table then the laser has to go down. See Photo 2.7.2