38
7.2.7 Input management
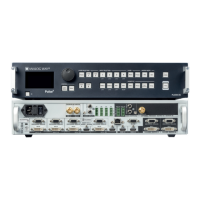
The device oers the possibility to create your own output format:
Choose CVT mode (restricted sengs) or FULL mode (full sengs) and
start to create your format by adjusng the Horizontal Vercal pixels,
frame rates and reduced blanking.
Click on CHECK to verify if your format is a valid signal. You can SAVE
and LOAD your Custom format.
Once your outputs are congured, you have now to congure the inputs connected to your device.
Under the inputs secon, you can view your inputs or by all plugs (acve and inacve).
In both cases, an AUTOSET ALL can be launched to set up automacally your inputs.
Once the AUTOSET ALL is done, you can check one by one your inputs and see if they were correctly detected
by checking the input STATUS. The input STATUS is dened by a FORMAT and a RATE. If that informaon is
not available, your input has not been properly detected or set up.
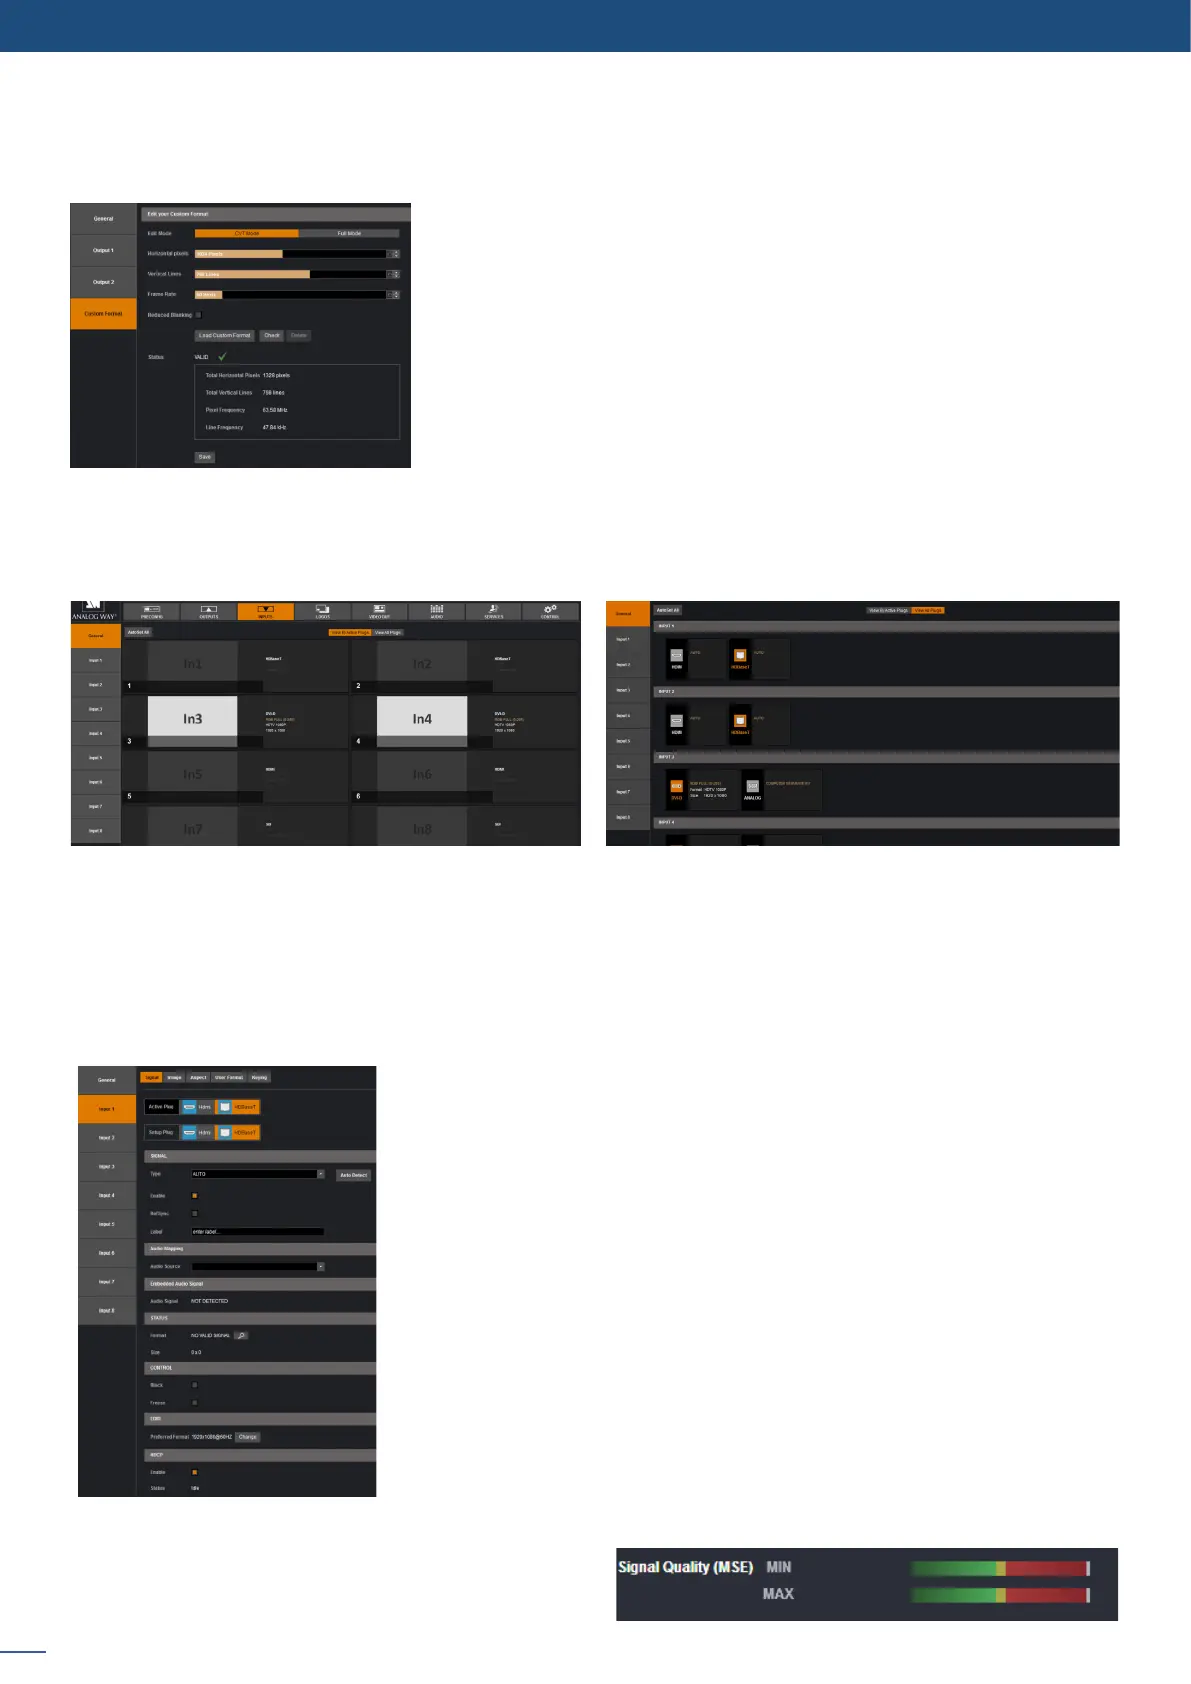
In this case, you can enter manually into each input sengs by using the le menu:
Under the SIGNAL tab, you will nd:
- ACTIVE PLUG: select the plug used by the unit at the moment. Only this
plug can be displayed on your output.
- SETUP PLUG: select the plug you want to set up, all changes will be
applied to this plug, even if this plug is acve or not (do not mismatch
with the acve plug).
- SIGNAL TYPE: dene the type of your signal, video SD/HD YUV/RGB or
Computer HV/SOG etc.
- ENABLE: enable/disable the input.
aect the input to the ref sync input. Use this box only if your
source is genlocked with the referenced source (framelock feature).
- LABEL: rename your input according to your source.
- AUDIO MAPPING: select the audio input that will be linked with the
video input.
- EMBEDDED SIGNAL AUDIO: status indicates if an embedded audio signal
is detected or not.
- STATUS: format and size of the input. For the HDBaseT input, the status
also provides the Signal Quality of the HDBaseT link.