42
7.2.9 Video out
Select the area you want to save using the adjustable white square.
Once it is ok, simply click on execute to save the logo.
Choose rst Program or Preview, click on FREEZE if you want to freeze your output. Then click on EXECUTE to
save your frame into the selected slot.
2
- PLS350-3G and Pulse
2
-H - PLS350-H)
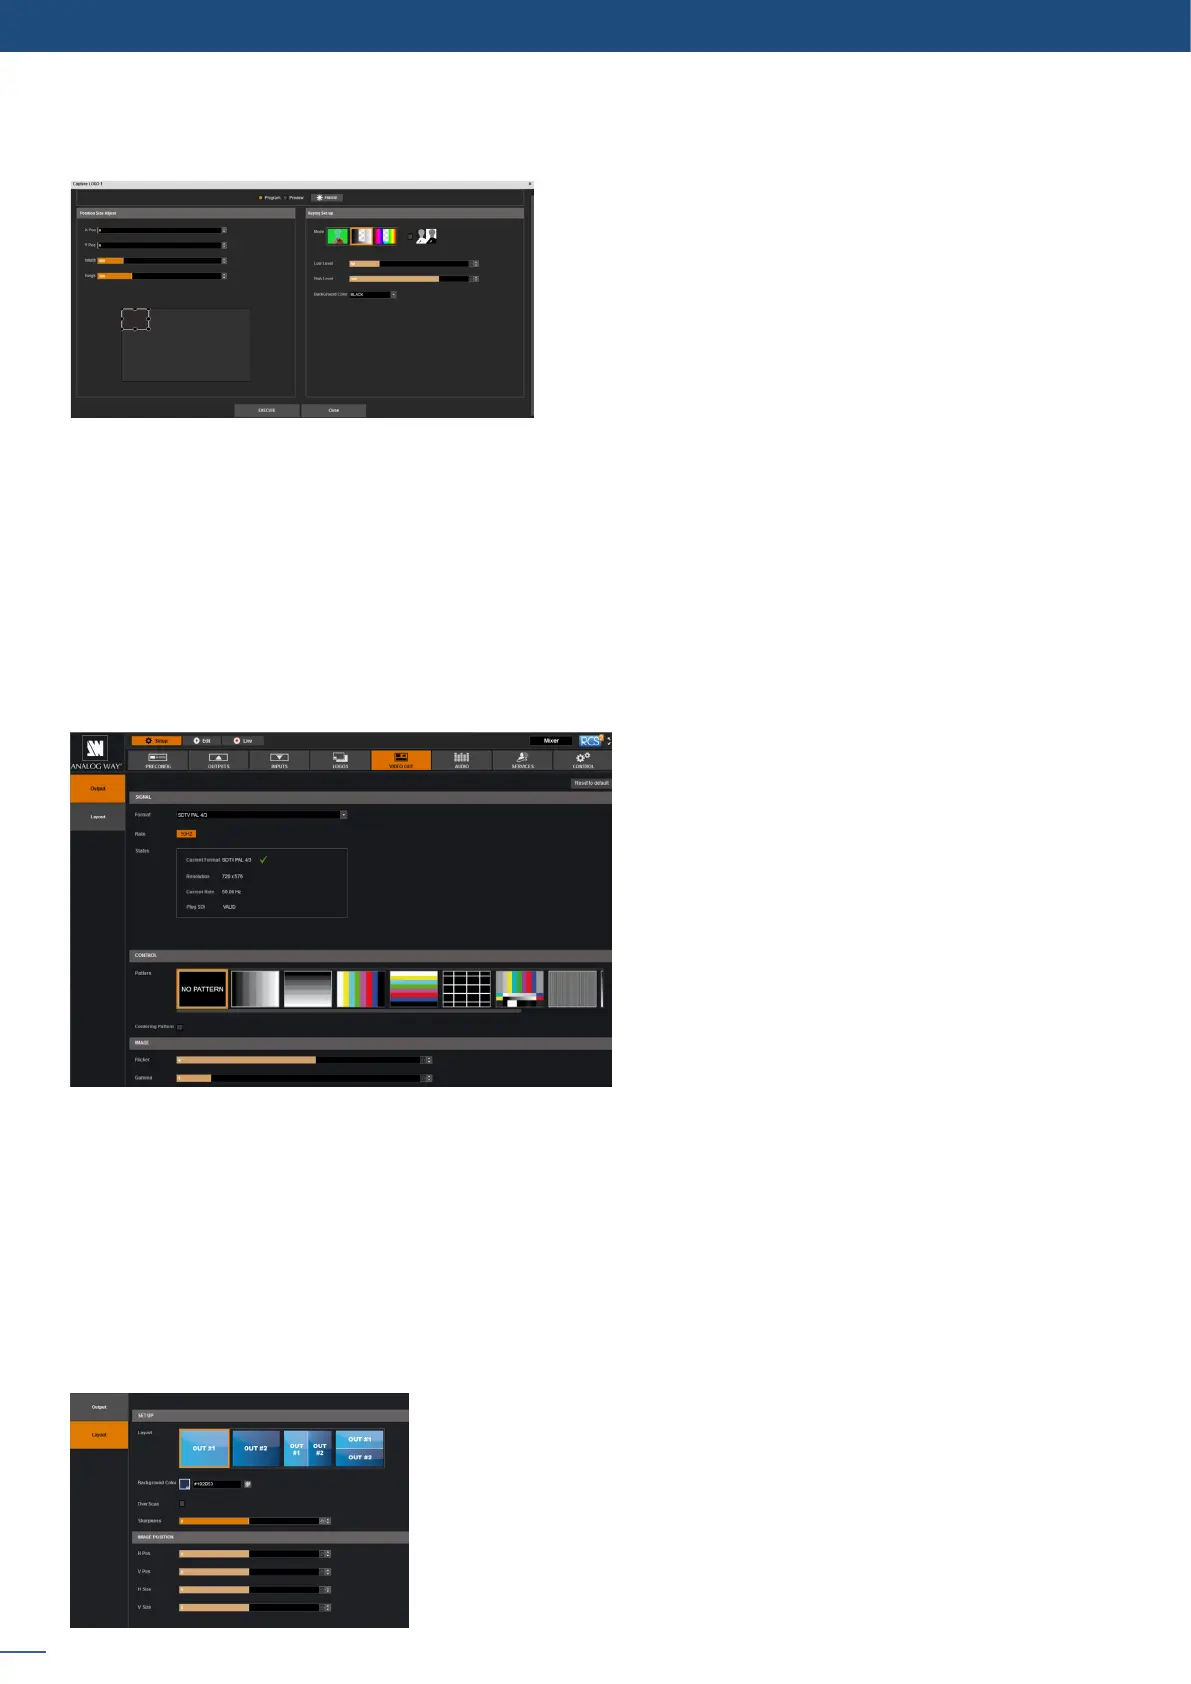
The conguraon of this secon is only available if the VIDEO OUT SETTING mode has been set to
“RECORDING” in the Precong>MISC secon (see secon 7.2.5)
Into this secon, choose the output format of the video output.
You will nd the status of your output and the possibility to choose the test paern. In addion, you can
adjust:
- FLICKER: choose the value of the icker lter to disable the icker eect on your screen (interlaced lines
eect),
- GAMMA: increase or decrease the gamma of your output
Then you will be able to congure the Layout
- LAYOUT: congure the layout by selecng either the OUT #1 or the OUT #2 or a mix of OUT #1 and OUT #2.
- BACKGROUND COLOR: select the color of the background,
- OVERSCAN: enable/disable the overscan/underscan,
- SHARPNESS: adjust the sharpness of the image.
You can sll play with the H/V posion and H/V size in order to
adjust accurately the video out image on your nal screen.