DRAFT
September 25, 2007 1:07 am, 4376782_Maintain_the_System.fm
Chapter 6 Maintain the System
Regular Maintenance
99
Applied Biosystems StepOne
™
and StepOnePlus
™
Real-Time PCR Systems
Installation, Networking, and Maintenance Guide
Notes
How to Create a
Background Plate
Whenever possible, use a background plate included with the spectral calibration kit. The
background plate contains a buffer that accurately models the reagents used for PCR, and
produces high-quality calibration data. However, if a background plate from a spectral
calibration kit is not available, you can create one as explained below.
Materials Required
• Deionized water
• MicroAmp Optical Adhesive Film or MicroAmp
™
8-Cap Strip (Flat Caps only)
•MicroAmp
™
Optical Reaction Plate
• Pipettor, 200-µL and pipette tips
• Powder-free gloves
• Safety glasses
Create the Background Plate
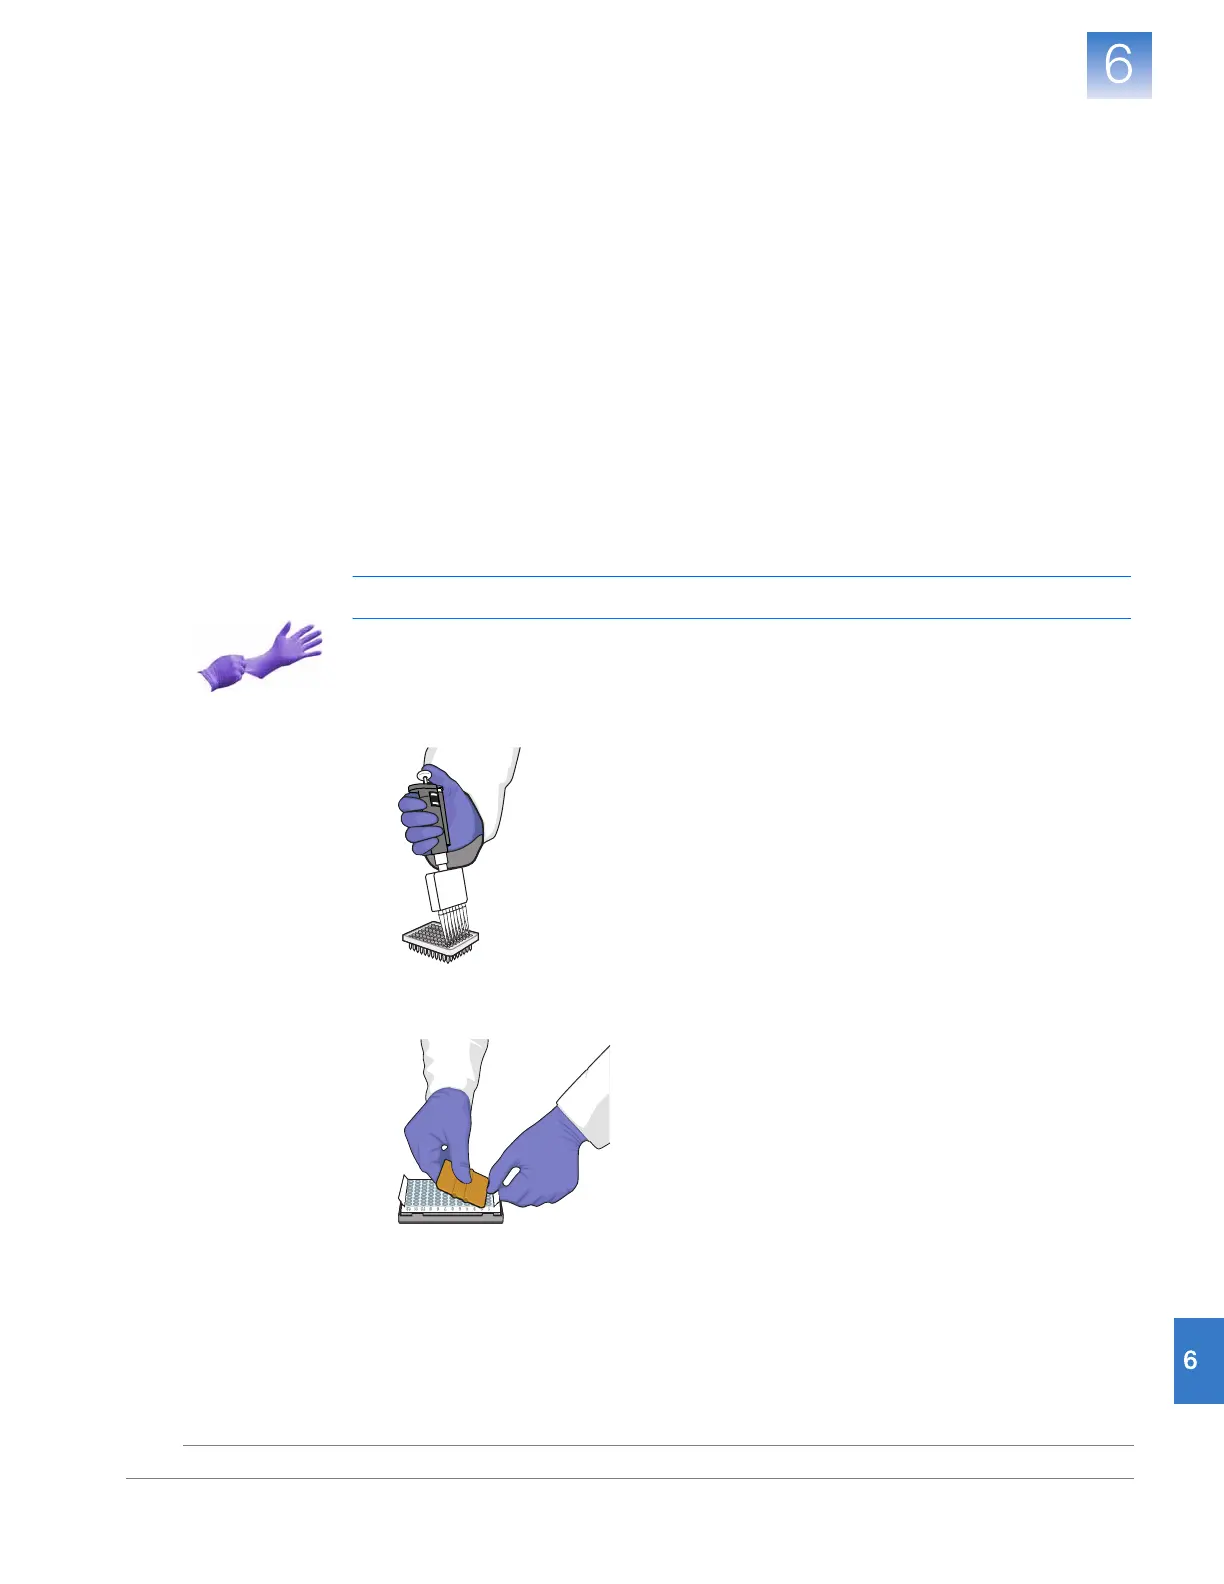
IMPORTANT! Wear powder-free gloves while creating the background plate.
1. Remove a reaction plate from its box and place it on a clean, dry surface.
2. Pipette 30 µL of deionized water to each well of the reaction plate.
3. Seal the reaction plate using an optical adhesive film or optical flat caps.
4. Use the reaction plate to perform the background calibration.