Chapter 3: Configuration and commissioning
46 1X-X3 Installation Manual
The Zone alarm LED flashes fast to indicate that the corresponding zone
configuration menu is active.
3. Select a value using the value selection buttons (2 and 4).
4. Press Enter.
5. Save your changes.
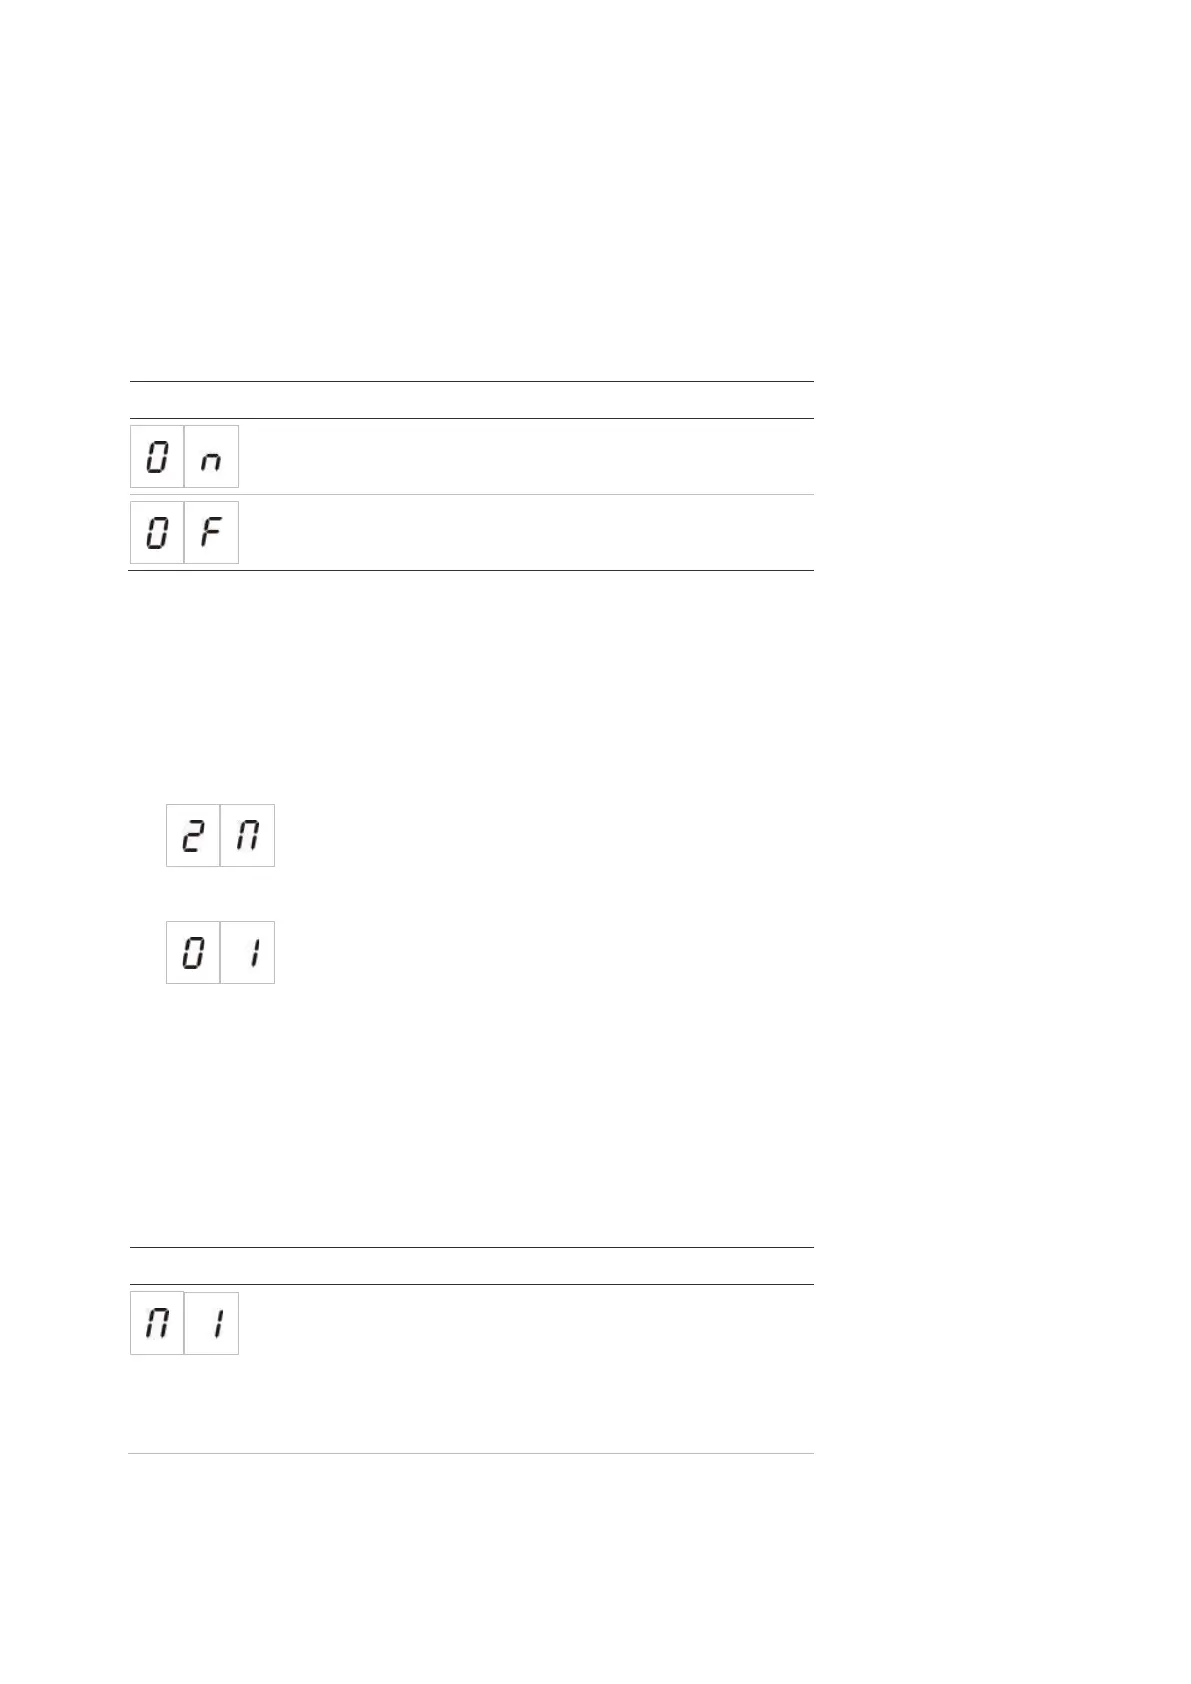
The available settings for this feature are shown below.
Display Description
Configured delays are allowed in the corresponding
zone.
Configured delays are not allowed in the corresponding
zone
Zone type
Use this menu to configure the zone type for each zone in your system.
To configure the zone type:
1. Set the display as shown below, and then press Enter.
2. Select the zone (for example, zone 1), and then press Enter.
The Zone Fault/Test/Disable LED flashes fast to indicate that the
corresponding zone configuration menu is active.
3. Select a value using the value selection buttons (2 and 4).
4. Press Enter.
5. Save your changes.
The available settings for this feature are shown below.
Display Description
Mixed zone. The control panel automatically
distinguishes between an automatic alarm (generated
a detector) and a manual alarm (generated by a manual
call point fitted with a 100 Ω resistor).
This option is not available to zones configured in the
extinguishing area.
 Loading...