TD 93119EN
28 June 2016 / Ver. PA5
User Manual
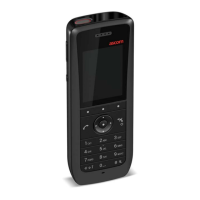
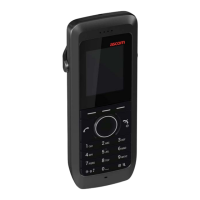
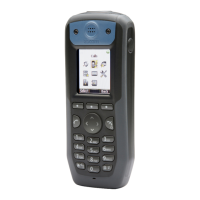
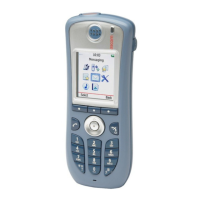
Ascom d63 DECT Handset
85
15.2 Easy Replacement of Handset
Easy replacement can be used if a handset needs to be replaced due to, for example, a
broken display. The easy replacement procedure is done via the handset display and the DC4
Advanced Desktop Charger or
the CR3 Charging Rack.
NOTE: Easy replacement is not supp
orted when using DP1 Desktop Programmer.
The following settings are replaced d
uring easy replacement:
•DECT registration
• User parameters (including User ID)
•Contacts
• The extension number is assigned to the new handset.
The following settings are not repla
ced during the easy replacement:
• Call list
• Messages
• Bluetooth pairing list
• Licenses.
15.2.1 Before Starting Easy Replacement Procedure
1 Check that both the old handset to be replaced and the new replacement handset are
of the same d
evice type (d63).
NOTE: The Easy Replacement procedure can be used i
f the old and new handsets have
different product licenses, that is, Talker, Messenger, and Protector. The new handset
product license is not replaced by the old handset’s product license during the
procedure. However, a handset product license, can be moved to another handset
using the WinPDM/Device Manager.
2 Use the WinPDM or the Device Manager to check that the software of DC4 Advanced
Desktop Charger or CR3 Char
ging Rack is of version 1.3.x or greater. For more
information on how to use t
he WinPDM/Device Manager, see the User Manual for the
Device Manager or the Installation and Operational Manual for the Portable Device
Manager (WinPDM), Windows version.
3 Make sure that the handset batteries are charged before starting the easy
r
eplacement procedure.
4 Switch off the new handset by long pressing
.
15.2.2 Easy Replacement Procedure
During the Easy Replacement procedure,
the LED indications on the charger can be used to
follow the replacement procedure. For more details, see LED Indications during Easy
Replacement on
page 87.
IMPORTANT: Never remove a handset from the charger unti
l the instructions in the
display tells you to do so (see status on the LED on the charger if the display
is broken). If there is an error indication it may be allowed to remove the
handset, see Figure 15. Update Completed while in Charger on
page 79 for
further instructions.