Page 45
note
sn4: 00006778899A,210004020304;
sn5: 000078899AAB,210005020304;
sn6: 000078899AAB,210006020304;
sn7: 000078899AAB,210007020304;
sn8: code.00013F003F013F023F03,
data.0002'x''4''2';
sn9: prog.00013F003F013F023F03,
e.0002'x''4''3';
5.4.4 Calibration Memory
Support
Some devices contain a calibration memory containing
factory-preset device calibration. The loss of its content
can cause a fault in the device functionality. For this
reason we have tools allowing users to work with the
calibration memory.
Working with Calibration
Memory When Erasing a Device
in UV Eraser
Calibration data should be saved prior to erasing a
device. To do so, choose File ➙ Save calibration
data...
ou can retrieve it back by choosing File ➙ Read
calibration data...
The program contains a function for verifying whether a
device has been erased correctly: Device ➙ Blank
check. When this command is used, the program displays
data from the calibration memory.
Working With Calibration
Memory in Devices With Flash
Memory
When these devices are erased, the content of their
calibration memory is preserved.
If you really need to erase the calibration memory for
some reason, you can do so by choosing Device ➙ Erase
➙ Erase all (including calibration).
Advice
New Flash devices with a calibration memory (such as
PIC12F629) contain so called 'bandgap bits', which form
part of the device calibration. These bits can be found in
the configuration word and are erased too if the
command Device ➙ Erase ➙ Erase all(including
calibration) is executed!
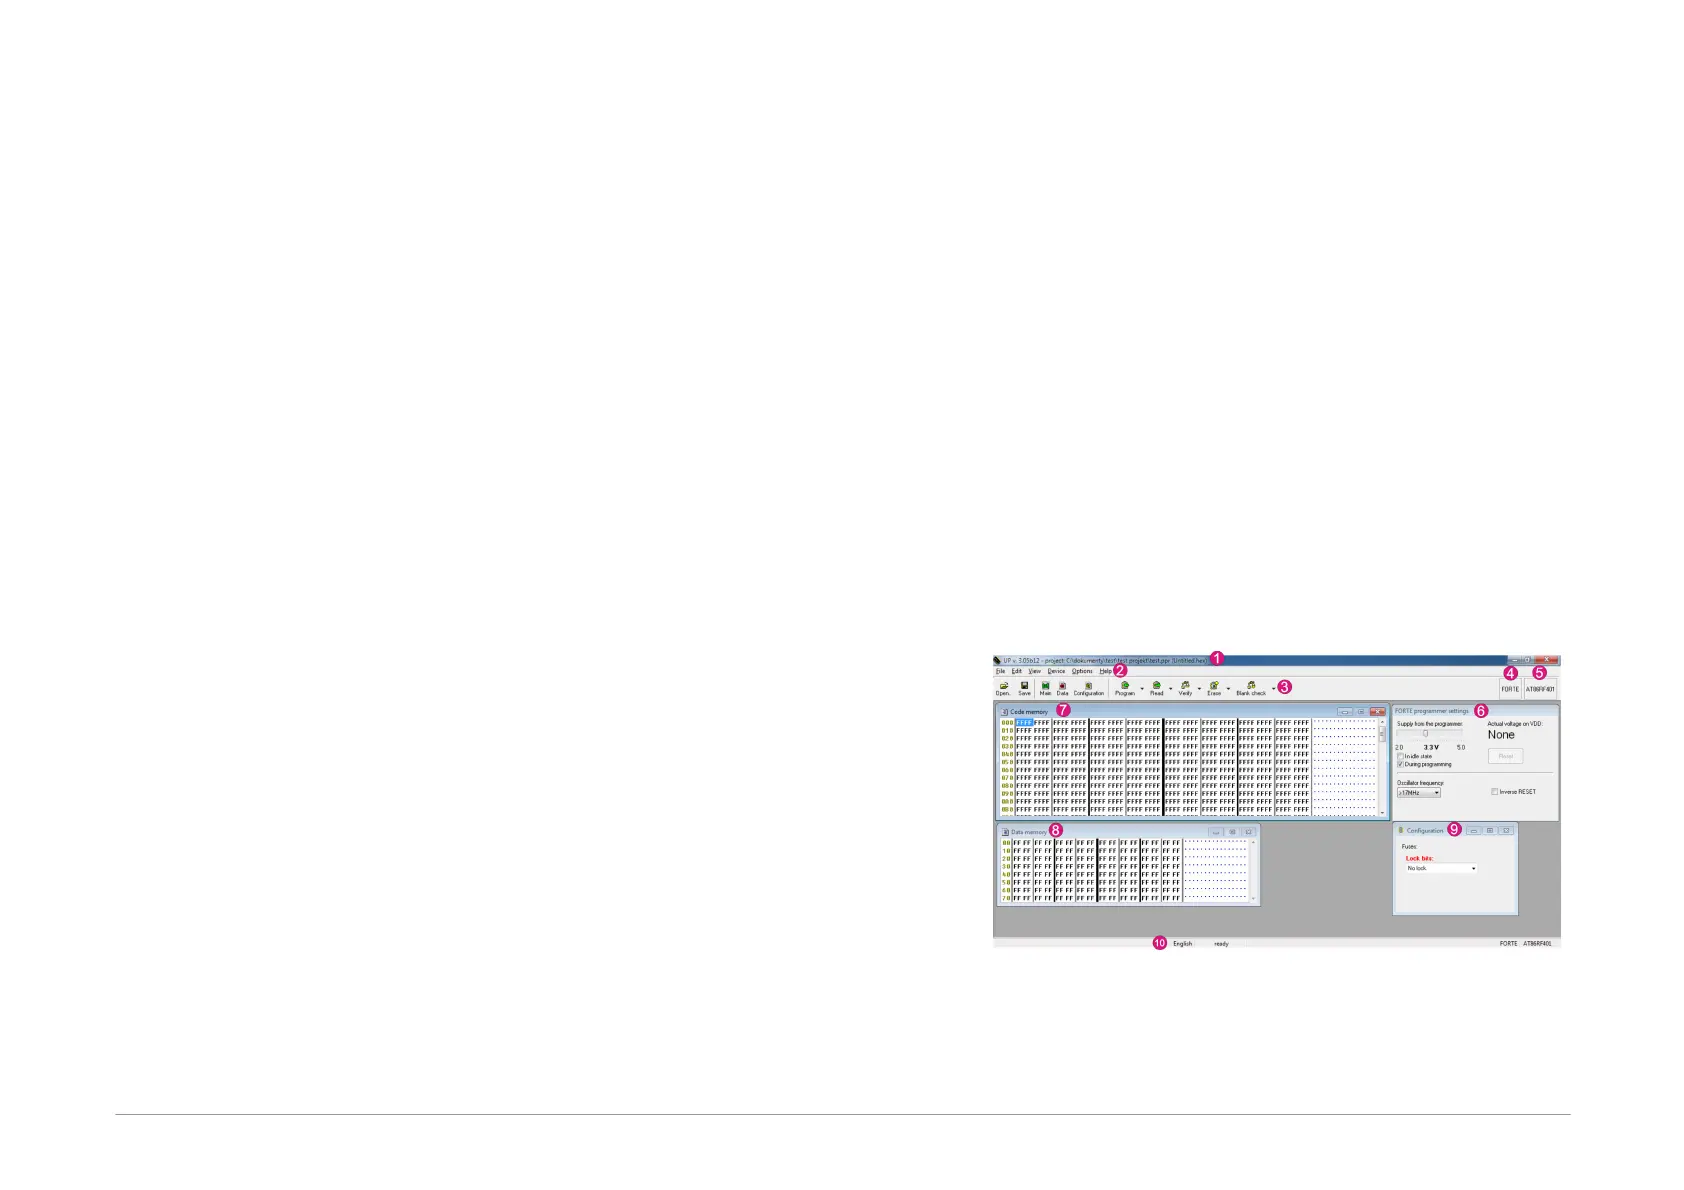
5.5
Program Controls
Fig.41: Controls of UP software
1) Title bar with the open project name or file
2) Menu