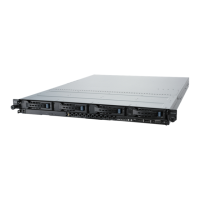
Chapter 2: Hardware Information
2-10
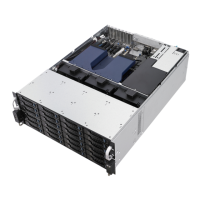
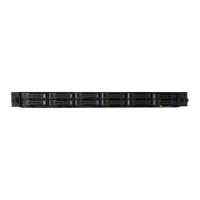
2.4 Storage drives
The system supports 36 hot-swap 3.5-inch or 2.5-inch storage devices. Two hot-swap 2.5-
inch storage drives are supported on the rear panel of RS540-E9-RS36-E. The storage
device installed on the tray connects to the motherboard SATAII/SAS ports via SATAII/SAS
backplane.
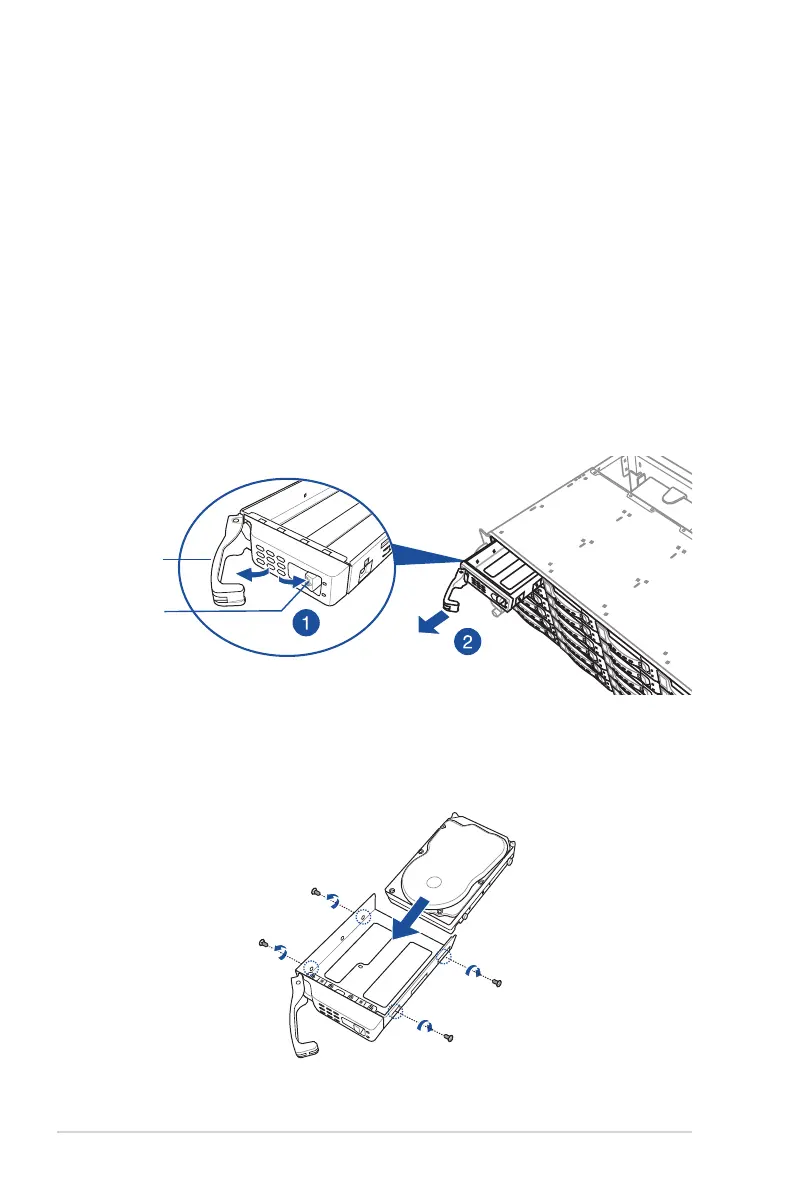
3. Prepare the 3.5” storage device and the bundled set of screws.
4. Place the 3.5” storage device into the tray then secure it with four screws.
To install a 3.5” storage device to the front panel:
1. Press the spring lock to release the tray lever and to partially eject the tray from the
bay.
2. Firmly hold the tray lever and carefully pull the tray out of the bay. Place the tray on a
clean and at surface.
spring lock
tray lever
2.4.1 Installing Storage drives to the front panel