2-11
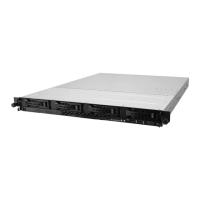
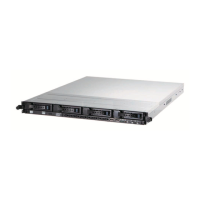
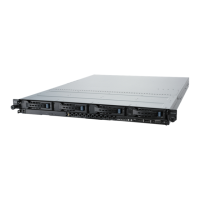
ASUS RS540-E9-RS36-E
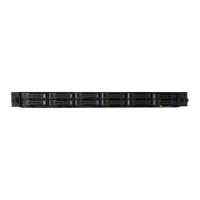
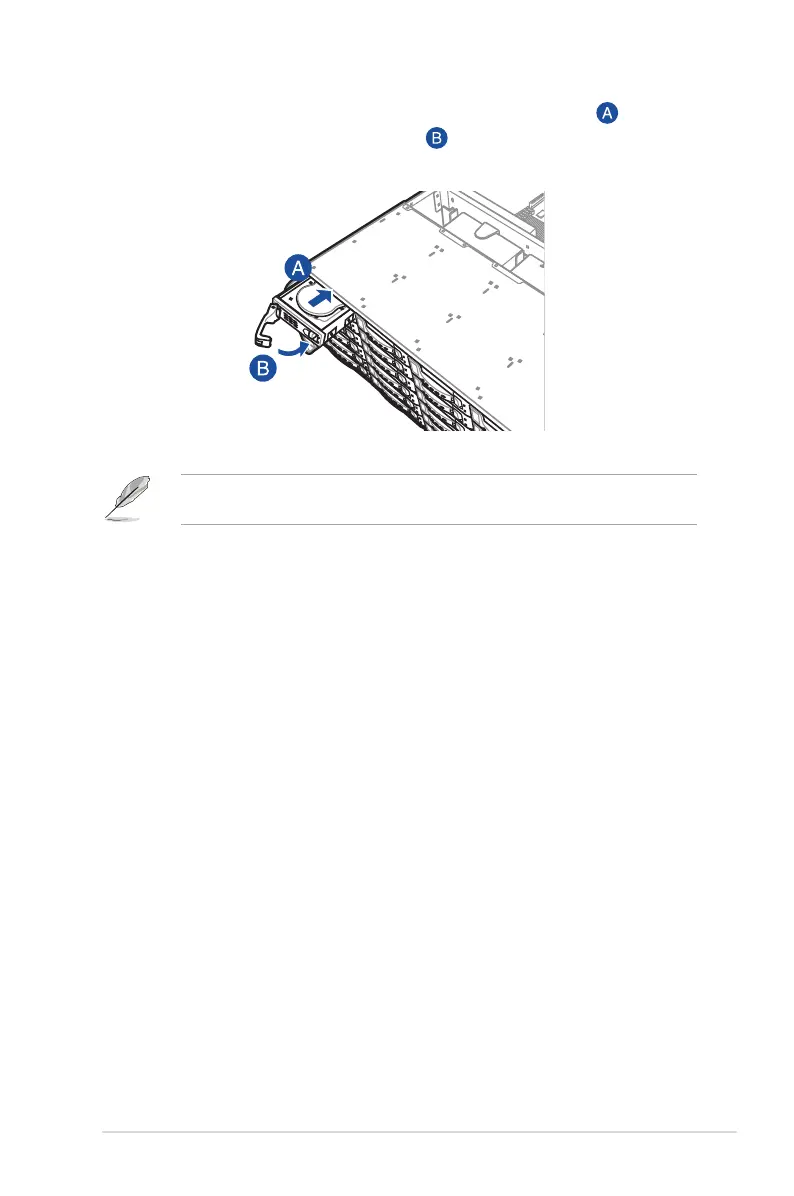
5. Carefully insert the tray and push it all the way to the depth of the bay ( ). Lock the
secure tab to secure the drive tray in place ( ).
When installed, the SATA II/SAS connector on the drive connects to the SATA II/SAS
interface on the backplane.
6. Repeat steps 1 - 5 to install the other 3.5” storage devices.