Copyright © 2007, 2008 AudioNote Kits
www.AudioNoteKits.com
audionotekits@rogers.com
Page 15
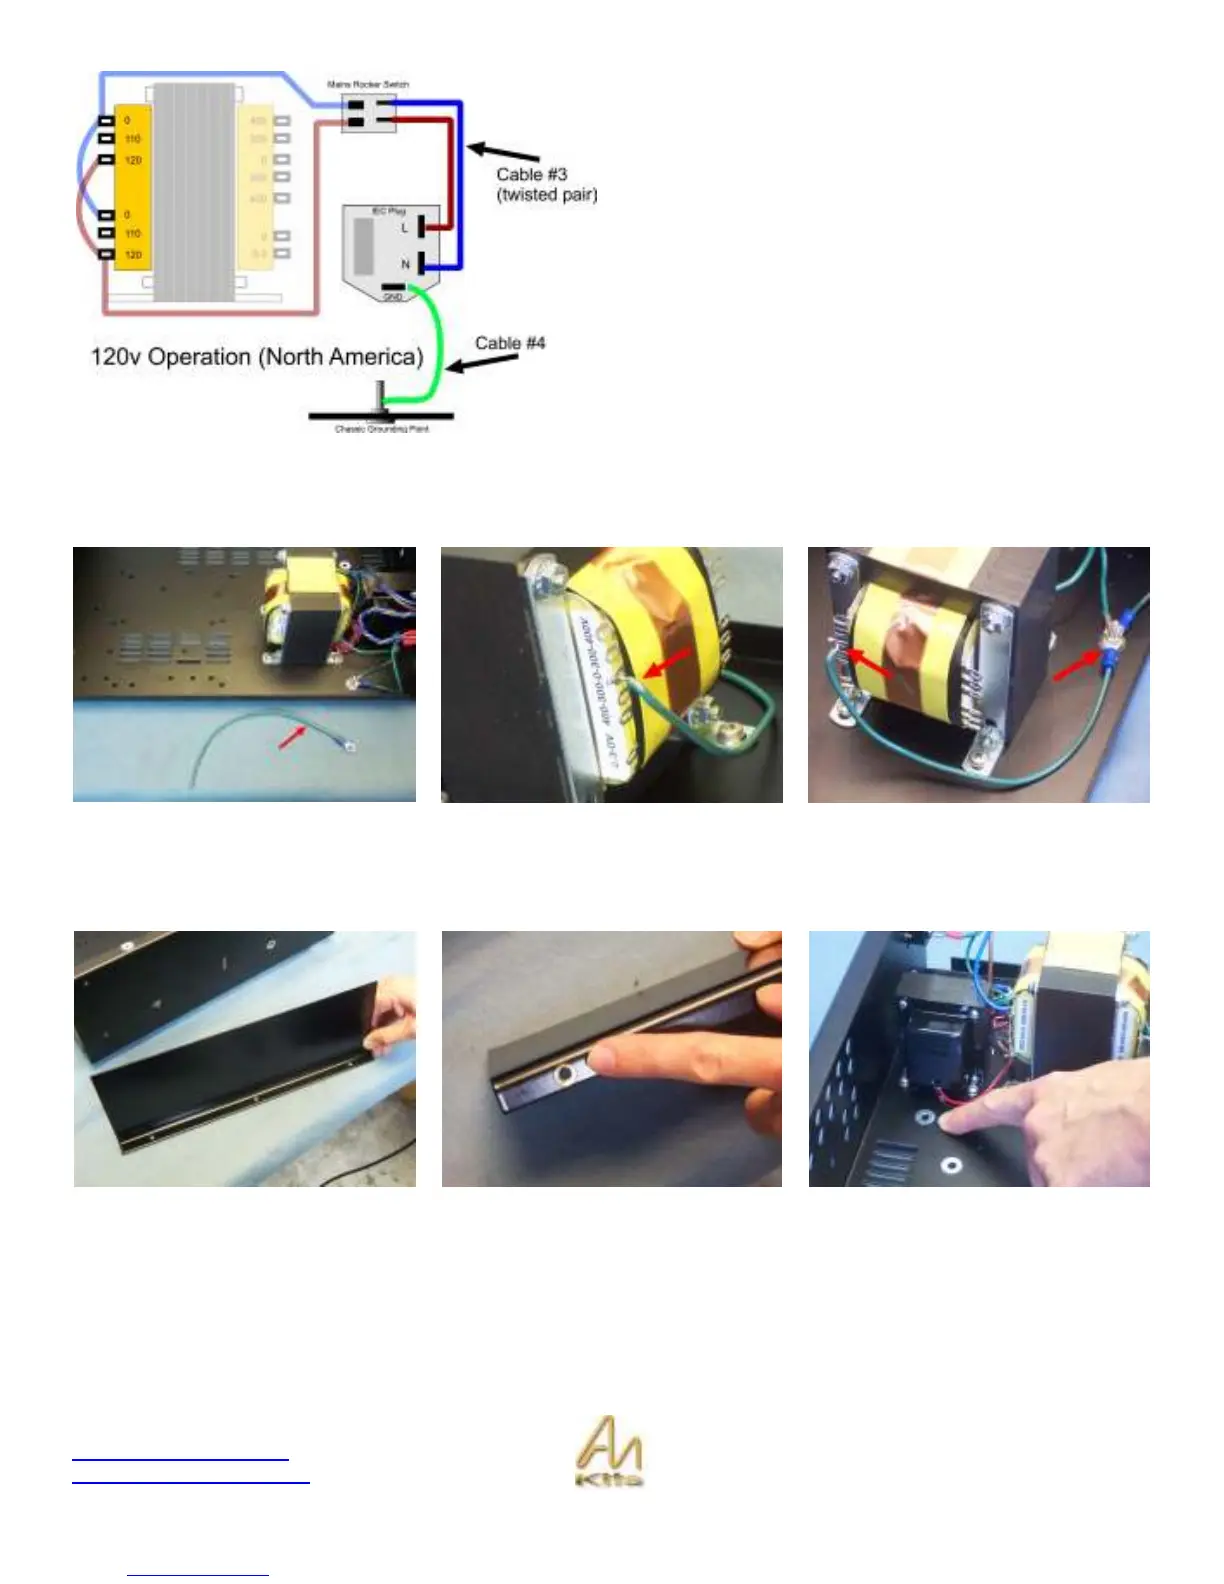
Add the twisted wire (Cable #3) and the ground wire (Cable
#4) as shown in the graphic opposite.
Let’s add one final GROUND wire connection from the M4 screw in the chassis. Strip, tin and solder this wire to the 0 on
the 400-300-0-300-400 side of the transformer SECONDARY – the text on the transformer and the lug will not line up so
you need to count down from the top – the ZERO tap will be the third one from the top. See the following pictures:
Shield Positioning
I would like to explain where the shield fits at this stage – you won’t actually be installing this until the end of the
build but by then there will be a number of things inside the chassis.
Take a look at the shield provided and locate the hole underneath that has no paint on it – this will match up with a hole
on the chassis that is also unpainted in order to ensure a good grounding of the SHIELD when in stalled in the chassis.