Copyright © 2007, 2008 AudioNote Kits
www.AudioNoteKits.com
audionotekits@rogers.com
Page 34
Then take the twisted thick RED wires
and connect these to the 300V 300V
on the PCB.
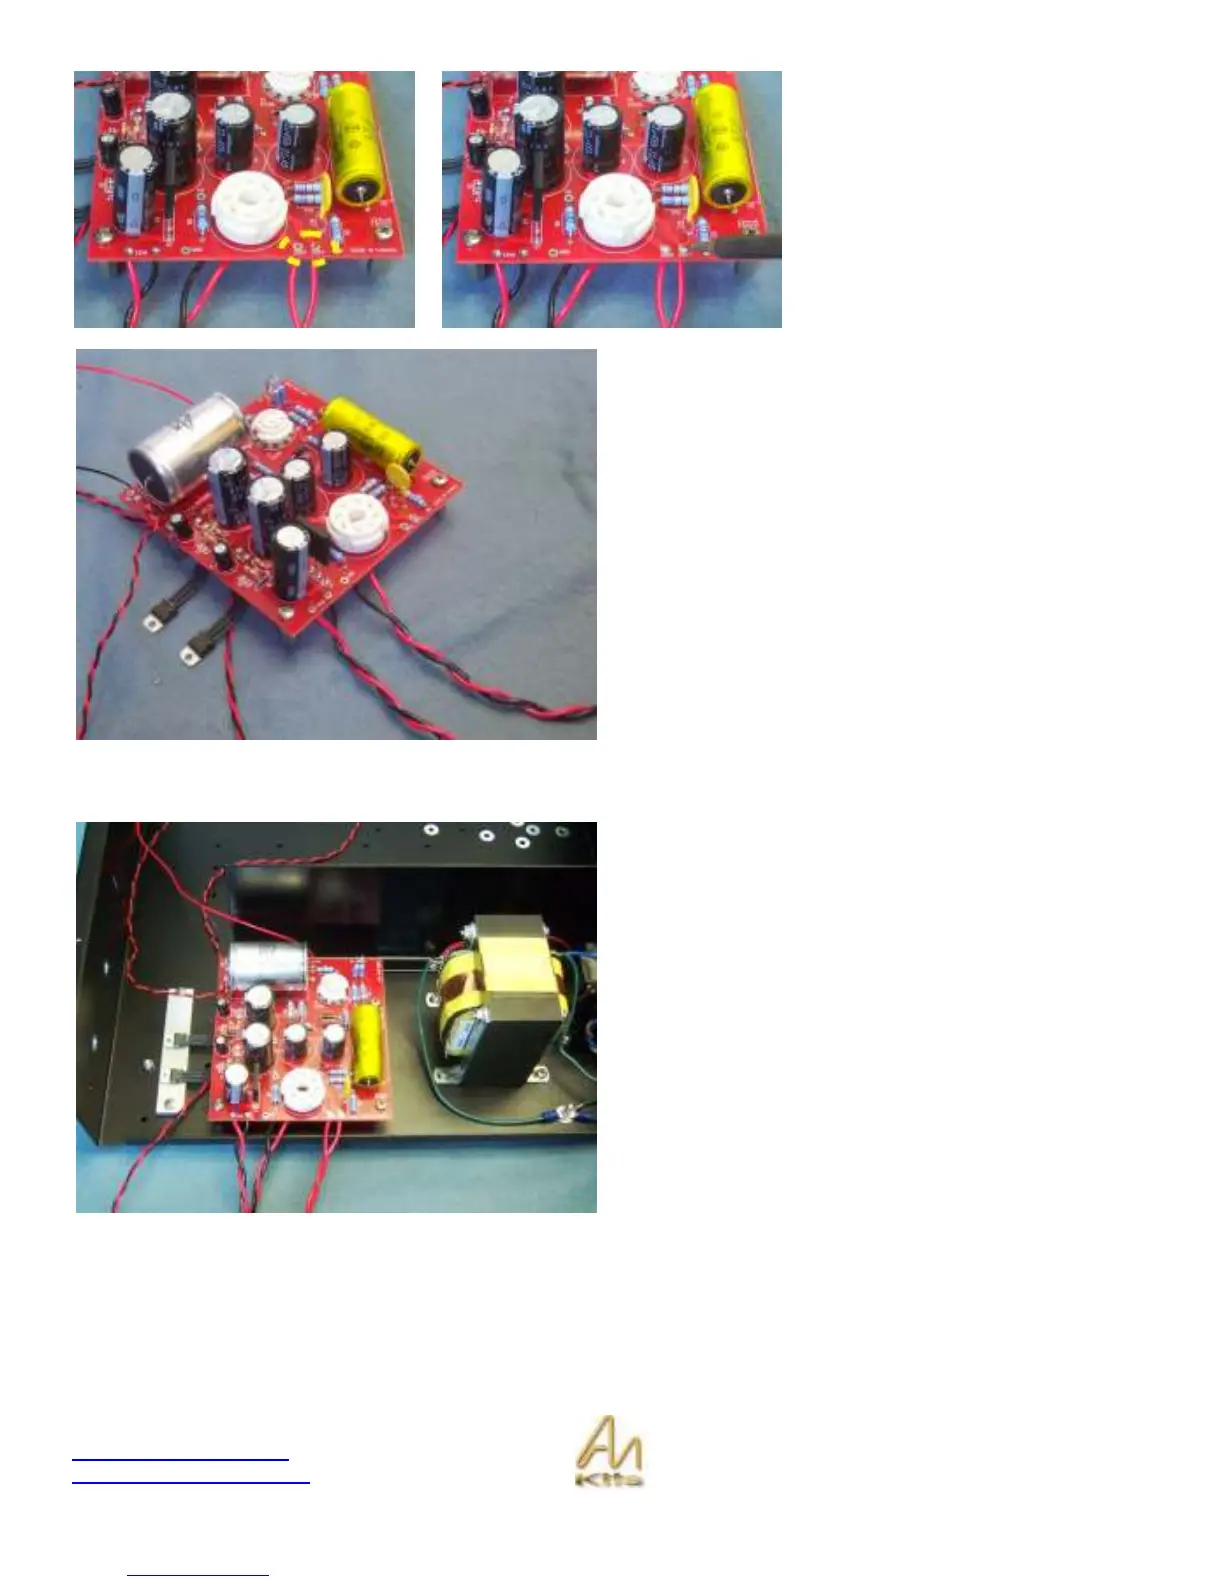
The picture opposite is what your M2 Power supply board
should now look like!
Installing the Heatsink
Feel free now to “place” (do not screw in) your newly
assembled board into position in the chassis.
Now install the metal heatsink under where the regulators
will sit. This must be firmly attached to the chassis.
One more step and then time for a coffee break on a job
well done!