Copyright © 2007, 2008 AudioNote Kits
www.AudioNoteKits.com
audionotekits@rogers.com
Page 77
Installing the Phono Section requires that we do the
following things:
• Wire-up the valve filaments to the power supply.
• Connect the output of the phono board to the
ELMA selector and Noble pot PCB as we did with
the line inputs.
• Connect the HT and GND.
• Install RCA’s in the Phono Input positions at the
rear of the chassis and connect the phono inputs.
• Test the phono input.
• Add a ground post that will connect to the chassis.
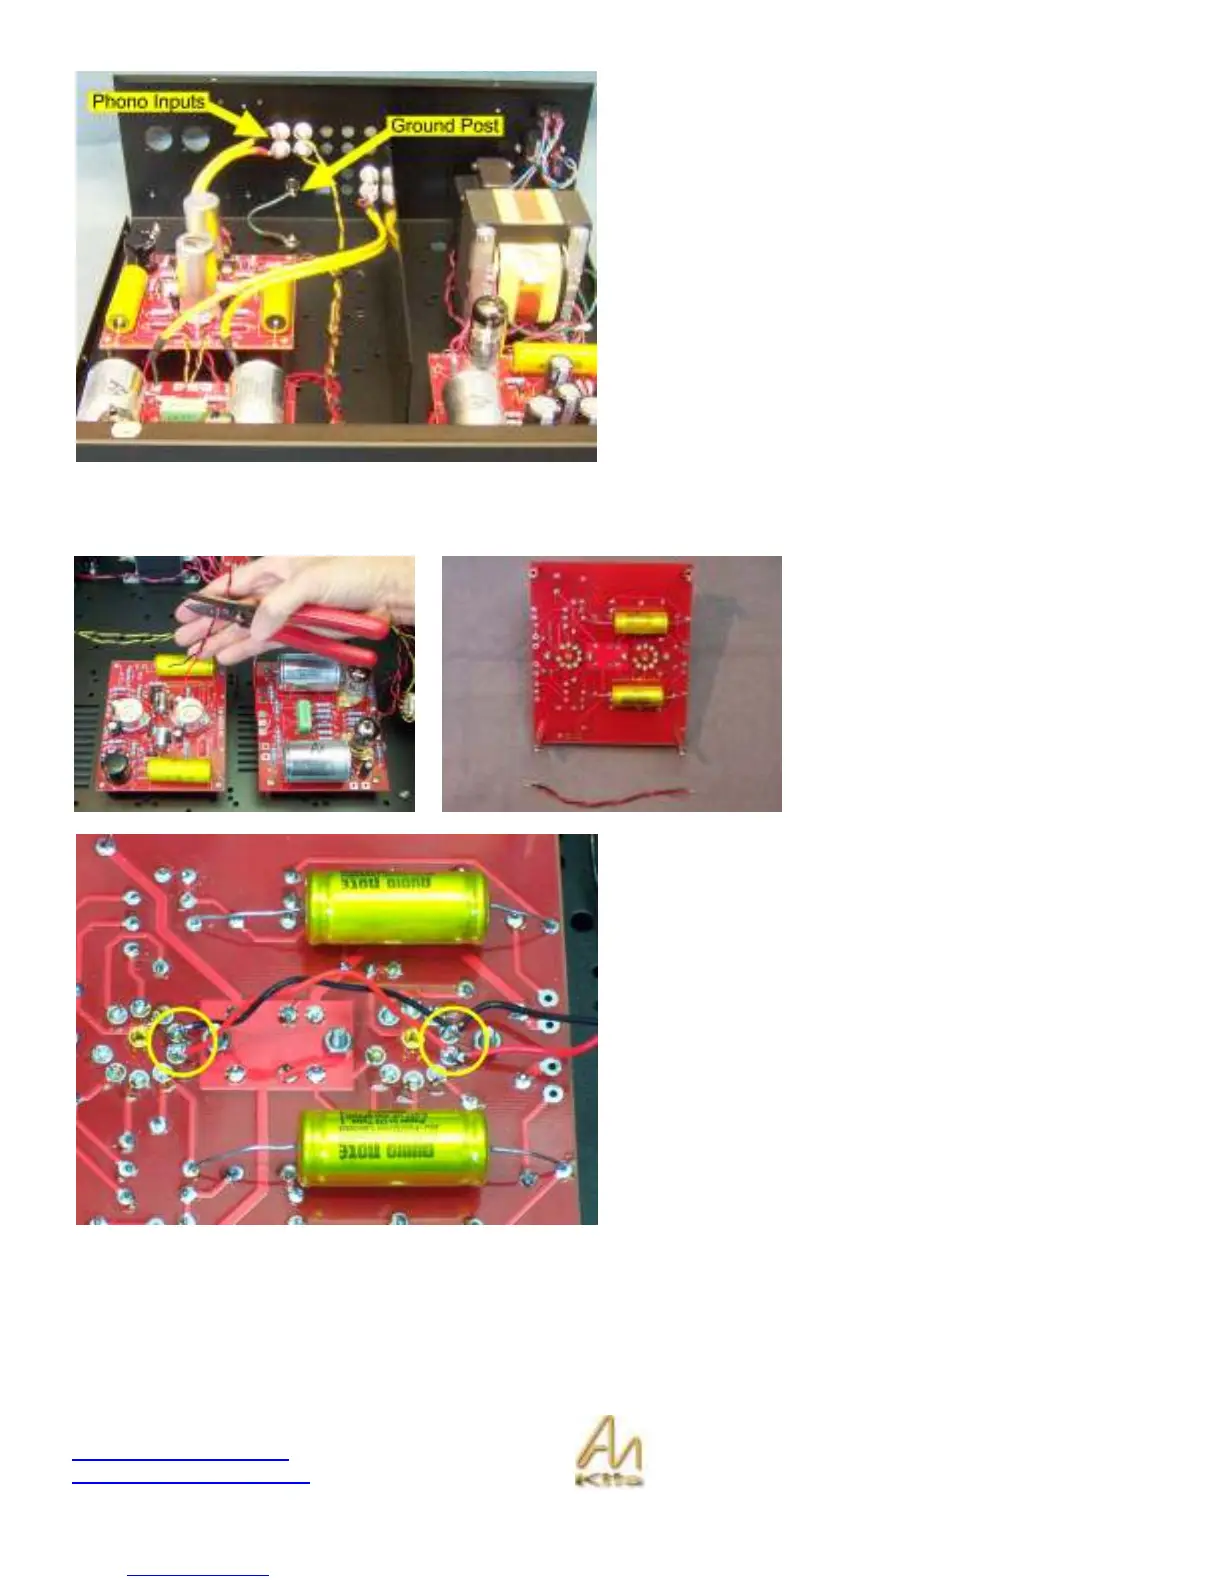
Filament Wiring
The first step is to take the remaining
twisted PTFE filament wires from the
6V2 on the M2 power supply and bring
them over to the Phono board.
We will be connecting on the
underside of the chassis – We also
need to connect the two valve bases in
parallel as we did in the line board
section.
Here you can see pins 4 & 5 connected to the filament
wires from the 6V2 on the M2 power supply board – along
with that the valve bases are wired in parallel so that the
one filament will supply both tubes