Copyright © 2007, 2008 AudioNote Kits
www.AudioNoteKits.com
audionotekits@rogers.com
Page 51
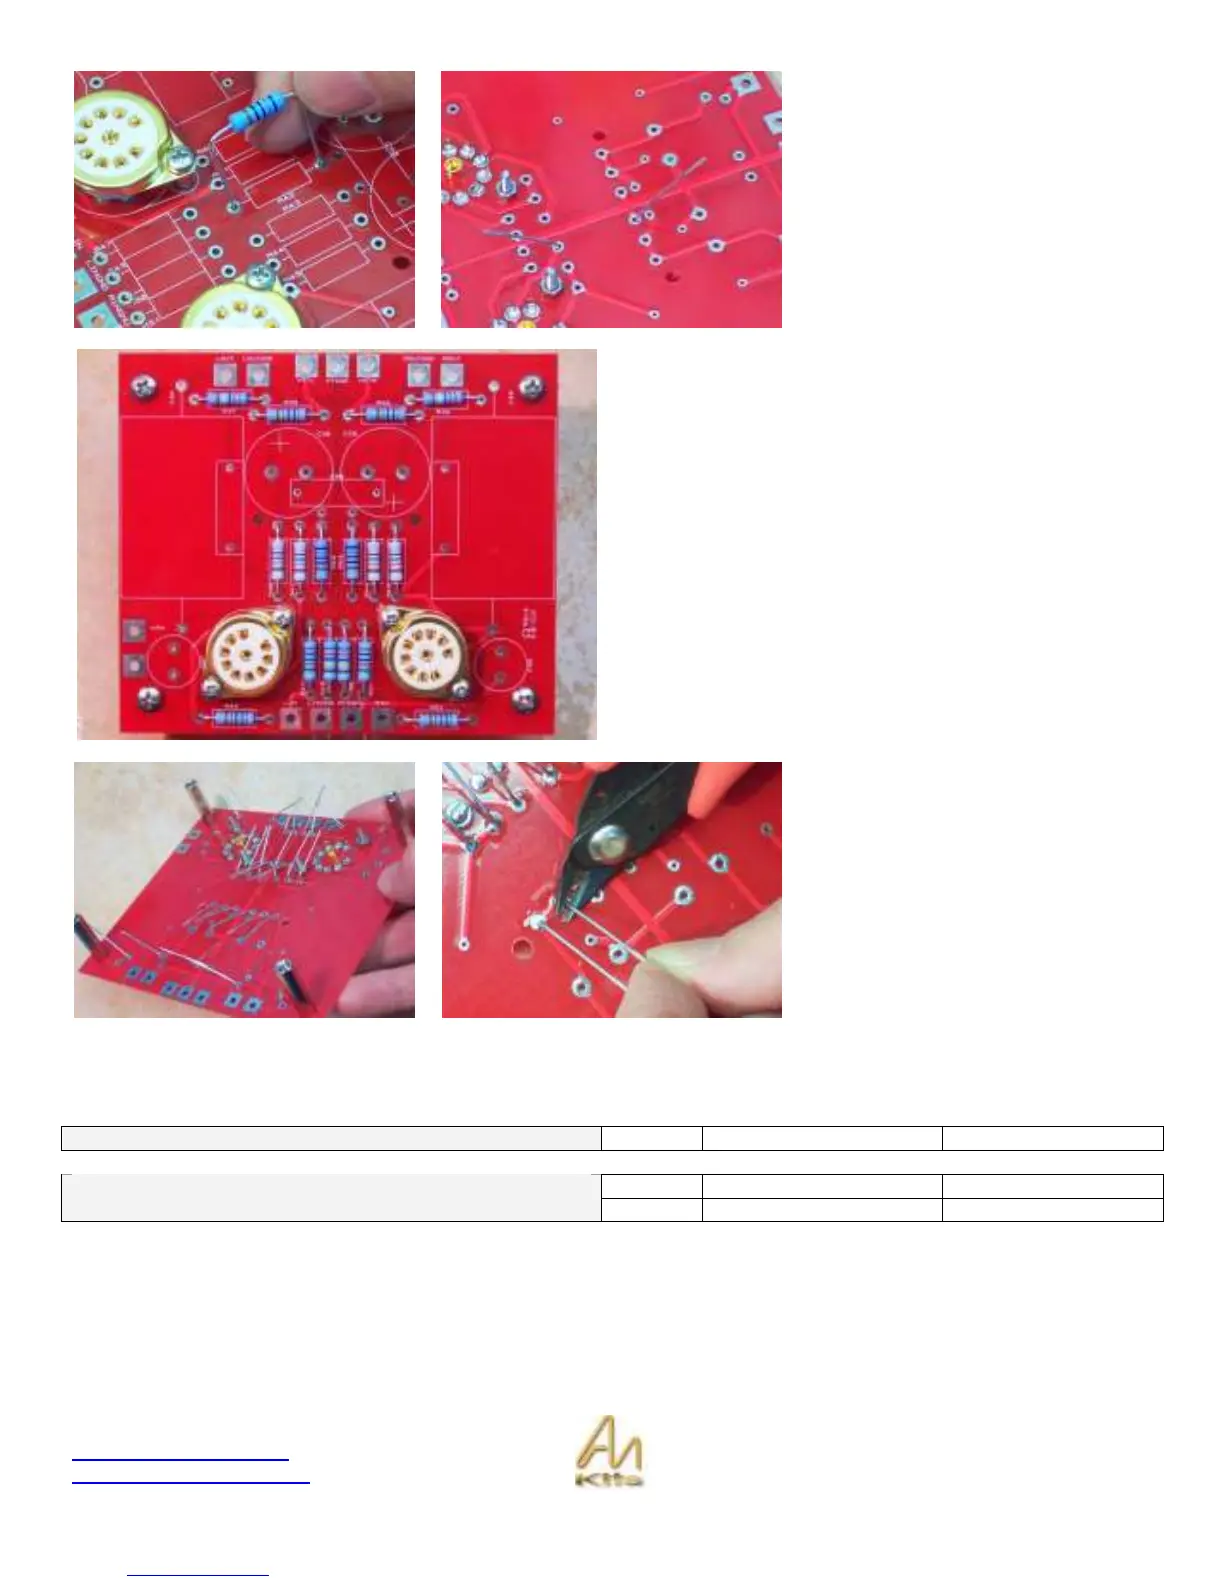
Here we are installing the resistor into
the correct reference designator R42.
It’s a good idea to look at the
schematic as you are populating the
board as a good double check with the
manual.
Once the resistor is installed then you
can bend the legs back slightly on an
angle so that the resistor will stay in
position.
We recommend you install all the resistors in this fashion
and then double check them with the manual picture to
make sure all the correct values are in position – and then
you can start soldering!
Check the HI Resolution picture on the L2 support page on
the web site if you need to see the color codes in better
detail.
With all the resistors in position then you can start soldering
on the underside of the board.
Once the resistors are soldered in you
can proceed to cut the legs off – a
good technique is to HOLD the leg in
one hand so it does not fly off, and cut
with the other hand – this is also good
safety!
Capacitor Installation
Capacitors (Electrolytic) 2
470uf 16v
C36, C37
1
.47uf
Capacitors (Non-polarized)
2
.47uf, 600v
C34, C35